*This post may have affiliate links, which means I may receive commissions if you choose to purchase through links I provide (at no extra cost to you). As an Amazon Associate, I earn from qualifying purchases. Please read my disclaimer for additional details.
When you are making repairs around your home, the last thing you want to deal with is further damage to the same fixtures you are trying to improve. This includes wooden boards and trim that tend to split when you nail it down. So, how do you keep trim from splitting when nailing it?
If you flatten down the tip of the nail before hammering it, you will avoid splitting the trim. This is called blunting the nail, and the nail will create a pathway through the wood instead of wedging in.
There are many tips and tricks out there that can help make your home repairs go much smoother, and in this article, we will discuss a few of them specifically related to keeping your trim in tacked while putting it in place.

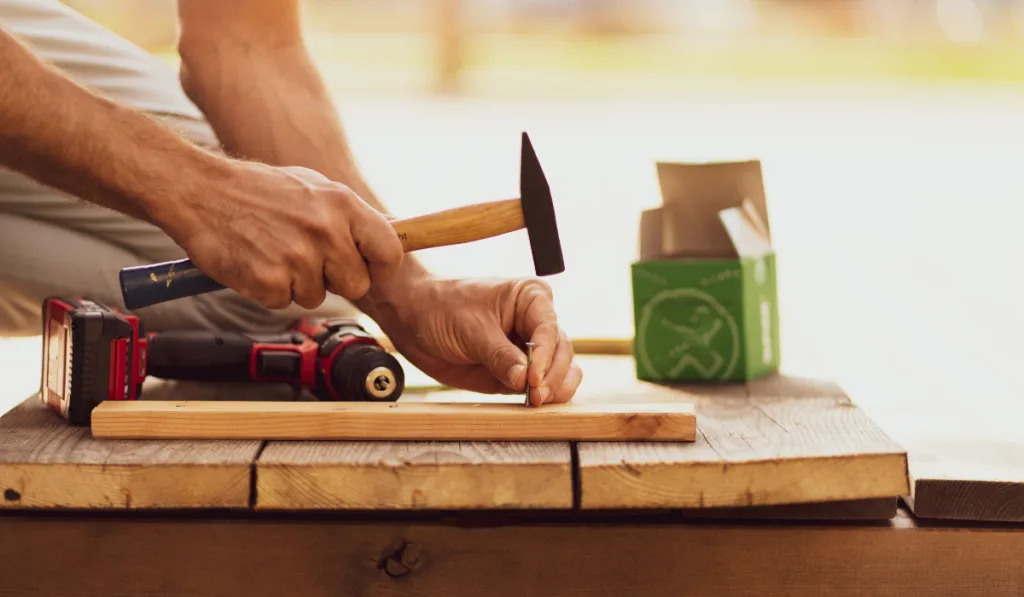
Table of Contents
Why Does Trim Split When Nailing it?
For anyone who works with wood, you already know how easy it can be to split when nailing right near the edge. When working with trim, you are essentially always nailing “near the edge.”
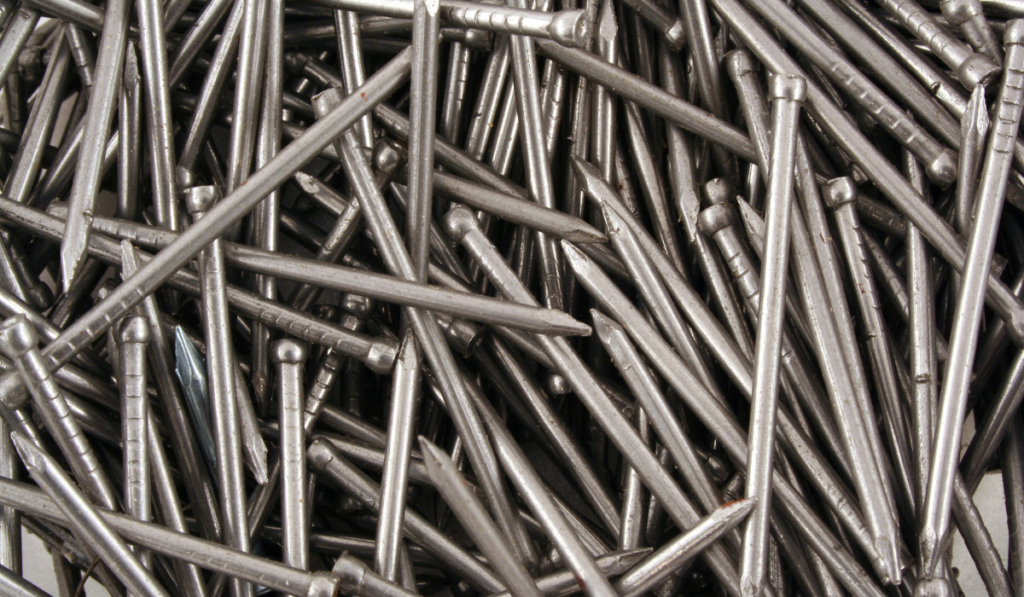
The reason the wood tends to split in this location is that the nail acts as a wedge when entering the wood. The sharp end goes in, making way for the rest of the nail to follow, in turn securing the hold.
If your nail is wedged into the wood, right near the edge of the board, it will create an opening that expands to the end, thus, splitting the wood.
How Can You Keep Wood Trim from Splitting When Nailing it?
Wood trim can be difficult to work with because of how thin and delicate the material can be; that is why it is important to take precautions when nailing it in place, keeping it from splitting apart.
Blunting the Nail Tip
The reason your wooden trim splits when you are nailing it to the wall has a lot to do with the sharpened tip of the nail (see above.)
To keep this issue from occurring, you can place the nail tip-down onto a hard flat surface, then hammer the head a few times with a small amount of force.
By doing this, you will flatten the tip, and now, instead of separating the wood, it will drive right through it.
Lubricating the Nail
Another thing you can do to help keep your nails from splitting your trim is lubricating them. You can do this by dipping the nail tip and shaft into a lubricating oil such as petroleum jelly.
By lubricating the nail, you are going to greatly reduce the amount of friction produced during the process and that will help keep the wood from separating more than necessary.
Stay as Far Away From the Edge of the Trim as Possible
When you are preparing to put up your molding, take the time to measure out enough space from edge to edge to ensure you can keep the nails as close the the center of the trim as possible. The closer you are to the sides of thin wood trim, the more of a chance you’re going to have of splitting it apart.
Use a Trim Nail Gun
Did you know there is actually a tool specifically for this type of work? If you are simply preparing or replacing trim around the home or office, you probably won’t need to go out and purchase a nail trim nail gun.
However, if you do this as a professional, investing in one of these tools is going to help out a lot in the long run.
Trim nailers come in a few different sizes, but a finishing nailer is what you will want. These types of nail guns are used for precision and use enough force; with a small enough nail, you wont have to worry about the board cracking or splitting apart.
Use Glue Instead of Nails
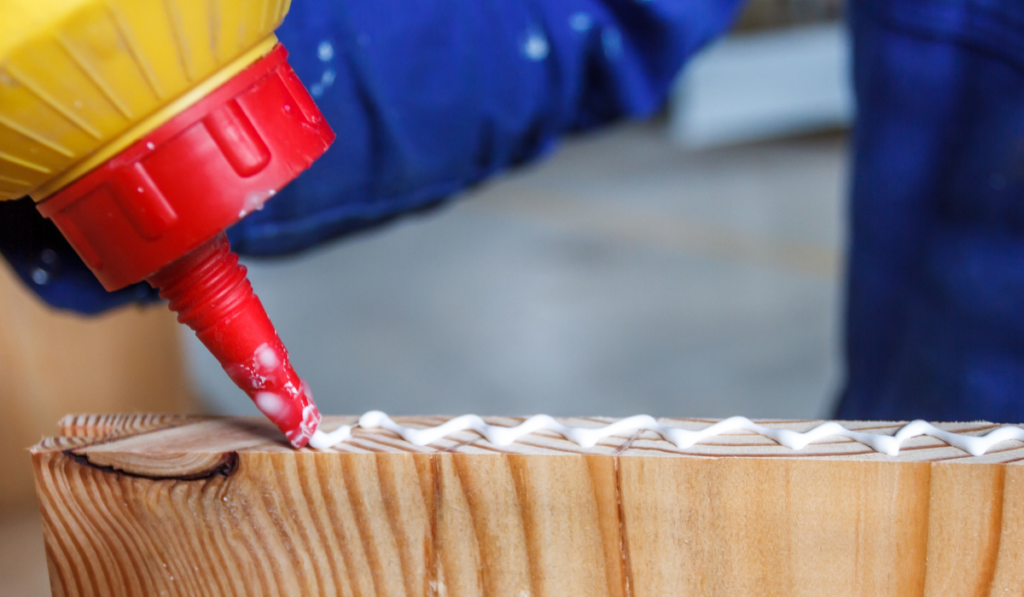

To avoid the possibility of splitting altogether, you can opt to glue your smaller trim in place instead of nailing, Eliminating the need to push a hole through the board for any reason.
Wood glue is the best option, just make sure you are purchasing a quality brand that isn’t going to give with heavier trim or in different weather conditions.
Predrill Your Holes
If you are willing to add a little extra work to the task at hand, you could always grab a drill and push a few holes through the wood before you place the nail through.
If you drill a hole into the wood first, you won’t have to use a nail to burrow its way through.
If you choose to use this method when installing your trim, always drill the hole a little smaller than the size of the nails you will be using.
Doing this is going to reduce the amount of force used to penetrate the wood but still provide a tight hold.
Use Smaller Nails
With large nails comes lots of force, which will create more pressure against the woods grain, increasing the chances of the board splitting.
When putting up trim, it is ideal to use 1/2-inch to 2 1/2-inch nails that are 15 or 16-ga. This will provide a strong and secure hold.


How to Keep PVC trim from Splitting When Nailing it?
The chances of PCV trim splitting are very small but not entirely unheard of. When installing PCV trim, you should use a stainless steel screw or a hot-dipped siding nail for the best results.
Although splitting PVC trim isn’t a common issue, there are other things to think about before choosing PVC materials for your trim.
The biggest area people find themselves in trouble with is the holes left behind turning yellow or becoming very noticeable. The best way to handle this is with a call filler.
Think About the Trim Instead of the nail.
You shouldn’t focus solely on the nail and how you are using it when trying to avoid splitting your trim while putting it in.
There are other factors that play a role in how successful you are in this task and can change the outcome of the project significantly.
Steer Clear of Dried Wood
Dried wood is notorious for cracking and breaking. If you have the option, you should try to purchase wood that has a little extra moisture to ensure it will be strong enough to take the blows of the hammer.
Use Soft Woods
Similar to moist wood, soft wood can take the pressure of a hammer and nail much easier than harder wood. If you can choose from the type of trimming you use, you should consider one of the follow options.
- Douglas Fir
- Southern Yellow Pine
- Lodge pole Pine
Hardwoods you may want to avoid using include:
- Oak
- Birch
- Maple
Stay Vigilant
Keep your eyes on your progress as you work. If you start to notice the wood splitting, back the nail out of the hole as gently as possible to reduce further cracking and move it to another spot.
Avoid Knots
While many people love the look of old knots entwined into their home decor, this portion of the tree is actually much harder than the rest of the wood.
As mentioned above, the harder the wood, the more likely it is to split. If you are using trim that has knots in it at all, never put your nail in it or even close by.

Things to Think About
As you start to create a mental image of what you want your space to look like, the type of trim you plan on using, and how you plan on putting it up, there is a list of things to keep in mind as you are setting your thoughts in stone.
Where is the Trim Going?
When you are preparing your project, where you are putting the trim up might play a large role in how you go about securing it into place.
If you are placing a trim around a mirror, maybe in the bathroom, you might want to skip the hammer and nails and go with water-resistant wood glue.
If you are applying trim to your kitchen, around the windows, consider pre-drilling the holes, so you won’t require as much force when hammering in the nails.
Avoid Access Force
There is no reason to over do-it when hammering your trim. With the right amount of effort, you can easily get the nail through the wood and avoid splitting it because of excessive force.
Take Your Time
A lot of problems seem to arise once you start to rush your work. If you are not careful when hammering in nails, there is more of a chance you will miss your mark or make a mistake that will have a devastating outcome.
Summing Things Up
Putting up trim shouldn’t have to be a hassle, and with all of the tips and tricks listed in the article above, it won’t be. Use the information we have provided to eliminate the risk of your trim cracking or splitting while you are putting it in place, ensuring you don’t waste your time, money, or frustration in the process.