*This post may have affiliate links, which means I may receive commissions if you choose to purchase through links I provide (at no extra cost to you). As an Amazon Associate, I earn from qualifying purchases. Please read my disclaimer for additional details.
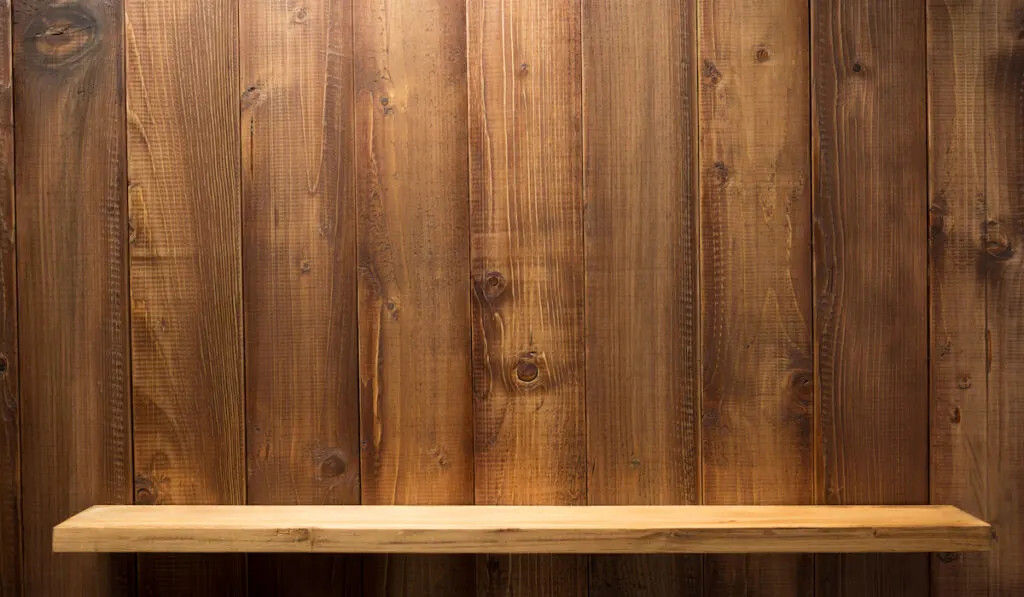
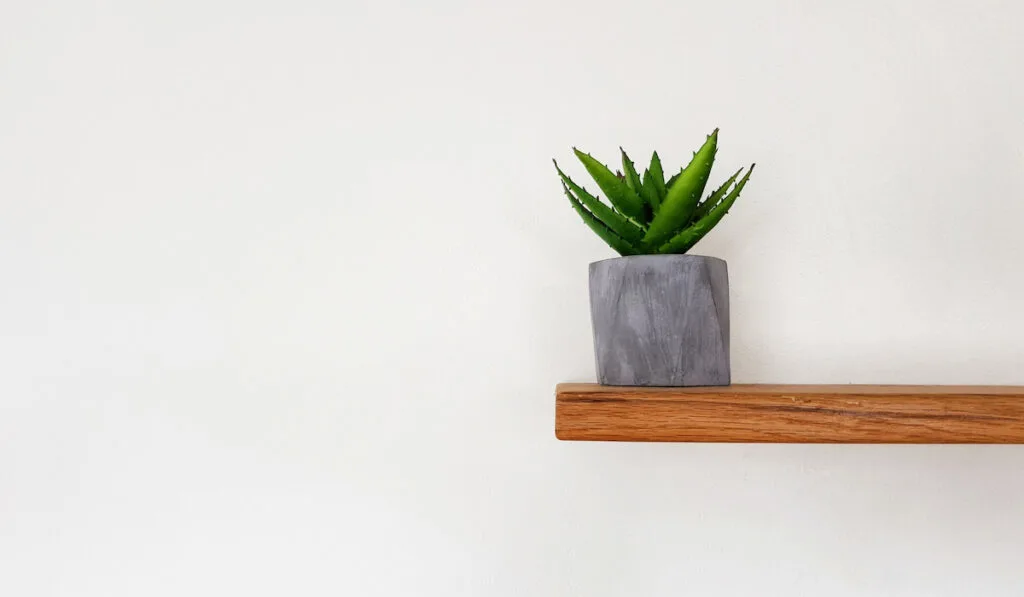
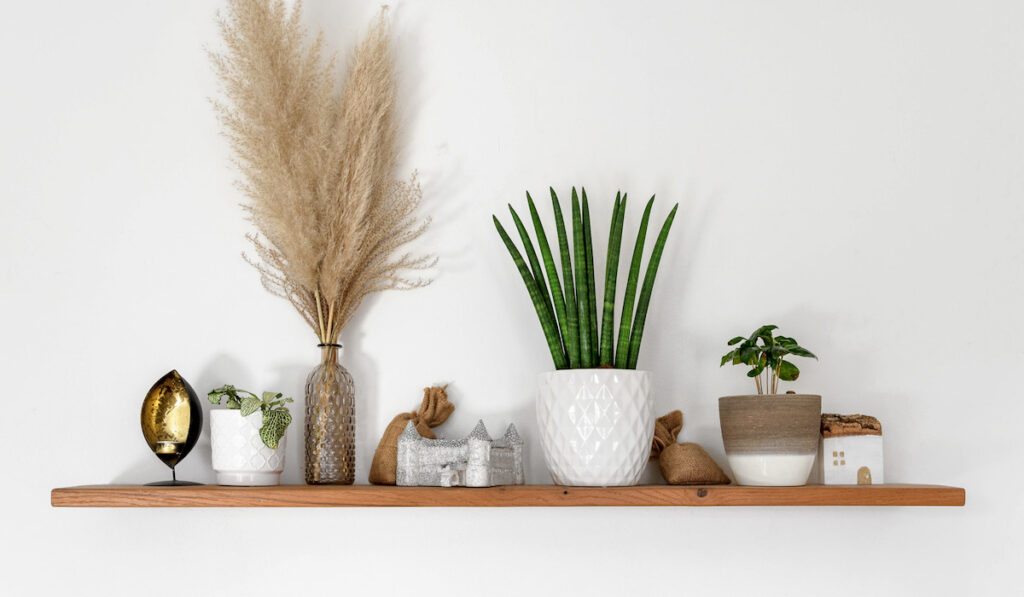
Hanging a floating shelf is a great way to add extra storage to your house.
Installing the shelves without drilling can be an excellent solution to avoid permanent changes on your wall or if you are renting a home where drilling is restricted.
After extensive research, we’ve compiled a list of nine tips to help you install a floating shelf without drilling. Let’s dive in!
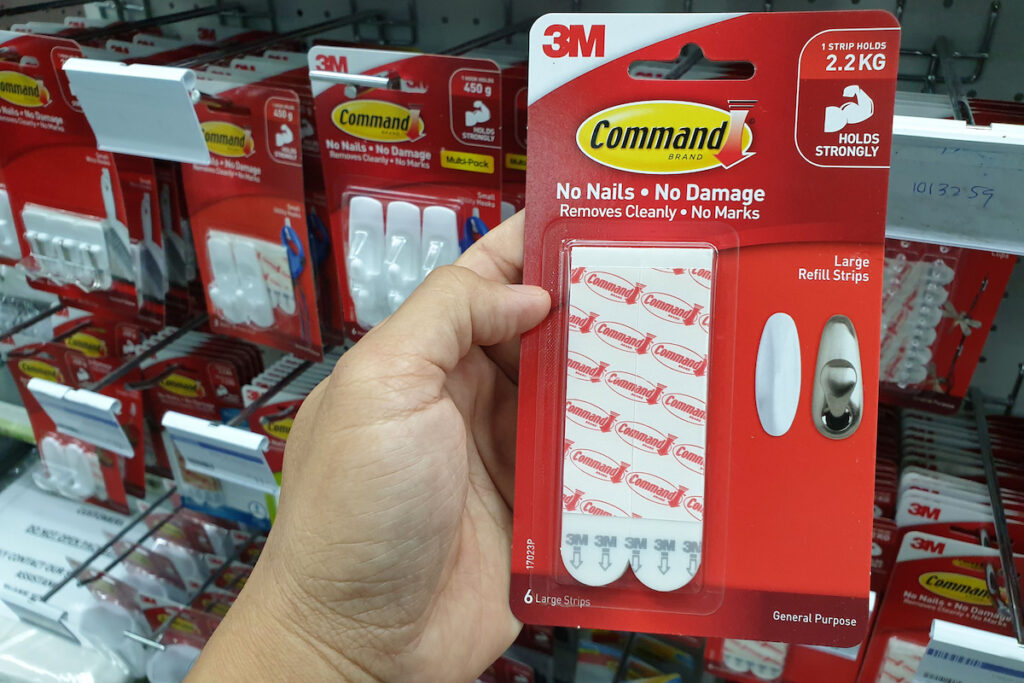

Table of Contents
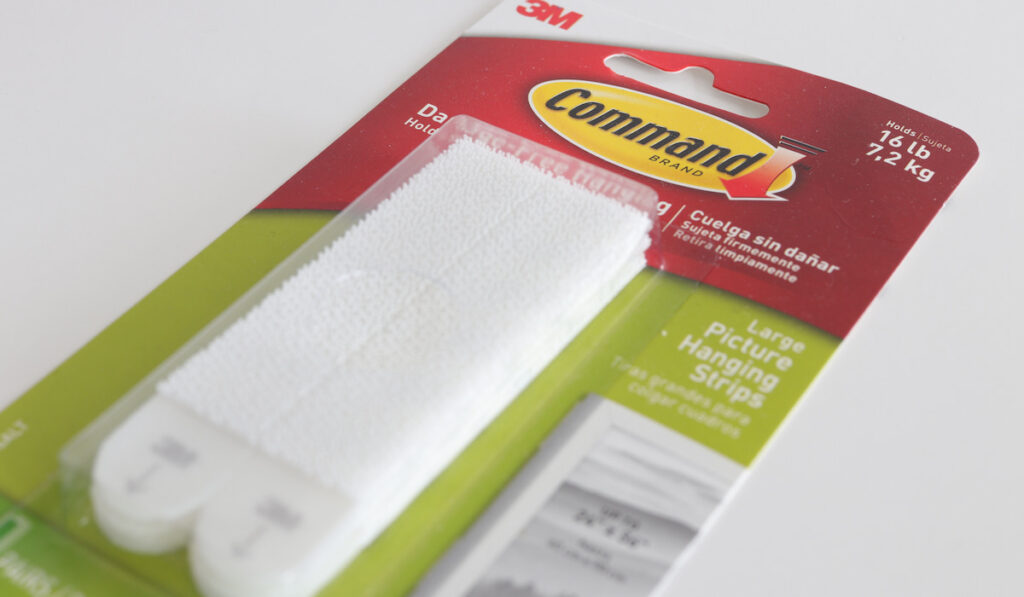
1. Choose the Right Adhesive Strips
Adhesive mounting strips are a good option for installing shelves without drilling.
Ensure you buy strong strips with a substantial weight capacity that can hold a decent amount of shelf weight and its contents.
Also, read the manufacturer’s instructions carefully when attaching the strips to ensure they stick correctly and securely to the wall and the shelf.
Some of the popular adhesive strips include:
- Velcro Removable Adhesive Strips
- Command Strips
- Scotch Reclosable Fasteners
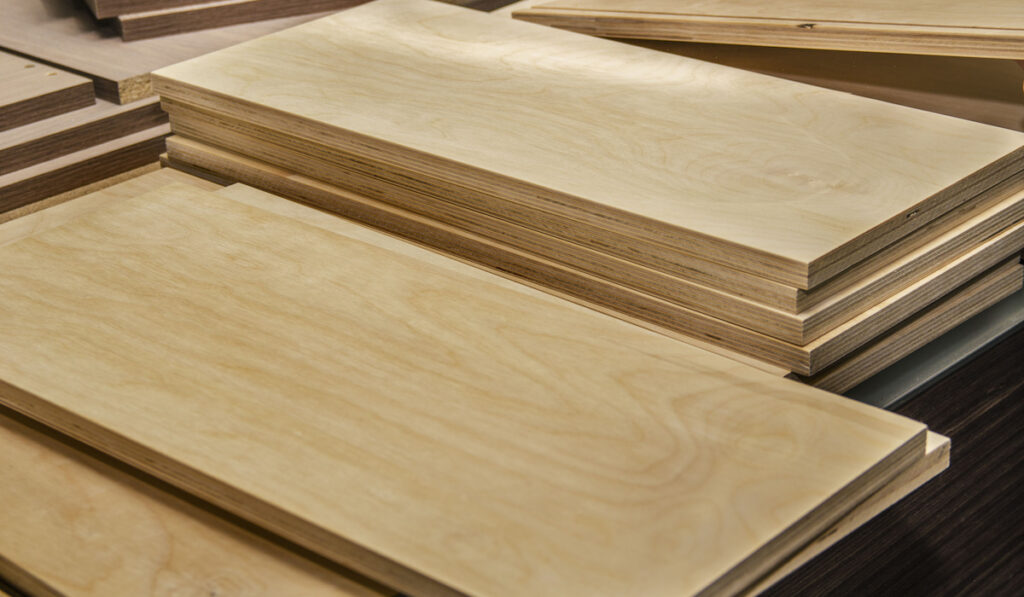

2. Choose Lightweight Materials for the Shelf
Since you won’t use brackets or screws to attach the shelf to the wall, consider a lightweight shelf that will put less strain on the adhesive or tape you’ll use.
Choose shelves that are made from lightweight materials such as MDF or particleboard.
These materials offer both durability and strength to support your items without contributing excessive weight.
Use shelves weighing between 4 and 5 lbs. for adhesive strips.
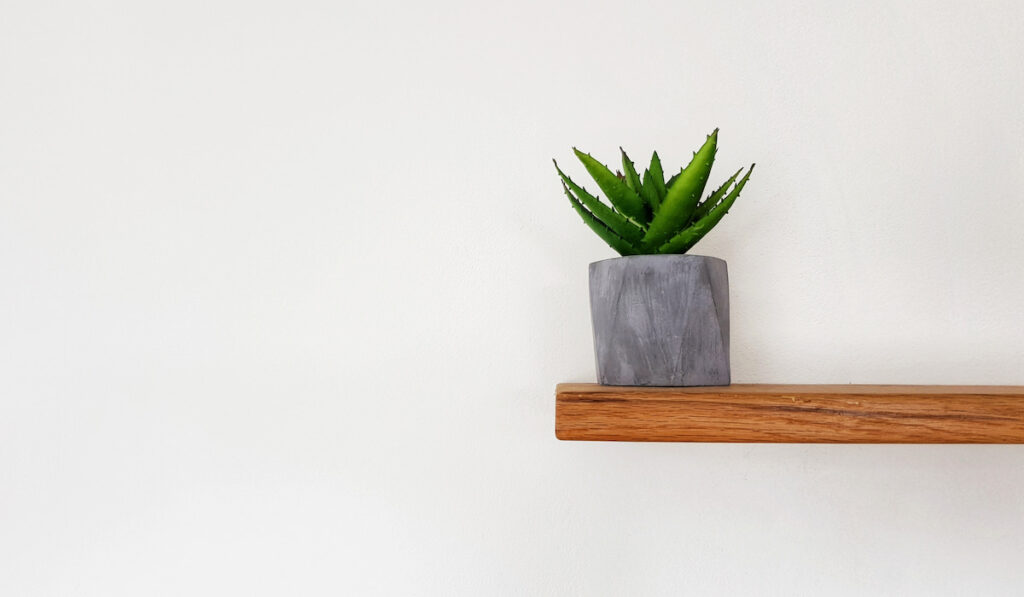
3. Choose a Suitable Location
Look for a spot on the wall that can endure the weight of the shelf and the items you plan to place on it.
Avoid placing your shelf in areas with weak or damaged drywall, as this can cause the shelf to collapse.
Additionally, it’s imperative to consider the symmetrical aspect of the floating shelf. Measure the distance between the shelf and adjacent walls or furniture to ensure it is centered and level.
You will make the shelf look visually appealing and ensure stability and security.
4. Consider Your Wall Type
Different wall types require various installation methods, so choosing the right method for your wall is crucial.
For drywall or plaster walls, you can use Command Strips designed specifically for these types of walls. These options will provide a strong hold without damaging the wall.
However, if you’re working with brick or concrete walls, adhesive strips may need to be stronger. In this case, a heavy-duty adhesive like Gorilla Heavy Duty Construction Adhesive may be necessary.


5. Clean the Wall and Shelf Before Installing
Oil, grease, or wax may prevent the mounting tape from firmly securing the floating shelf. Use a clean cloth damp with isopropyl alcohol to wipe the shelf’s sticking spot and the wall gently.
Allow the surfaces to dry for about 5 minutes before applying adhesive mounting strips.
6. Ensure Your Shelf Is Properly Secured Against the Wall
Apply the adhesive tape to the back of the shelf and press it firmly against the wall to secure it.
Press two sides of your fastening strips together if the tape isn’t holding to create a stronger bond.
Remove the protective liner from one of the strips and press the exposed sticking side to the mounting spot of your floating shelf.
Hold the connected strips together for around 30 seconds. Apply this process to the rest of the strips.
You can apply pressure to the shelf a few minutes after installation to help the tape adhere properly.
Make sure your mounting strips are evenly spaced to hang your shelf efficiently. Connect your adhesive strips with staples to secure shelves made of wood.

7. Allow the Adhesive to Cure
After mounting your floating shelf, allowing the adhesive to cure before adding weight is important.
The curing process typically takes about an hour, but following the manufacturer’s instructions for specific drying times is essential.
Rushing this step can result in a weak bond and, ultimately, a falling shelf.
8. Consider the Use of the Floating Shelf
Mounted shelves without robust fasteners won’t support heavy items like appliances and textbooks. But it can hold solid and lightweight items like blankets, small electronic items, and mall trinkets.
Place your items close to the back of your shelves if they stretch more than 5 inches from the wall. As a result, you avoid tearing or ripping the adhesive strips due to tension.
Typically, an adhesive can hold a maximum weight of 20 lbs. for weights hanging without nails or screws.
9. Use Tension Rods
You can place tension rods between two walls to create a secure hold for your floating shelf. Tension rods are suitable for small spaces like a kitchen or bathroom.
To install a floating shelf using tension rods:
- Measure the distance between the two walls where you want to place the shelf.
- Purchase tension rods that are slightly longer than this distance to ensure a snug fit.
- Place the tension rods at the desired height and slide your shelf onto the rods.
- Adjust the rods as needed to ensure that the shelf is level and secure.

FAQs
You can install floating shelves without screws using alternative mounting techniques. One option is using adhesive strips to attach the shelf to the wall. Although it is important to ensure the weight capacity of the strips matches the weight of the shelf and items to be stored.
You can make a floating shelf stay on the wall using the right hardware. The most common and effective hardware for this purpose is a bracket.
You can also use adhesive strips. However, it is important to note that adhesive strips may not be strong enough to hold heavier items such as books or larger decorative pieces.
You can hang floating shelves without damaging walls by using adhesive strips.
Simply attach the strips to the back of the shelf and press them firmly against the wall, holding them in place for a few seconds to ensure a secure hold.

Conclusion
Depending on the shelf materials and the type of adhesive strip, you can mount your floating shelves on the wall without drilling.
However, it’s important to remember that not all adhesives are created equal. When choosing an adhesive, select one that is strong enough to hold the weight of your shelf and its contents.
Tension rods can also help you install a floating shelf without damaging the wall.
For better results, recap these tips:
- Using a lightweight shelf
- Getting a suitable location
- Knowing your wall type
- Cleaning your wall and shelf
- Allowing adhesive to cure
Following these tips will enable you to successfully install your floating shelf without drilling and enjoy a stylish and functional storage solution in your home.
Resources
- No products found.
- https://www.command.com/3M/en_US/command/
- No products found.
- https://www.diydata.com/carpentry/shelving/shelf-materials.php
- https://www.containerstore.com/organization-projects/general/tip/how-use-command-strips#
- https://www.gorillatough.com/product/gorilla-heavy-duty-construction-adhesive/
- https://www.sunriseindustrial.com/isopropyl-alcohol-as-a-cleaning-agent/
- https://www.arthitectural.com/can-you-hang-shelves-with-command-strips/
- https://www.housetweaking.com/2013/03/01/easy-frame-hanging-no-nails-or-tape-measure-required/