*This post may have affiliate links, which means I may receive commissions if you choose to purchase through links I provide (at no extra cost to you). As an Amazon Associate, I earn from qualifying purchases. Please read my disclaimer for additional details.
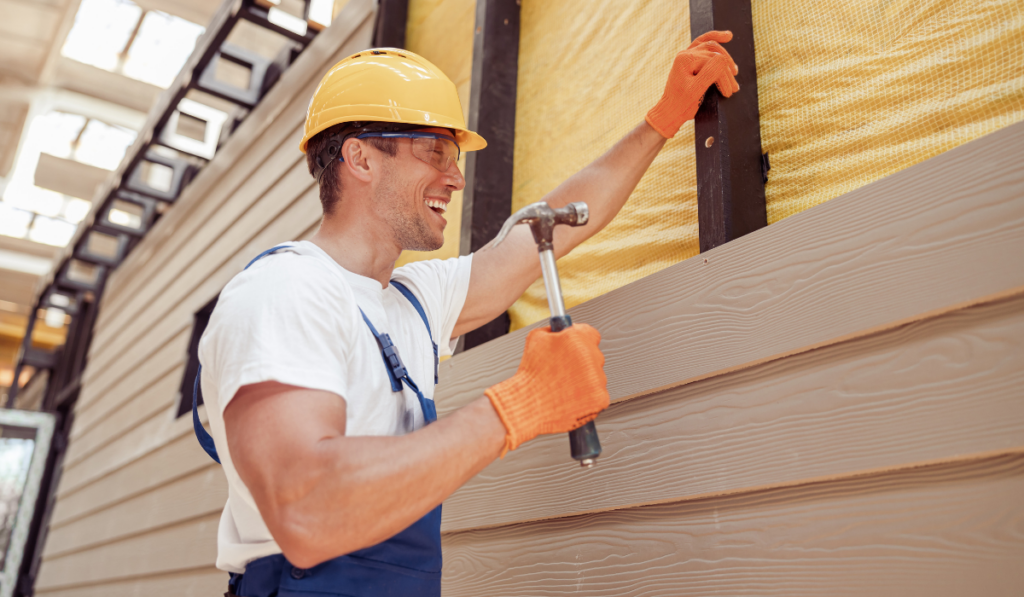
Installing new siding can either be an easy DIY project or a major headache, depending on whether or not you’re adequately prepared and know what you are doing. There are all kinds of different siding options out there, with different hardware for installing each.
However, when it comes to siding and the studs in your home, you shouldn’t nail siding directly to the studs, as the more nails or screws that go into a stud, the more it weakens it.
Since siding is running along the exterior of your home, that would mean weakening the studs, all of which are load bearing, across the entirety of your home.

When you stop and think about it, it makes a lot of sense. These studs are the load-bearing, supporting framework for your home.
You wouldn’t want to go poking holes in all of your studs throughout the exterior of your house, would you?
Table of Contents
Reasons You Shouldn’t Attach Siding to Your Studs
Normally, there will be a section of thinner sheathing between the siding and your studs and that is typically what your siding should attach to.
When it comes to much older homes, you may find that the original siding was attached directly to the studs, however, that’s not indicative of how you should do things now.
The reality is, in older homes, they didn’t have the plywood that we have today, so it made more sense to attach their siding to whatever solid material they had beneath, which was usually just the studs.
There may be some that suggest you could install your siding directly to the studs, however, even they would admit that there needs to be something in between the siding and the studs. It’s not as if the studs and the insulation in the walls are only separated from the elements by a thin layer of siding.
If you are bound and determined to attach siding directly to your studs, we’ll walk you through everything you can do to make the most out of a bad situation.
Rule number one is never to attach vinyl siding directly to the studs. All of the other siding materials out there are free game, but vinyl simply won’t work.
The reason behind that is actually in most building codes. Vinyl has to have a smooth surface to correctly and safely install it and studs with 16” of space between them are not considered to be a smooth surface.
Picking Out the Best Siding for Studs
If you want to attach your siding to studs, you need to go with metal siding, and, no matter what anyone tells you, there should be a sheathing layer beneath the siding that you are installing, even if you plan on going into the studs.
There are three types of sheathing that you can go with, each with its own benefits and drawbacks.

- Treated Plywood: Treated plywood is one of your best options since it is treated to withstand water, will resist swelling, and will resist rotting. However, it is definitely one of the more expensive options.
- No products found.: It’s much cheaper than treated plywood so you won’t have much in the way of upfront costs. However, the siding installation needs to be perfect to protect the plywood as much as possible from the elements.
- Oriented Strand Board (OSB): This is plywood that is manufactured using chips of wood that are pressed together. It’s also the cheapest option of the three, however, it’s the most susceptible to rot.
Once you have established what you will use for sheathing, you need to pick out the best metal siding option.

- No products found.: Probably one of the more popular siding options available, corrugated metal siding comes in a wave pattern and multiple color variations. Its relatively cost-efficient, easy to install, and extremely resilient.
- 7.2 Panel:7.2 is a unique metal siding that is called “ribbed” because it looks like ribbed panels. It’s every bit as structurally sound as the corrugated metal siding and costs around $1.50.
- Flush Wall Panel: Probably one of the more expensive options on the list. A flush wall panel is extremely durable and aesthetically the most unique of the bunch, with gaps that create interesting sight lines through the panels.
- R-Panel:The cheapest option, this vertical paneling is very common and you’ve probably seen it in use with metal sheds or workshops.
There are more options available out there, however, these are generally the four best and the most common choices out there.

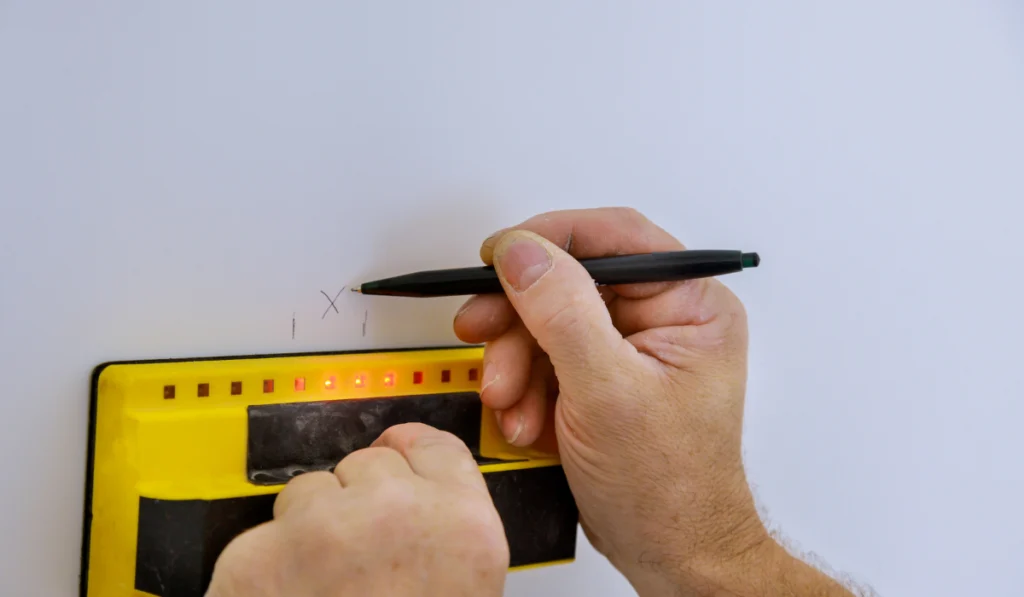
Locate Your Studs
When it comes to doing in-home DIY projects, a stud finder is a good tool to have. On exterior projects, especially when it comes to installing siding, a stud finder is not going to work nearly as well.
It’s going to especially be difficult to find the studs if you are using the stud finder through the metal siding that you are trying to install.
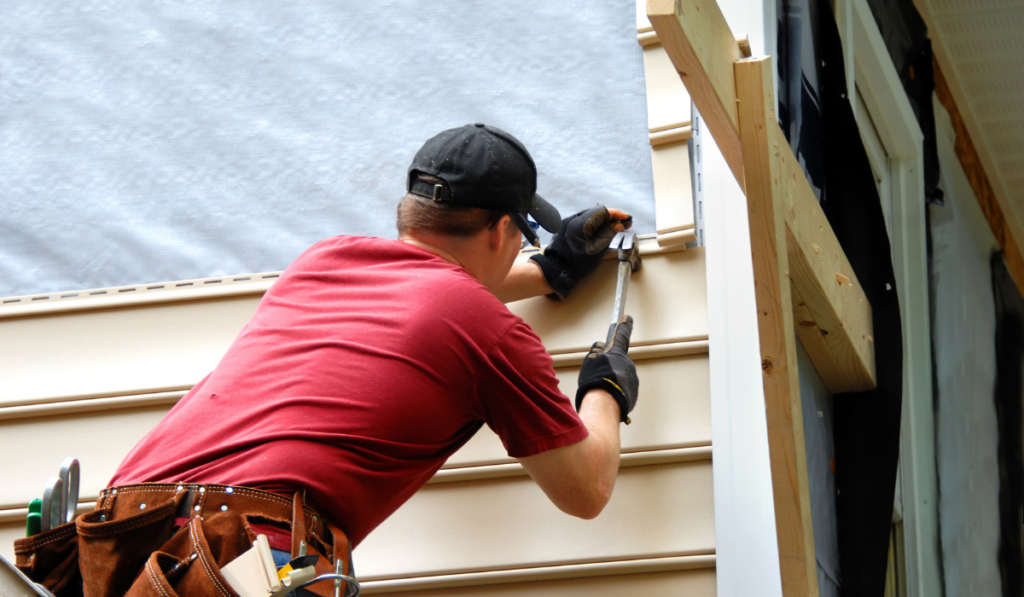
The unfortunate fact is, you’re going to have to learn how to listen for the sound of the stud by tapping the siding with a hammer.
Once you get the hang of it, it’s easily the best and most accurate way to locate your studs. It especially helps to know that each stud is 16” from the one before it, so you can kind of map it out in your mind.
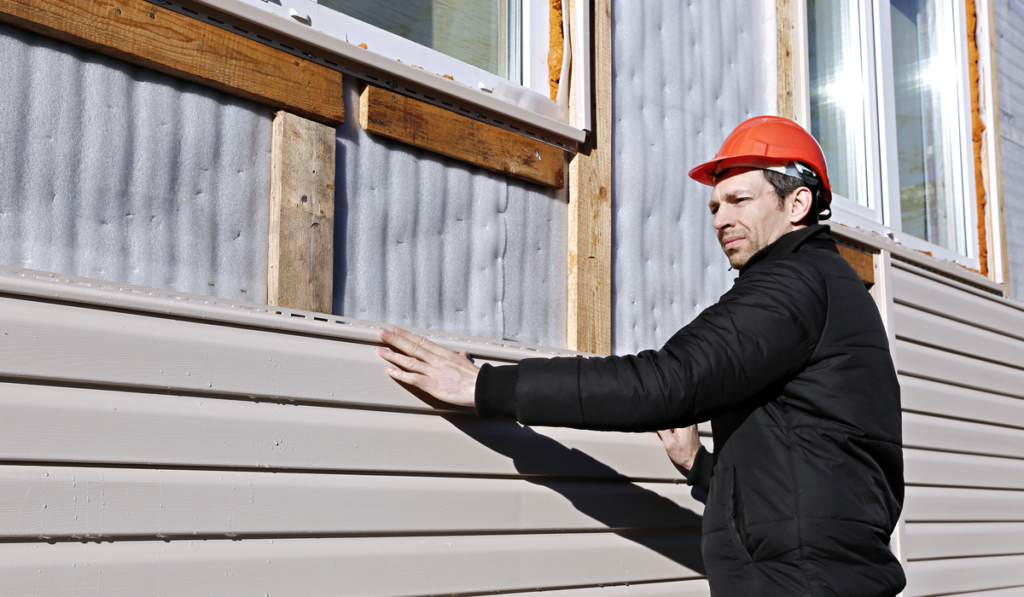
Installing Siding on Studs
As aforementioned, the best way to attach siding to studs is to put a sheathing layer beneath it, whether that is plywood or chip board, something is better than nothing at all. You’ll need several things to get started.
- Corrosion-Resistant Nails that are 5/16” in diameter and 1 and ⅛” long.
- A hammer, obviously
- Measuring tape
- Your siding
- Adhesive
Get the total surface area of the entire wall that you are working on by measuring the length and height and multiplying the two resulting numbers together. This will help you put together the number of siding panels that you will need for each wall.
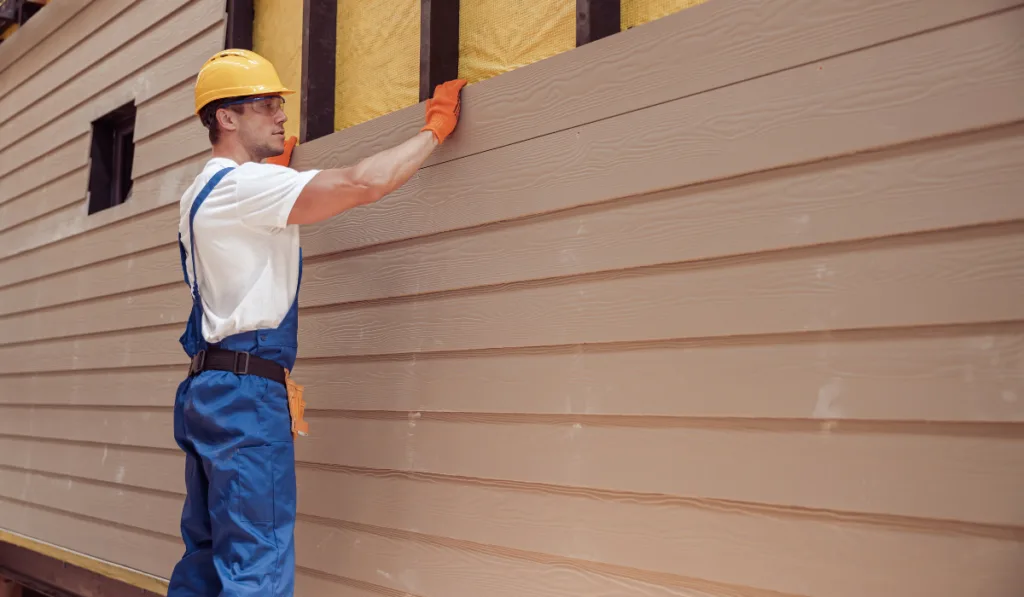
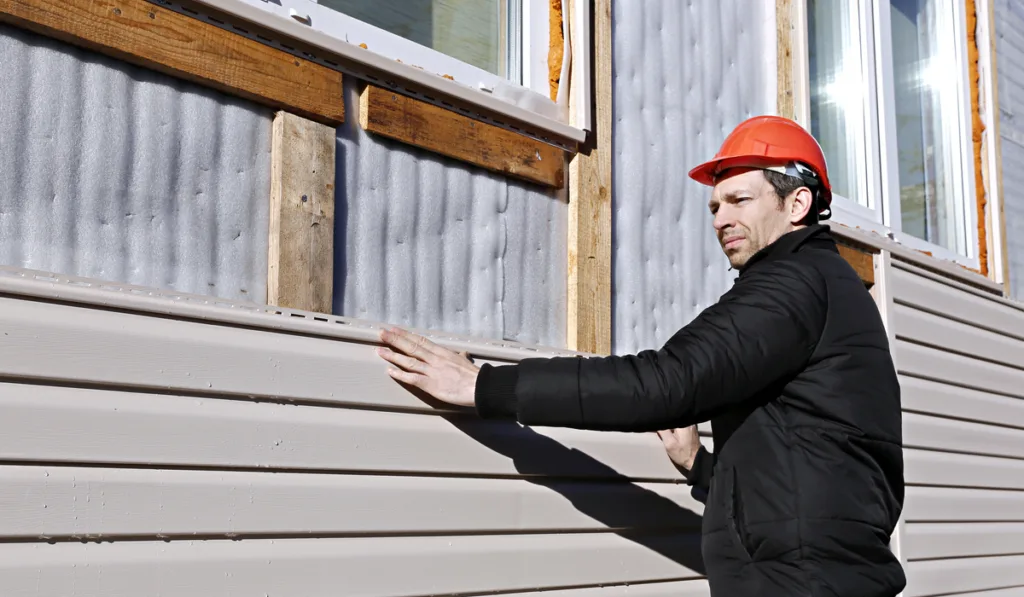
Use whatever method that you feel best with using to locate your studs and start at the corner of the first wall, working your way to the next corner, nailing each siding panel into the studs.
It’s always best to place the panels on your corners first, rather than starting at the edge, without placing panels on the corner.
The corners generally overlap and you want your panels to fit together well. Also, when you reach the next corner, it should already have panels as well, and you can cut your side panels to size.
Once you’re done, you’re free to paint your new siding. Just remember, there are paints for plastic, metal, and wood, so be sure to pick the best primer and finish paint for a metal surface.
It’s always best to scratch up your metal surface as well, especially with fine grit sandpaper. Since spray painting is the only way to go with exterior paint jobs, you want the atomized paint particles to have an open, metal surface to bond to.
Final Thoughts
While it’s not the best idea in the world and most people would advise you not to do it, it is possible to install siding directly on the studs.
However, if at all possible, add a layer of sheathing between the studs and the new panels for the best, long-lasting application possible.
Resources
Smith, S. (September 26, 2017). What Type of Wood Is Used Under Siding?
Retrieved from: https://homesteady.com/list-7708076-types-pressed-wood-siding.html
Attaching Siding the Correct Way to Studs
Retrieved from: https://valiantexteriors.com/attaching-siding-the-correct-way-to-studs/