*This post may have affiliate links, which means I may receive commissions if you choose to purchase through links I provide (at no extra cost to you). As an Amazon Associate, I earn from qualifying purchases. Please read my disclaimer for additional details.
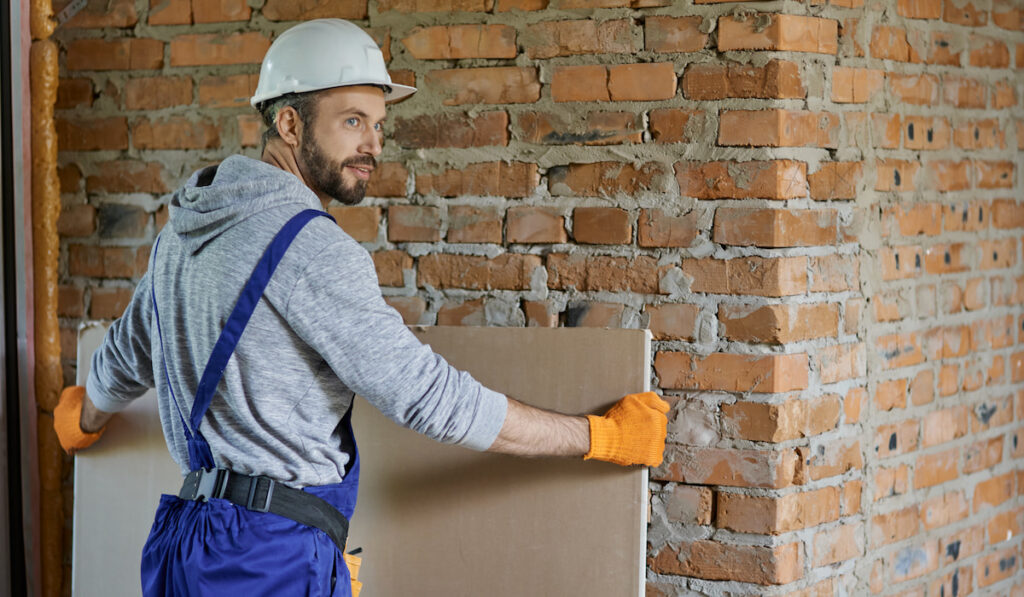
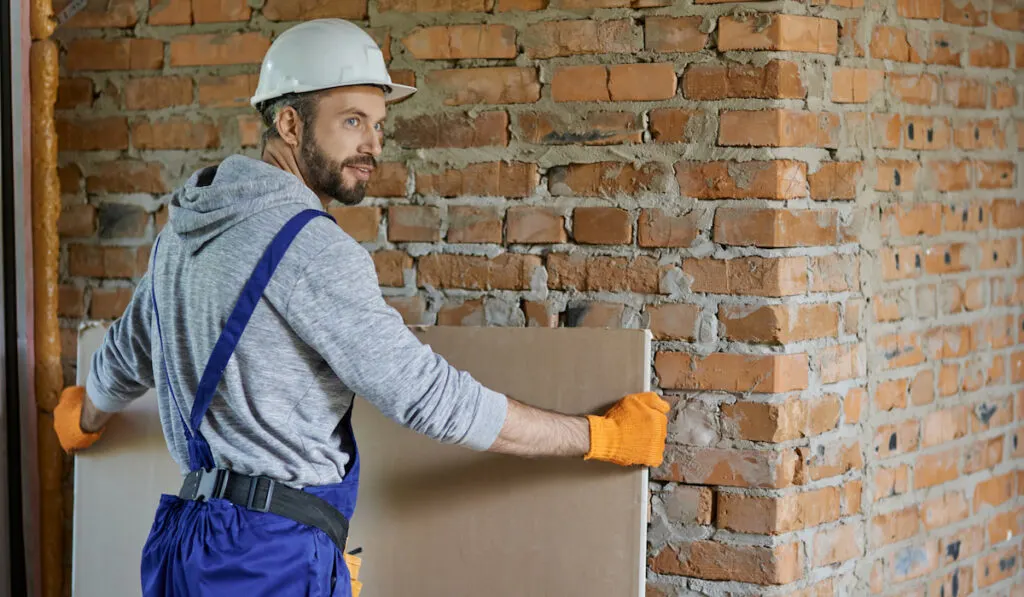
On a scale from 1 to 10, with 10 being the most spitting mad, throwing things, furiously frustrated you can get, trying to get drywall sheets down into your basement easily ranks 10th. That is unless you have a straight up and down the staircase with a really tall door and zero corners.
It would seem that most people don’t have that, judging from the mass of forums lit up with the question of how to get sheets of drywall down into the basement while maintaining some semblance of sanity.
Fortunately, there are a few ways to get it done. Most of them involve a pretty decent amount of leg work, however, sometimes you have to do what you have to do.
We’ve put this guide together to hopefully give you some ideas and since everybody’s situation is a little bit different, our guide includes 5 different methods.
Table of Contents
Method #1
The simplest method is applicable for those who have the kind of staircase that’s plenty wide and, even with potential corners, this method will sometimes work.
Unless you don’t have any walls leading down into the basement, you will need to engage in some protective measures before you get started.
- Go through your staircase and use sheets of cardboard to tape up against all of the potential impact points
- Lay the drywall down so that the width of it will fit through the door
- As soon as enough of the drywall is through that you can safely stand it up, do so
- Carry the drywall as far down the staircase as you can while it is standing straight up
- If necessary, lower it back down on its side (if you have a bottom door to go through, for instance)
If you have corners, the odds increase that you can get the drywall around those corners if you are only turning its width, rather than turning its height.
You can probably just look at your route down into the basement and determine if this method is going to be viable or not.
Method #2
The second method, if you just don’t have the room on the way down the stairs, is to simply cut your drywall sheets. No one wants to do this, of course, especially if you have the right size drywall for your walls.
However, the methods for getting the drywall down the stairs get progressively worse from here, so there is a specific way to cut your drywall that minimizes any kind of aesthetic deterioration.
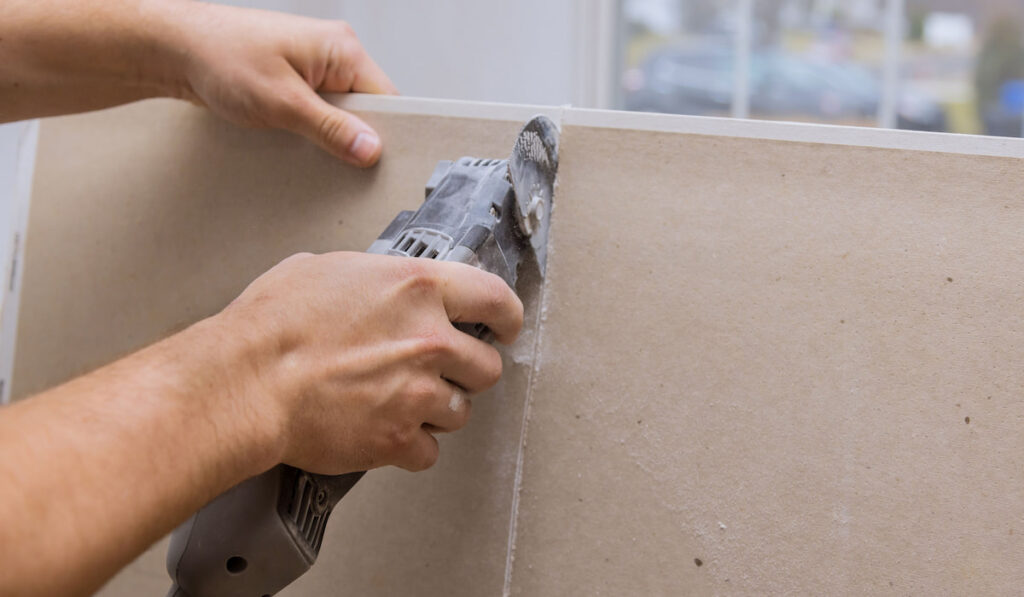

- Measure the length of your drywall and find the exact middle point of each sheet
- Flip the drywall sheet so that the forward-facing section of the drywall is face down (Your cut will take place on the back
- Using a chalk line or any method that you’re confident will create an absolute, straight line, mark the middle from one end to the other
- Cut a straight line (best if done with a razor blade) across your line, only going through about ⅞ of the way through
- It’s almost like you are scoring it, except you’re going a bit deeper
- You want to leave a thin amount of drywall along with the front-facing paper of the drywall intact
Once you have finished your cut, fold the drywall back on itself, towards the forward-facing paper so that the remaining drywall material snaps cleanly (thanks to your cut).
The way that you fold it should turn the forward-facing paper on the outside of the drywall into the inside seam of your fold.
The bad news is, that you will have to repair the material, while the good news is, thanks to the remaining paper that you didn’t cut through, there will be no visible, aesthetic damage once you paint over the wall.
If you snap it cleanly in two or cut it completely in two, you will be able to see your repairs through whatever color you choose to paint it.
By leaving the forward-facing sheet in place, you can fold your drywall, get it down into the basement, and unfold it without visible damage to the front.
Repair the Drywall
Once you unfold your drywall, you will need to repair your cut. You can do this with a simple joint compound and drywall joint tape, with a wide, flat scraper to press the tape in.
Dump your joint compound over the tape and smooth it in with the scraper again. Allow it to dry.
It will be a weak spot in your drywall, however, once the dry wall is installed, the cut and the repair will not be visible, since it is on the back side and the durability of the drywall will be less affected once it is installed.
Method #3
The third method is applicable to those of you that have windows in the basement. Of course, the window also has to be large enough diagonally as well or this method simply won’t work.
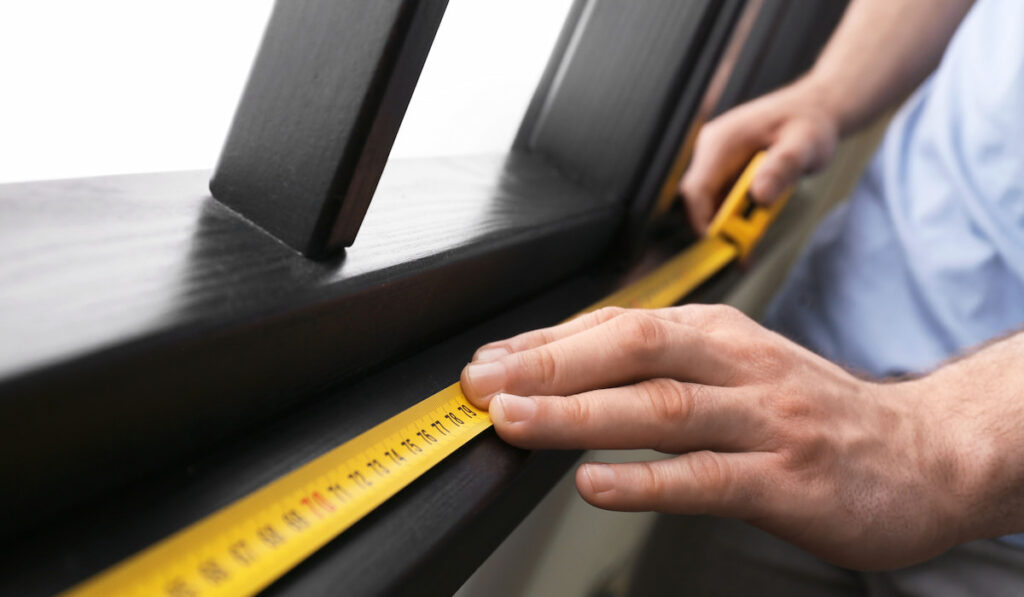

- Measure the length of your window diagonally
- Match your measurement to the width of your drywall
- Proceed only if you have the room
- Start by removing all of the trim work so you expose the underlying frame of the window
- Locate all of the mountain hardware and remove (usually Phillips Head or Flat Head screws)
- Use a pry bar for any nails
- Use a strong scraper or a wide, flat head screw driver to score and cut through any silicone beading along the window’s edges
- Once the window is removed, bring your drywall sheets in diagonally
Fortunately, that should be all there is to it. Some windows may be harder to remove, depending on the material, the type of window, and whether or not you can locate all of the hardware (you usually can but some window manufacturers make it a little harder than others).
Method #4
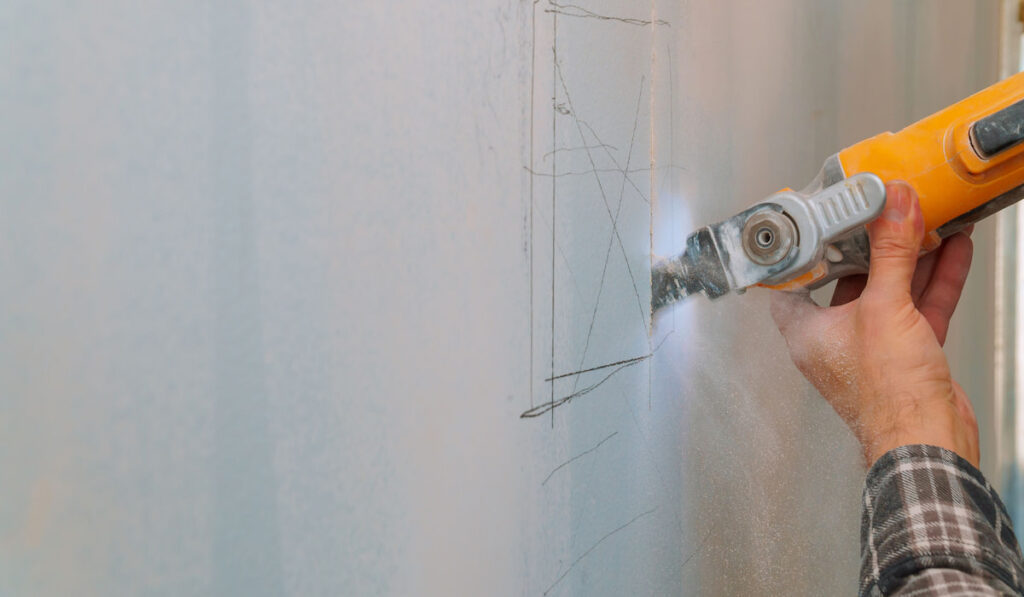
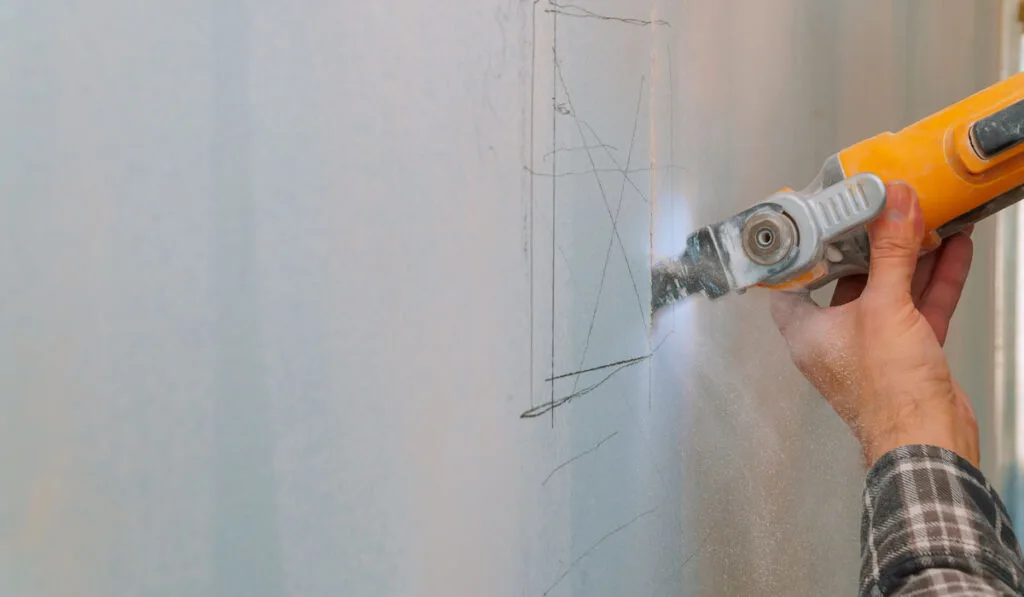
This method applies to those who have sheetrock walls that form a hallway heading downstairs, into the basement. It’s only a viable method if you have enough space in the hallway to get drywall in and turn it to slide it through a cut section of the wall.
What you want to do is cut a large section (large enough to slide your drywall through) in your hallway’s sheetrock and feed your drywall through it.
Afterward, you will have to patch up the section that you cut but it’s a lot better than having to split and then repair all of your drywall sheets.
Be sure that you don’t cut this section in your wall anywhere near where a light switch is or the side of the wall that you think the wires are running down to your downstairs, basement outlets.
Usually, wires run vertically with your studs unless there is an exceptional circumstance.
The last thing that you want to do is remove a section of the wall only to find that you have a lot of wires running through the center of it. You don’t want to have to remove those wires on top of the sheetrock sections.
If you are unsure of whether or not there are wires, there are a few ways that you can check and give yourself a better idea.
- You may be able to have a look at exposed wires in the attic and trace where they run through the frame
- Understand wiring patterns and observe where your outlets and light switches are in relation to the wall
- Use a stud finder since wires are usually running with the vertical studs
- No products found., and stud finders like it, locate AC wiring
You also need to make sure that you are going to have the space necessary on the other side of the wall. If you are unsure of whether or not there are wires
Method #5
Cutting out a section of flooring is our last method. It may sound insane but you would be surprised at how frequently it is done to pass something like drywall sheets or large sheets of plywood down to the basement.
Converting a basement into a habitable space also involves moving a lot of different things downstairs and some things are just too wide or too tall to go any other way but through the floor.
Of course, you have to have the kind of flooring that makes cutting through it worthwhile.
- Make sure you are cutting through perpendicular to your joists
- Drill a hole in your flooring first
- Use a wire probe and a stud finder to locate your joists
- Or you can use an No products found. for visual confirmation
- You may need to drill a few holes to ensure that you are well away from any joists
- Make a “plunge cut” first (No products found. are useful for this)
- Use a long blade on a jigsaw to finish cutting the length needed to fit a drywall sheet through
- Remove the cut flooring and finish cutting through the sheetrock ceiling of the basement
- Start passing through your drywall
Once you’re all done, the only repair that you will have to make is the flooring upstairs and the sheetrock ceiling in the basement.
It may seem like a lot, however, it’s a good method if you have a ton of drywall to get down there because splitting it would mean a ton of repairs for the drywall.
All Things Considered
Those are the five best methods for getting drywall into your basement, assuming that a straightforward approach is not applicable. Some of these situations are extreme, but ultimately extreme may be necessary if you have no other approach.