*This post may have affiliate links, which means I may receive commissions if you choose to purchase through links I provide (at no extra cost to you). As an Amazon Associate, I earn from qualifying purchases. Please read my disclaimer for additional details.
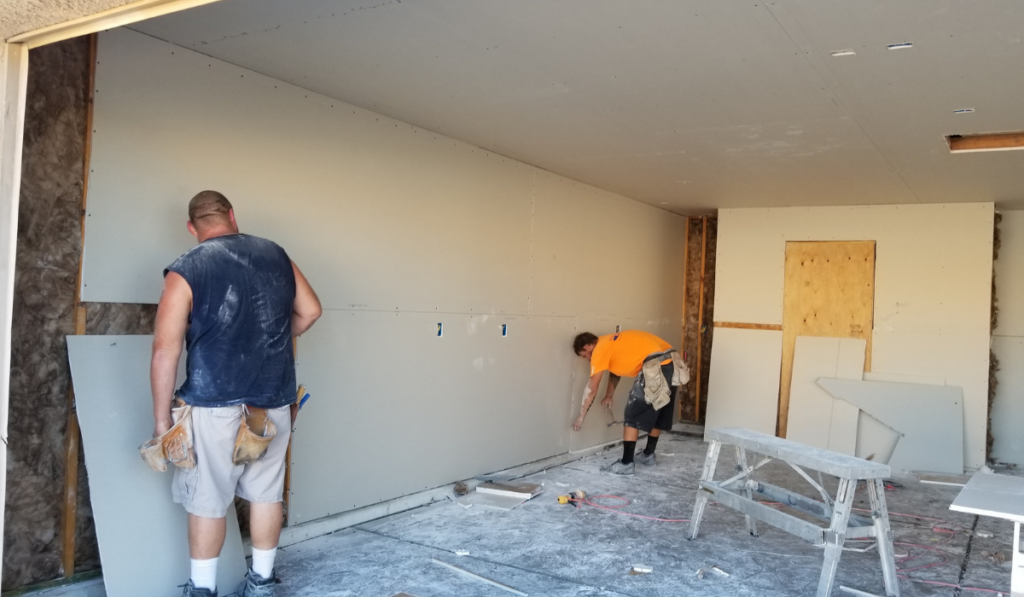
House remodeling is exciting, but getting to the drywall stage can be overwhelming.
Drywall dust can be messy and dirty. Some manufacturers will even cancel your vacuum’s warranty if you use it to clean up drywall dust.
While cleaning up the dust and eliminating it can be tricky, there are still ways you can reduce dust when cutting drywall. Find out more on how you can minimize dust and reduce the mess when dealing with drywall.
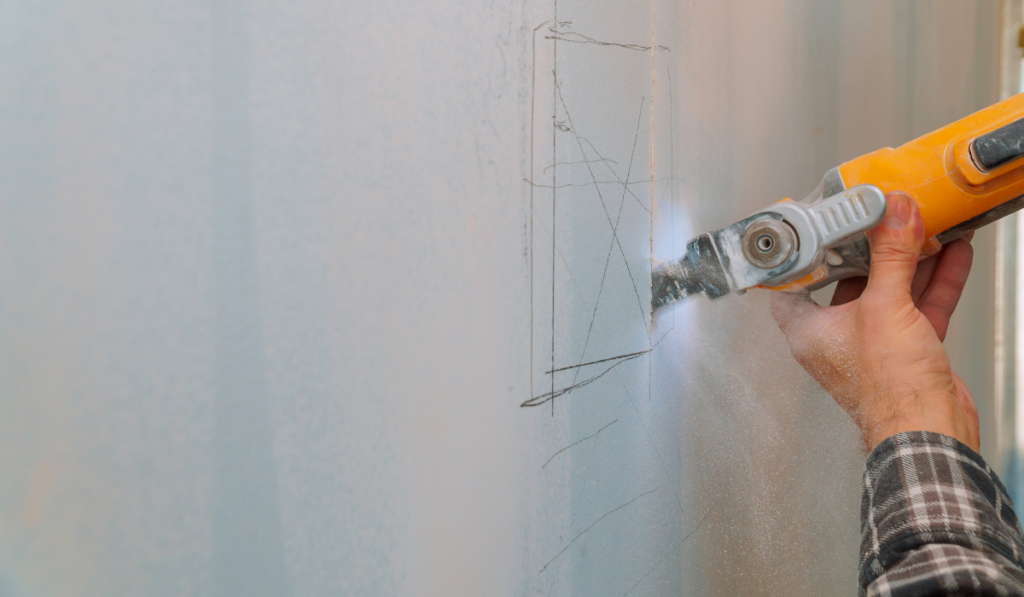

Table of Contents
5 Ways to Reduce Dust When Cutting Drywall
Cutting drywall doesn’t have to be messy. Some of the ways you can keep dust levels down include the following.
1. Use the Right Tools
Cutting drywall that’s already been installed requires the right tools if you want to reduce the dust. Most of the tools can do more than just shaping and cutting drywall.
While most people prefer using a power saw, it’s not the best choice as it generates a lot of dust.
A jab saw is a better alternative as it produces less dust and enables you to control the cut without interfering with the plumbing and electrical work.
You can use the nozzle of a wet-dry vacuum to collect the dust as you saw along the cut line.
Fitting the jab saw with a metal-cutting blade can also help minimize dust. The fine teeth don’t remove much material like a coarse standard blade.
You can use a drywall square and a utility knife when dealing with an uninstalled drywall panel. We’ll explain how to do this later in the article.
Other tools like circular saws, knives, oscillating tools, cut-out rotary tools, and more are also essential when installing and cutting drywall.
2. Cover Your Heat and Air Conditioner Vents
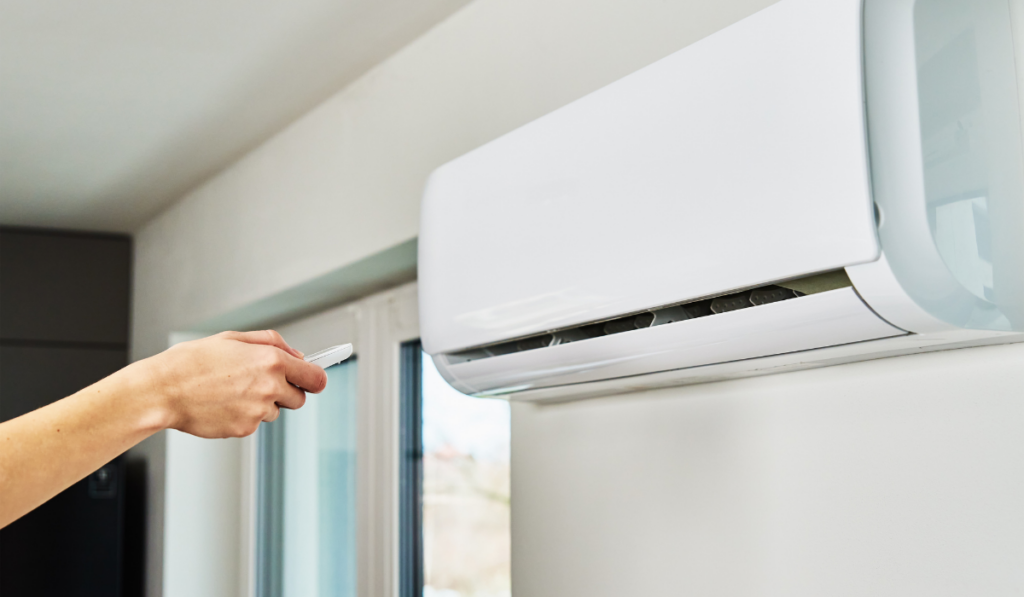
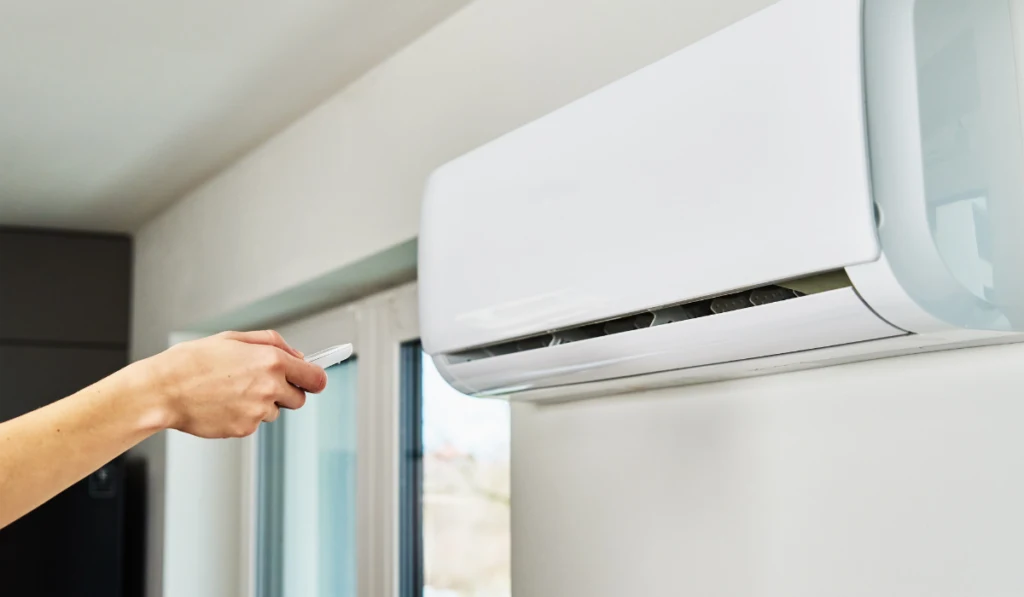
Your air ducts and radiators can quickly circulate dust through your house. The dust can also damage your air filters.
Turn off your AC. Seal the vents with tape and plastic. Don’t forget to change your air filter once you’re done cutting your drywall.
Unseal the vents before turning your HVAC system back on.
3. Opt For Scoring
Scoring is an easier way of cutting drywall, and it’s less messy. This method works for drywall you haven’t yet attached to the wall. You can cut the pieces before you screw them to the studs.
- Use chalk to draw straight lines across where you want to cut.
- Then use a sharp knife to cut through the paper into the gypsum core of the drywall sheet.
- Then fold the drywall along the cut so that the gypsum breaks. You may notice that the drywall becomes weaker after making the first cut. You don’t want to damage the drywall, so be careful when folding it back; the drywall will break along the scored line.
- And then cut the paper on the other side to separate the pieces.
- Finally, use a sanding block to rub it on the uneven edges. That will get you a smooth, flush edge.
Note that the cut may not be perfect, and there may be some irregularities. However, that should not be a problem.
4. Use a Box Fan
You can use a fan to control the spread of dust.
The process requires a box fan, two plastic sheets, and tape.
- To start, unfold one plastic sheet and tape it to the floor. That reduces your cleaning work.
- Place the fan in an open window to blow the air outside.
- Hang the other plastic sheet from the doorway. Tape the sheet on the doorway to prevent air from flowing through it. There should be little to no space on the door’s bottom. You can then start cutting the drywall.
The method is ideal for those looking for something that’s not time-consuming. It’s also affordable.
5. Get an Air Scrubber
An air scrubber works like a heavy-duty filter. It captures large dust particles and dust mites that can be trapped in the air during a remodeling project.
The scrubber can also remove mold spores and other allergens as it’s fitted with a HEPA filter.
An air scrubber only needs to be plugged in and turned on and can be used when you’re both cutting and sanding drywall.
A commercial air scrubber is specifically designed for construction and can handle the amount of dust generated by any construction work.
3 Ways to Reduce Dust When Sanding Drywall
1. Low-Dust Drywall Compound
Although a low-dust drywall compound won’t eliminate dust, it helps to reduce fine dust.
This type of compound generates heavier dust that you can easily clean up without a lot of effort. You won’t have to deal with as much fine dust floating in the air.
2. Wet Sanding
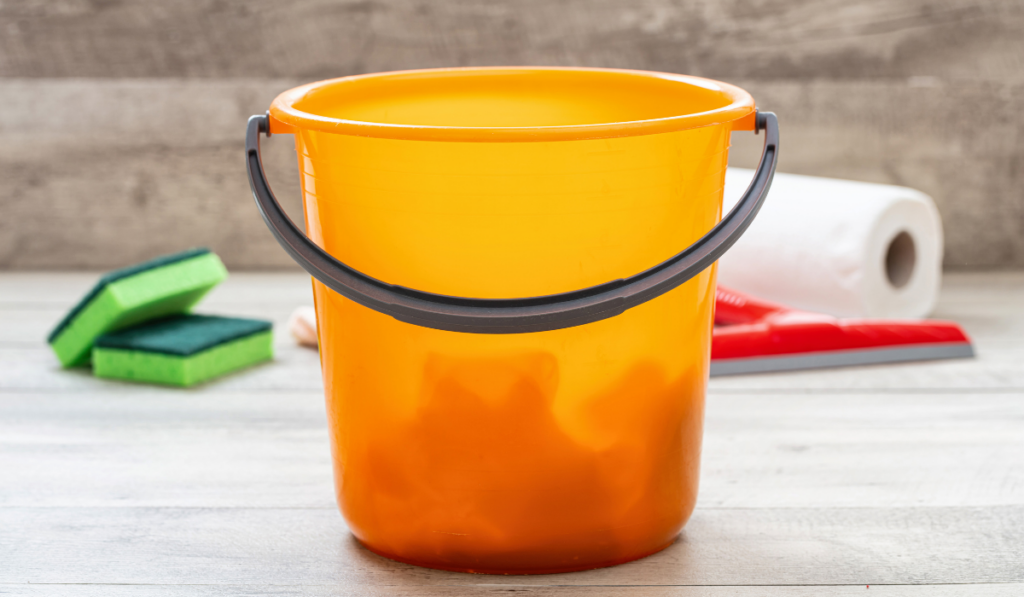

You can also use wet sanding to reduce dust. You’ll need a bucket, water, and a sanding sponge.
- Start by putting some water in the bucket and wetting the sponge. Squeeze the sponge to remove the extra water.
- Use the coarse part of the sanding sponge to rub the wall. Make sure to start sanding when the sealing compound is dry.
- Rub the area with the finer side after the extra compound is almost sanded.
Wet sanding is affordable and reduces the need to wear a mask or glasses. The method works for small areas like joints, nails, or screw holes.
Unfortunately, the method is time intensive and doesn’t work for a big area.
3. Drywall Vacuum Sander
Setting up a drywall vacuum sander can help reduce drywall dust.
Note that you’ll need a quality wet-dry vacuum. It’s essential to get one that uses the right filter. There should be a pleated filter instead of paper or foam in the vacuum.

The drywall vacuum sander is attached to the vacuum with a hose.
The vacuum sander has a grid-like part that sucks the dust away and sends it down through the hose. On the other end is a water bucket. All the dust that would spread in the air goes into the water in the bucket.
Unfortunately, you may find this method challenging as the suction on the sander makes it difficult to move it on the wall. So it might be better for small areas.
Additional Tips on How to Have a Dust-Free Home Post Construction
Going through a remodeling project means thinking of a thorough cleanup once the project is complete. Apart from the above ways, here are a few extra tips you can use to keep the dust under control.
Have a Plan Ahead of Time
Before starting any drywall project, whether installation or removal, you need to create a plan.
Come up with a plan for managing the construction site and the plan of action.
Separate the work area from the rest of your house. Install a zip-wall barrier to avoid damage to your ceiling, floors, or wall finishes.
Remove any furniture and cover any heavy items that you can’t move.
Seal unused doorways with protective plastic sheets and use painter’s tape to close the edges. That will keep the dust from spreading into hard-to-reach areas.
Use Window Fans to Ventilate the Working Space
You can control how dust travels by depressurizing the room.
A fan is an excellent option to blow air out of a room. Window fans redirect all the dust and air from the construction space and take it out the window.
That reduces the chances of dust spreading to the rest of your house. It’s recommended to leave the fan in place for three days once the project is complete.
Collect Dust at the Source
Don’t wait until drywall dust spreads for you to collect it and clean up. Use sanders integrated with vacuum connections and a drywall dust collection system to collect any dust at the source.
Ensure that your vacuum has a HEPA filter as it provides high filtering efficiency.
Clean on the Go

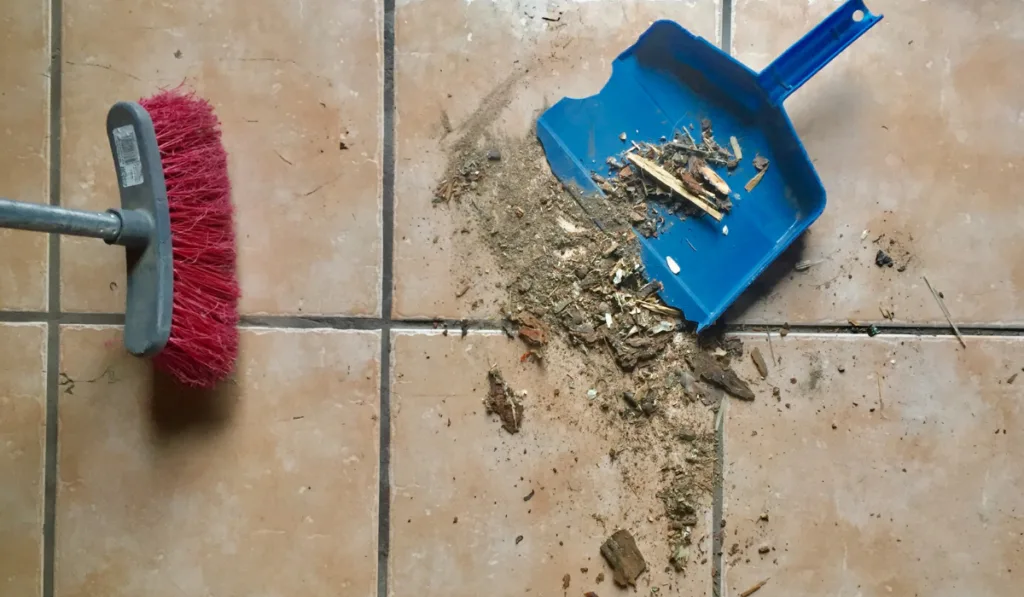
Most people make the mistake of waiting until the remodeling project is over for them to clean up. That only leads to the accumulation of dust that can spread to other rooms.
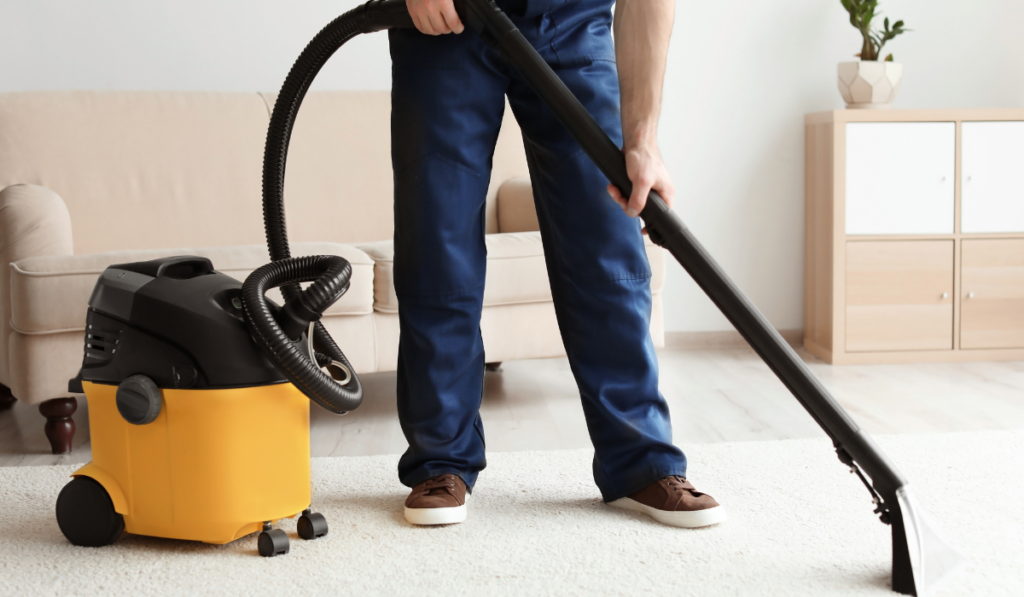
Use a regular broom before using a vacuum to suck up the dust.
A wet and dry vacuum works best as it can handle the tiniest particles without damage. Avoid standard paper filters as they only trap large particles, but HEPA filters get the smallest particles.
You’ll need to clean your air filter often if you decide to clean your work area daily. Cleaning up also helps to reduce the amount of dust generated.
Final Thoughts
Handling drywall can be dirty and messy. Dust can collect during installation, cutting, and sanding.
While you can’t entirely eliminate dust during this process, you can reduce the amount generated using the right cutting tools, low-dust drywall compound, wet sanding, and more. Hopefully, with the tips above, you now know how to prevent dust accumulation.
Resources
- https://www.cdc.gov/niosh/docs/99-113/
- https://www.familyhandyman.com/list/dust-control-and-cleaning-tips/
- https://www.finehomebuilding.com/project-guides/drywall/drywall-without-dust
- https://www.doityourself.com/stry/dust-free-drywall-sanding-a-howto-guide
- https://int-enviroguard.com/blog/employing-best-safety-practices-can-avoid-hazards-associated-with-drywall-installation/
- https://renovationinsider.com/construction-dust/
- https://www.bobvila.com/articles/how-to-cut-drywall/