*This post may have affiliate links, which means I may receive commissions if you choose to purchase through links I provide (at no extra cost to you). As an Amazon Associate, I earn from qualifying purchases. Please read my disclaimer for additional details.
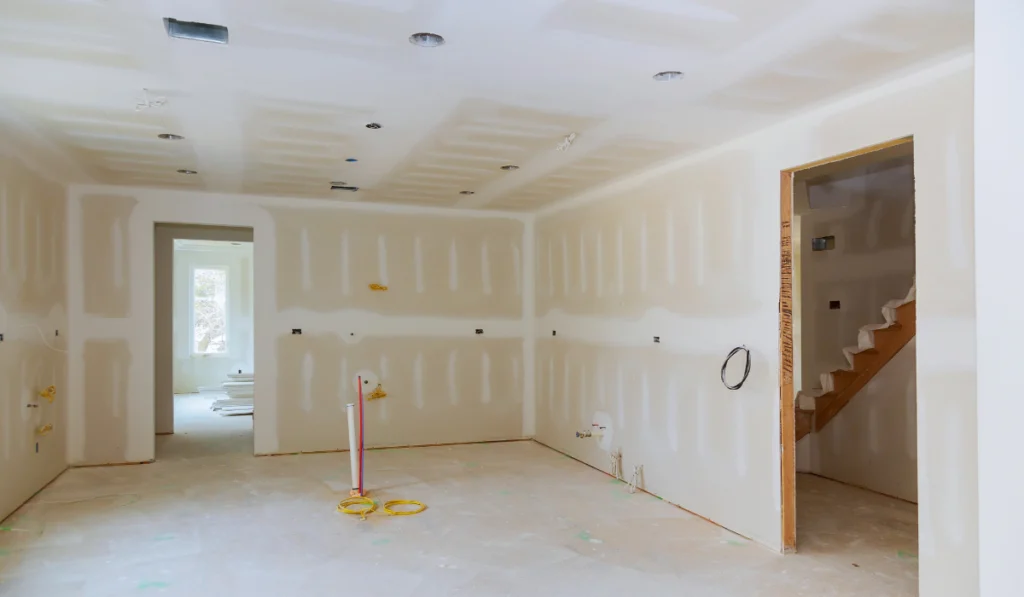
Did you recently renovate a section of your home, and you can’t seem to get rid of the drywall dust?
Drywall dust is one aspect you must deal with if your renovation includes wall repairs. Unfortunately, sanding produces dust that, if not cleaned, can interfere with paint adhesion.
The dust creates a thin film that might cause the paint to flake.
Cleaning drywall after sanding also reduces the chance of the dust spreading to other parts of your home.
While dealing with drywall dust after sanding can be frustrating, it’s still possible to clean it off entirely with good preparation and a few tricks. Our detailed guide gives you some tips and steps you should follow in cleaning drywall after sanding.
Table of Contents
What Causes Drywall Dust?
Drywall dust is a result of the installation process. Installing drywall involves attaching it to the studs and filling seams with a joint compound and sanding repeatedly. The process is done before painting the interior.
Once the compound dries after each application, it is sanded down to create as smooth a surface as possible. It’s this surface that additional compound or paint adheres to.
A by-product of sanding is the drywall dust that consists of drywall and joint compound.
You need to remove the dust to create a clean surface that will absorb the paint.

A Guide on How to Clean Drywall
Here are some of the steps you need to follow while cleaning drywall.
1. Evaluate the Scope of Work
The first step is to check the amount of drywall that needs to be cleaned.
A small drywall repair job can be easily done in one cleanup session, while a whole house project may require a day or two, depending on the dust accumulated.
2. Get Protective Gear
Ensure that you wear eye protection and a dust mask to protect you from the dust that can irritate your eyes and lungs.
Research by the CDC shows that certain joint compounds used on drywall contain silica, which when inhaled can cause lung cancer or silicosis. Inhaling these compounds can also worsen respiratory issues.
Wear a long-sleeved shirt and a hat to prevent dust from landing in your hair.
3. Prepare Your Tools

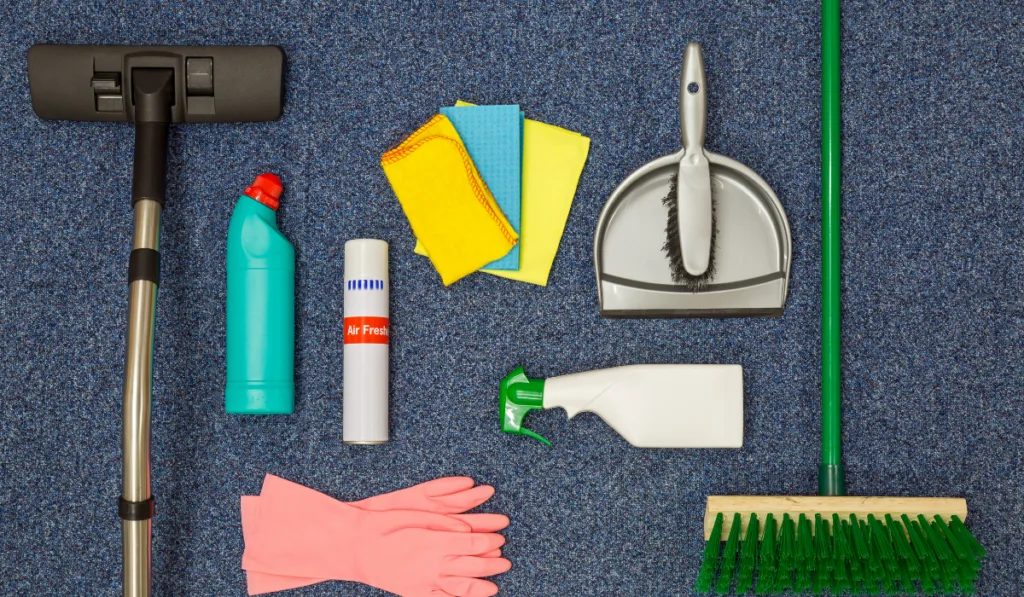
Cleaning the drywall can be daunting, so you must prepare your tools before the process.
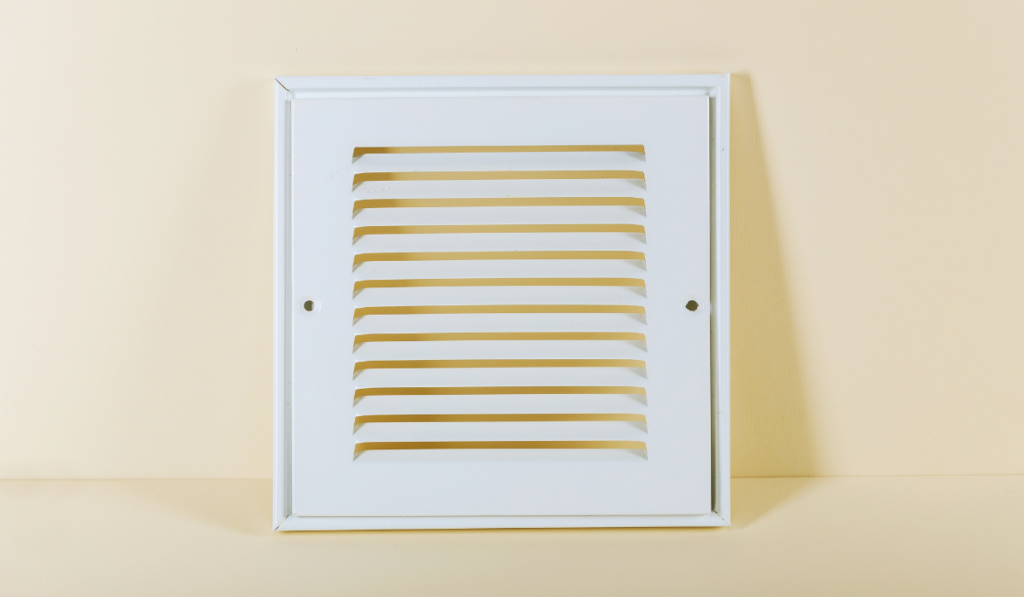
Ensure that your central AC or heaters are turned off to prevent them from sucking dust into the ductwork. You can also add a window exhaust fan to blow the air away from the room and get rid of some dust.
Open all windows in your house to allow the dust to escape.
Get your mops, sponges, and buckets ready if handling serious drywall cleanup. You may also need a wet vacuum if you’re dealing with wet residue in places like the kitchen.
4. Remove the Dust From Your Drywall
Get your bucket and mix a cup of white vinegar with one gallon of water. Soak a sponge or cloth in the mixture.
Squeeze it to remove excess water and wipe down the drywall, starting from the top. Rinse the cloth as you work on the drywall to remove all the dust in the towel.
Alternatively, you can use the suction attachment on the vacuum to remove dust from your drywall. Take a cloth and run it over the wall to clean the drywall.
Don’t forget to clean your glass windows and doors. Areas like windowsills, ceiling fan blades, and light switches also tend to accumulate drywall dust. Make sure to wipe off these surfaces.
5. Sweep Drywall Dust off the Floor
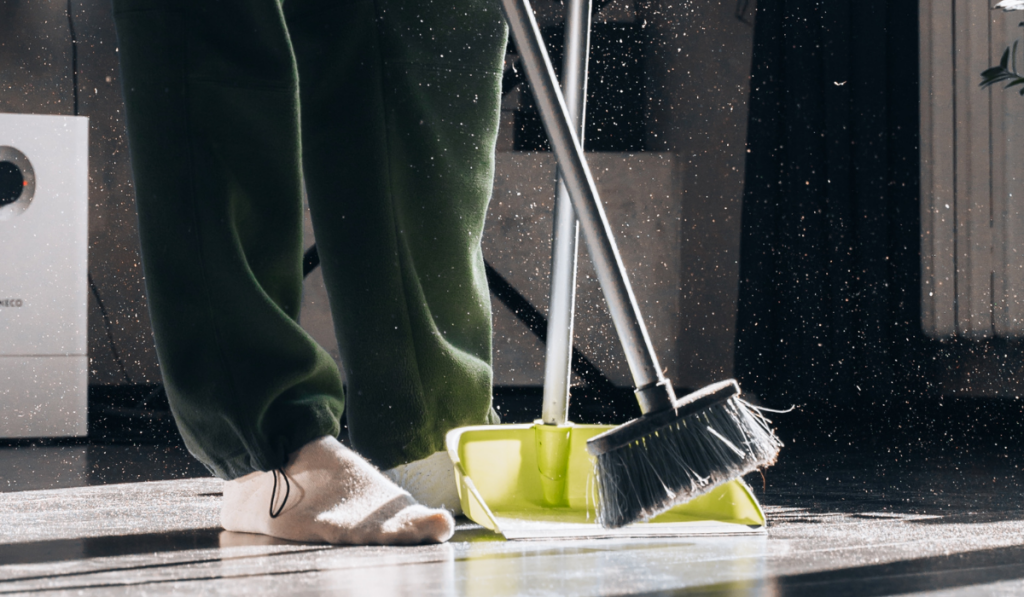
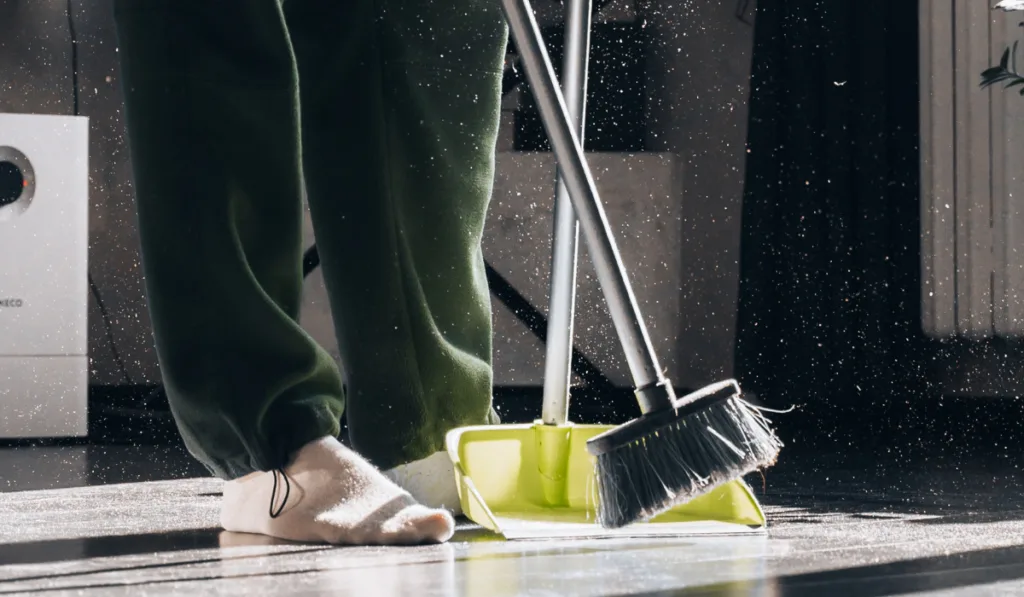
After cleaning off the drywall, you also need to remove the dust accumulation from the floor. Use a brush with stiff bristles and gently sweep the dust into a dustpan.
If you use a shop vacuum, make sure that it has strong suction and a clean filter before you start cleaning the dust off your floors.
6. Mop the Floor
It’s time to mop the floor with clean water after removing dust particles. The mop should not have any debris or dirt. Mop your floor back and forth. Remember to rinse the mop in water or vinegar solution.
Continue mopping until you’re done cleaning the entire floor.
If you notice that there’s still dust left on the floor after you’ve mopped, you may need to use a sponge or cloth soaked in vinegar to collect the residue. Rinse the cloth in clean water and go over the surface another time.
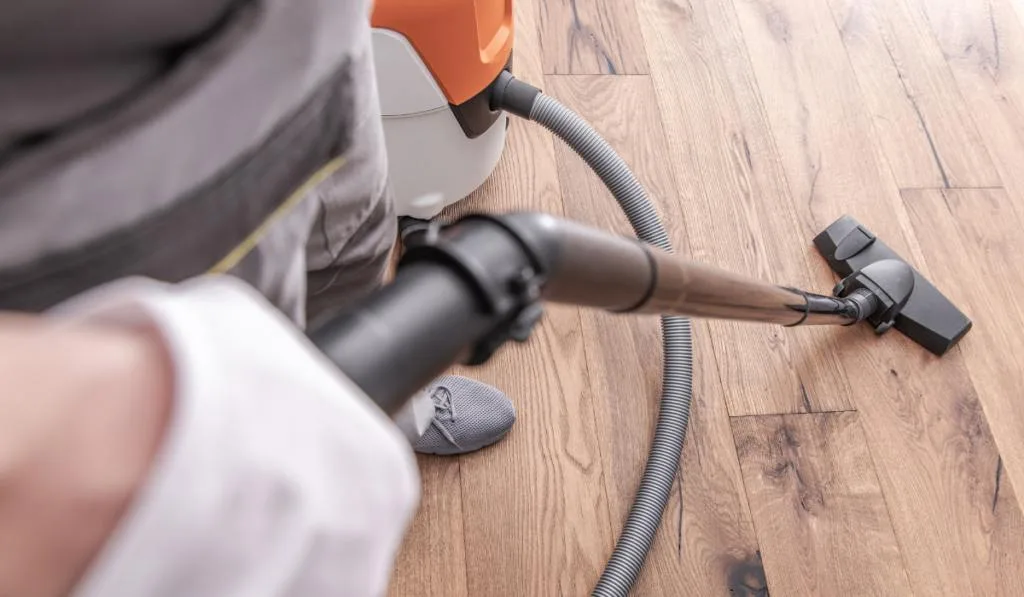
7. Use a Vacuum to Get Rid of Remaining Dust

Baseboards and other horizontal surfaces tend to accumulate drywall dust. You also need to clean these parts. Otherwise, the dust particles will spread.
While a broom and dustpan might get the job done, a shop vacuum is a better option due to its suction power.
A vacuum can capture fine particles, is simple to operate, and is safe to use. Additionally, using a vacuum can reduce the dust that escapes into other rooms in your house.
You’ll find that some vacuum cleaners have an option of two nozzles. Some types are designed to attract dust through static electricity with their brush type, while others have wide holes and work best for dusting tiny particles left by sanding.
Whichever vacuum cleaner you choose, ensure its nozzle is long and can reach the entire room. That will reduce the need to keep moving the cleaner around.
You can also use the vacuum cleaner on the doors and ceiling to suck up any drywall dust.
Make sure to empty the vacuum cleaner often. That guarantees efficiency and prevents an overload on the vacuum.
8. Ventilate the Room
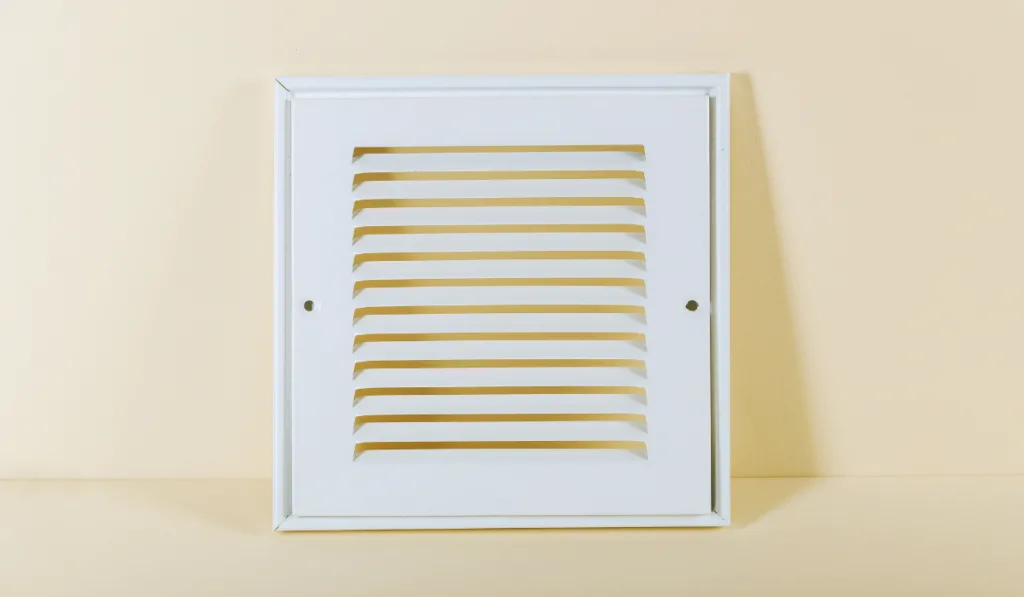
After cleaning up your drywall and mopping the floor, you now need to ventilate the room to clear the air. That will minimize the dust in the air and also allow your drywall to dry completely.
Extra Tips on Cleaning Drywall After Sanding
If you’re planning to paint your drywall, keeping it free of dust that might interfere with the paintwork is vital.
Here are some extra tips that will make cleaning up a breeze.
Get a Cellulose Sponge
To not damage the drywall, you want to wipe it with damp, not soaked, materials. Sponges don’t soak up as much water as rags, making it much easier to wring out properly.
You can get a cellulose sponge at most home improvement stores.
Use Vinegar Solution or Ammonia for Greasy Sections
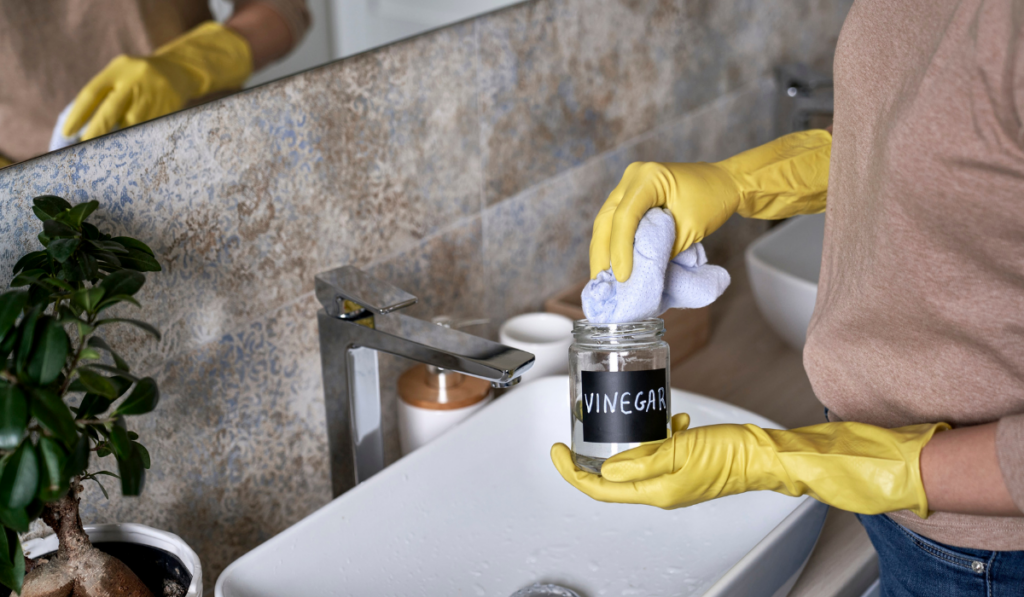

Although plain water is recommended when cleaning your drywall, it can sometimes be challenging to remove stains and dirt with water alone.
A mixture of water and vinegar works excellent for unpainted sections of the drywall.
If you’re cleaning kitchen drywall with grease buildup, clean off the grease with a solution of a cup of ammonia and a gallon of water.
Use a Sweeping Compound
You may notice that white dust fills the air when you vacuum or sweep drywall dust. That’s something you want to avoid when cleaning up.
Spreading a sweeping compound on the floor can help prevent this problem. The compound controls the dust, allowing you to sweep without creating a mess.
All you need to do is spread the compound on the concrete floor before sweeping or vacuuming.
Remember to use gloves when spreading it to ensure it doesn’t stick to your hands. A small amount can go a long way.

Minimizing Drywall Dust After Sanding
Remember, you don’t want to go through a similar cleanup with your next drywall project.
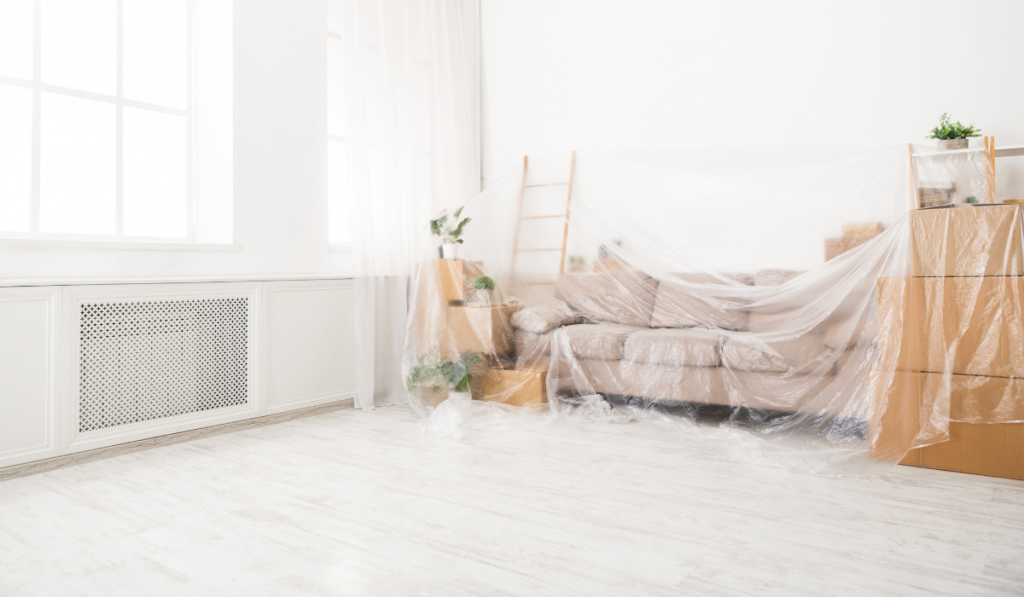
Use Plastic Sheeting
You can prevent dust accumulation by covering the furniture and floor with a plastic sheet before sanding the drywall. Roll up the sheet once done and take it outside. You can then use it for painting later on.
Try Wet Sanding
You can also use wet sanding to reduce dust. You’ll need a bucket, water, and a sanding sponge.
Make sure to wait until the sealing compound is dry.
Start by putting some water in the bucket and wetting the sponge. Squeeze the sponge to remove the extra water. Use the coarse part of the sanding sponge to sand the compound.
Then rinse the sponge, wring it out, and rub the area with the finer side of the sponge to smooth the surface.
Wet sanding is affordable and reduces the need to wear a mask or glasses. However, this method is slower and is better suited for small areas like joints, nails, or screw holes.
Final Thoughts
While preventing drywall dust when sanding is not always easy, cleaning your drywall is something you can do. Using a wet sponge on the drywall and mopping your floor will help remove most of the dust. You can then use a vacuum to get rid of fine dust particles.
Removing dust helps with paint adhesion and reduces the chances of it spreading to the rest of your house.
Resources
- https://www.finehomebuilding.com/2017/03/28/proper-drywall-prep
- https://prohousekeepers.com/blog/the-best-post-construction-cleaning-guide/
- http://www.chemicalfreecleaningbook.com/chemical_free_cleaning_drywall.shtml
- https://cleanhomeworld.com/how-to-vacuum-drywall-dust/
- https://www.doityourself.com/stry/how-to-get-rid-of-drywall-dust
- https://www.homestratosphere.com/clean-drywall/
- https://www.thespruce.com/cleaning-drywall-compound-mud-1822821
https://drywallquestions.com/how-to-clean-drywall-after-sanding/