*This post may have affiliate links, which means I may receive commissions if you choose to purchase through links I provide (at no extra cost to you). As an Amazon Associate, I earn from qualifying purchases. Please read my disclaimer for additional details.
Adding new shingles to your roof is not cheap, and finding that they are not laying flat can be alarming. In most cases, this issue will resolve itself, but it can indicate a larger problem that requires professional attention.
Reasons your new shingles aren’t laying flat include:
- Shingles that have not sealed yet
- Misshapen shingles
- Incorrect installation
- Structural damage to the roof
- Obstructions underneath the new shingles
- Issues relating to multiple layer roofs
In this article, we explain how you can do a safe self inspection to determine the reason your shingles aren’t laying flat before diving into the most common reasons this issue occurs.
We also explain how you can address some of these issues, as well as when professional attention is the better option.
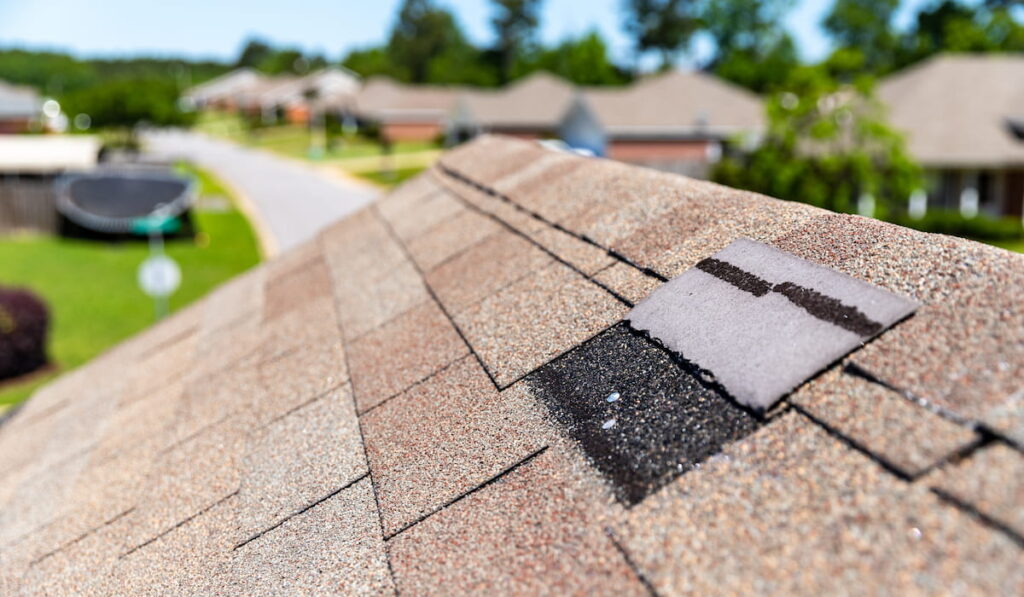

Table of Contents
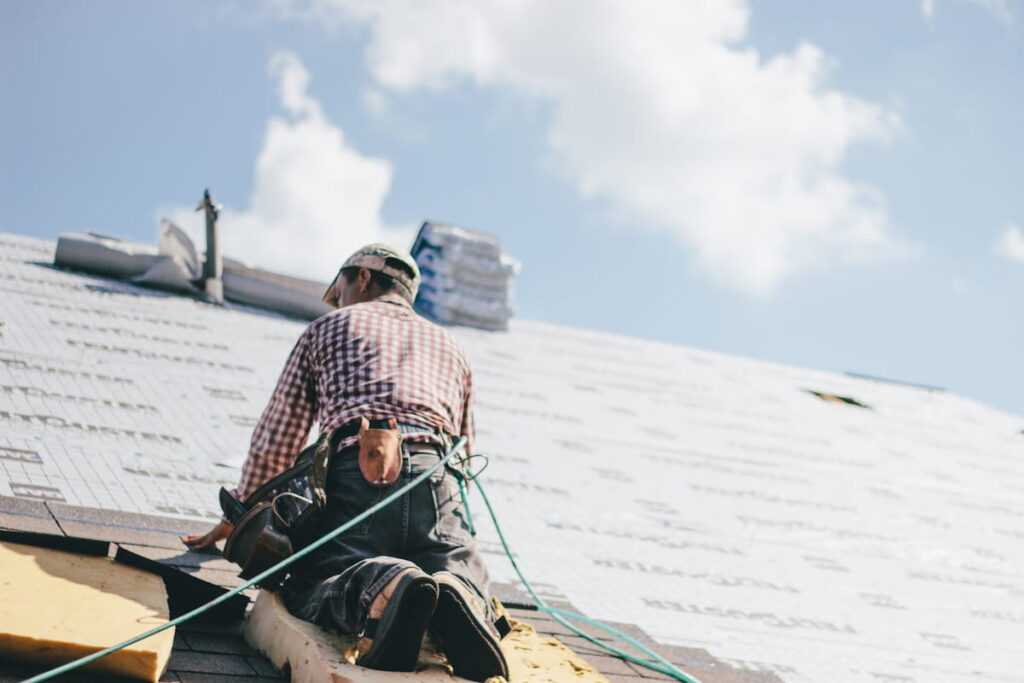
Safely Inspecting Shingles that Aren’t Laying Flat
You can inspect suspect shingles on your own, but if you are not 100 percent confident then you should hire a professional or have the team that installed your roof come back out.
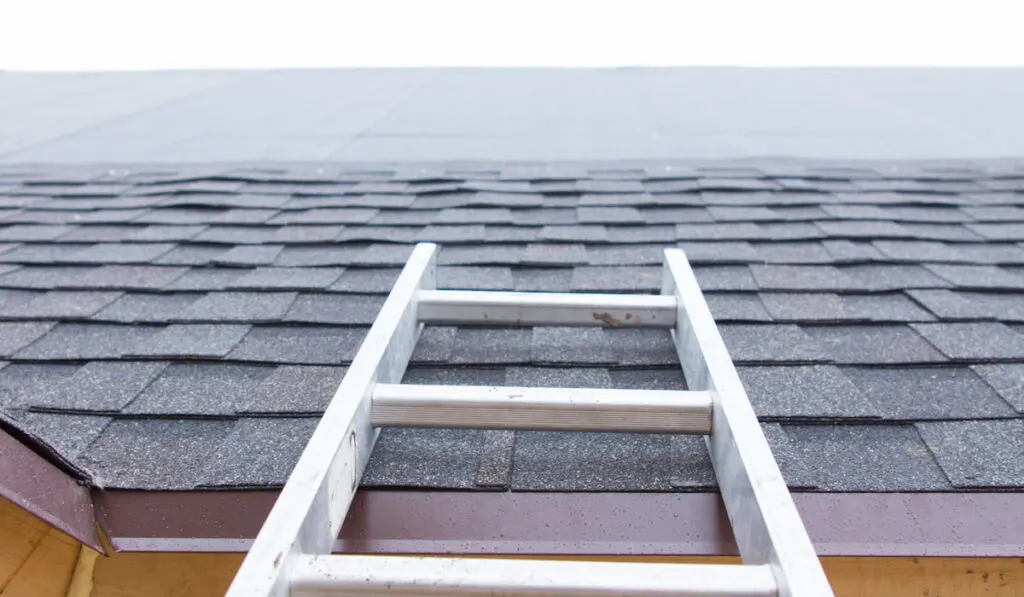
Getting up on a roof is a simple process in theory, but we should point out that 97.3 percent of ladder related incidents happen at home.
Ideally you would have a ladder suited for the height of your home, a safety harness, strong rope, and sturdy soft-soled shoes.
Make sure you know what you are looking for beforehand, and have someone to hold the ladder, spot you, and quickly call for help if an accident occurs.

For the safest inspection, follow these steps:
- Access the roof far from power lines and doorways. Make sure your ladder extends 3 feet beyond the roof line, and the angle is at 75.5 degrees. Maintain 3 points of contact (both feet and at least one hand) and make small movements when moving up or down.
- For optimal safety you should wear a harness and connect it to a rope of adequate strength. Toss the rope over the roof and attach it to a structural part of the house or a tree on the other side. A bowline knot is strong enough to hold you but still easy to undo when needed.
- Make sure you put the harness on and fit it properly. Step through the leg loops, place it over your shoulders, and connect the check slip. Clip the lanyard to the D-ring fixed at your back.
- Climb the ladder and pull the rope taut before tying an overhand loop to link the other end of the harness to. Now you can get up onto the roof!
- Take care when walking on the roof, and try to stick to the lines of screws. Move slowly and step carefully, especially if you suspect structural damage.
- As you climb further up the roof, tie a second loop further down the rope. Move the harness to the new loop to maintain stability and security, but don’t rely on it.
If you feel like this is too much work, then it is probably best that you call a professional to do the inspection. Many roofing companies offer this service for free, and it saves you from the hassle and potential harm.

Shingles Not Sealing Down
If you’ve recently had shingles that feature an adhesive strip, note that this softens up during warm weather. Until this happens, they may appear bumpy and uneven.
Once the shingles heat up, they become more flexible, and the adhesive can properly bond to the surface.
This may not happen until later in the summer, especially in cooler areas or north-facing slopes that don’t get as much direct sunlight.
If you’re concerned, your roofer can apply a temporary adhesive layer for protection. This is more common in windy areas, and it’s not necessary for the installation of the shingles.

Misshapen Shingles
Understand that shingles are a mass-produced item. Factories churn out hundreds of thousands at a time, and they are then packaged and palletized in bulk.
They ship large volumes out to vendors and distributors, such as Lowes, Home Depot, or your local lumber yard, where they sit in inventory until someone buys them up.
There is no telling how long the shingles sat there until you or your contractor purchased them, and the exposure warps the material over time. This happens more often with cheap brands that are prone to damage, but with the pliable nature of shingles it can happen to any kind.
You can avoid this by opting for higher-quality shingle brands or making sure you get shingles from the top of the pallet.
The good news is that this problem usually fixes itself. Gravity uses the natural weight of the shingles to help flatten them out, and this gets easier in warmer weather or with greater sun exposure.
Contractors can speed things up if there is a bigger issue. If you notice a large number of misshapen shingles or they aren’t flattening out over time then it’s important to contact a roofer for assistance, especially if this is a professional installation.
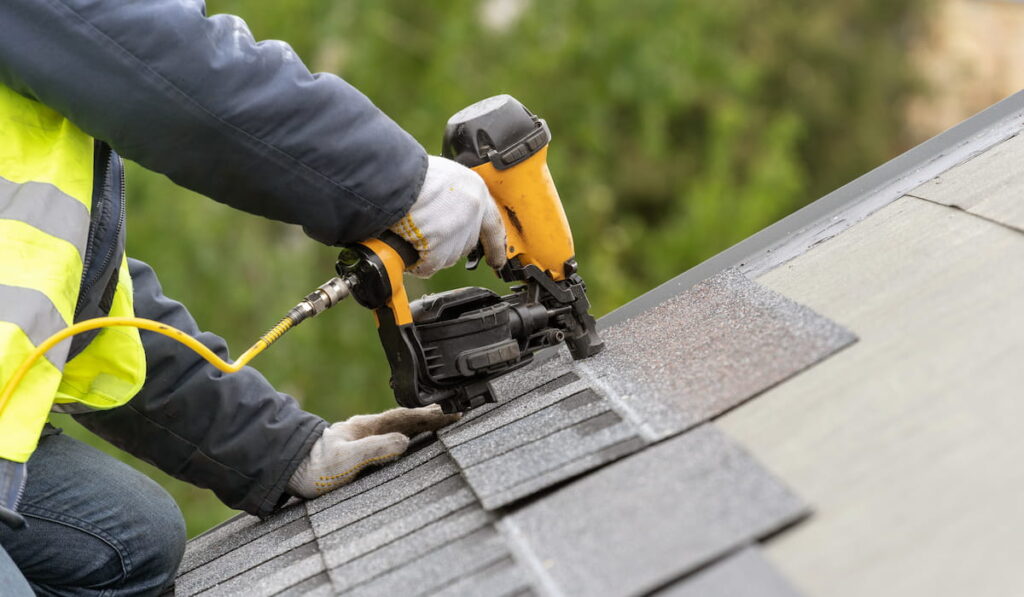

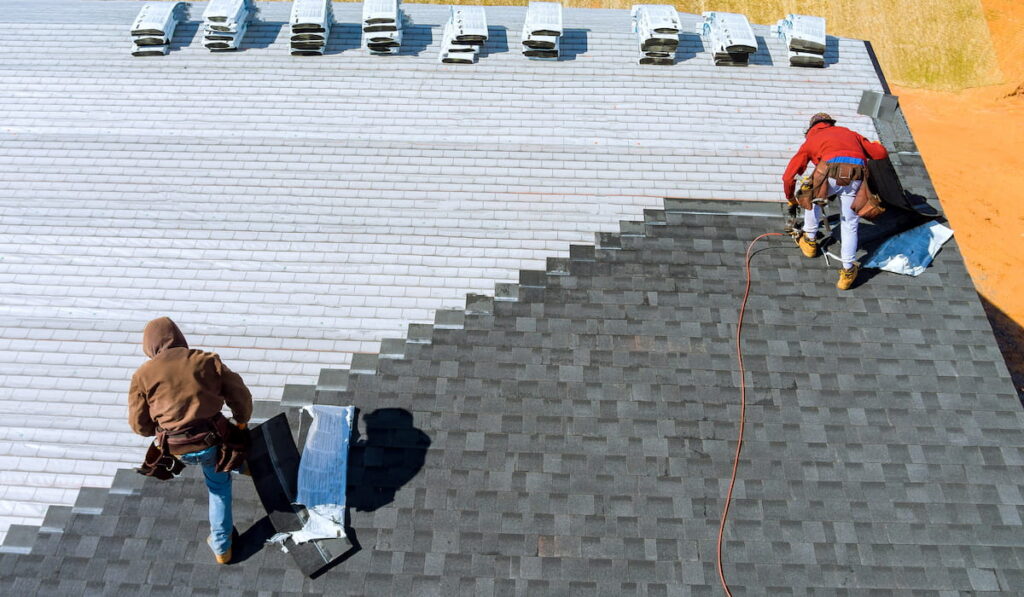
Errors or Incorrect Installation
Improper installation only gets worse with time. Any voids or gaps between the edges of the shingles become more apparent, and lapping shingles creates bumps while preventing proper sealing.
Common signs of incorrect installation include:
- Bunched appearance
- Shingles not laying flat
- Gaps between shingles
In this instance you should have the problems addressed by a reputable professional roofer.
You’ll also likely need to replace the entire area instead of working on small sections, especially if the issues relate to bunched underlayment or the protective sheathing underneath.
If you had a professional installation, then invite them back to look at the roof and see if they’ll offer to fix it for free or reimburse you.
Check your contract to see what their policy is in this area and be prepared to pursue court action to protect your investment.
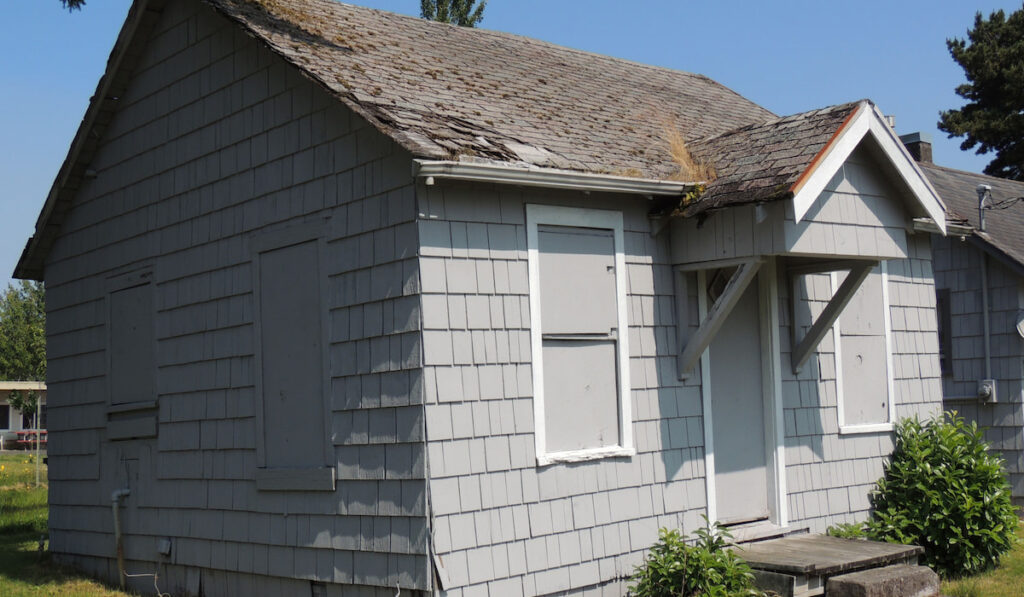

Structural Damage to the Roof
In most cases, you will notice structural damage to the roof prior to installation, but sometimes splintered wood or warping are not immediately noticeable.
Unlike issues relating to new shingles, structural damage will not fix itself over time. It also indicates a bigger problem that can unsettle the shingles or lead to greater issues inside your home.
Again, contacting a professional roofing company is essential to protect the integrity of your home. They will determine the full scope of the issue and create a proper course of action.
Until someone can come out to inspect your roof, you can protect the area by placing a tarp over the area you notice damage. Staples or tack nails work best to hold this down, and they are much safer than laying heavy objects down to hold the tarp.
Obstruction Underneath the Shingles
Even small obstructions will cause noticeable issues with flattening new shingles.
Common culprits include:
- Raised nails
- Branches
- Debris
If you can reach them safely, you may be able to pull the debris out from under the new shingles so they can settle down flat.
Debris may indicate damage to the area, particularly after heavy wind storms, and it is not always easy to remove. A professional roofer can help pull out any items preventing shingles from laying flat and make any necessary repairs.
It’s also important to make sure that the debris under the shingles did not occur due to improper or incorrect installation.
Multiple Layer Roofs
Most communities have building codes that prevent the installation of more than 2 layers of shingles. Not only does this pose a hazard because of the heavy weight of a full roof of shingles, but it deepens complications on the installation process.
It’s recommended to remove the old layer before installing new shingles, even if you don’t already have 2 layers, but homeowners and contractors may choose not to do this to save time and money.
Once your new layer of shingles seal to the old roof they take on its characteristics, and the new layer can bring attention to any bumps or dips that were not noticeable before.
While this is not attractive, it still protects the roof underneath and should not threaten the integrity of your roof.
To ensure new shingles lay flat on top of old shingles, make sure the old roof is properly examined. The roof should be cleared of debris prior to installation. Countersinking any nails or screws sticking up is also important to prevent bumps.
Installing a layer of heavy roofing felt over the original shingles will be the best option for minimizing distortion across the surface.
Final Thoughts
Once you determine the cause of your new shingles not laying flat you should have a better understanding to move forward.
It is important to monitor all issues closely, even those that should fix themselves over time. There is a chance for other issues, such as losing shingles, to occur while you wait, and those require immediate attention.
Hiring a professional to address these concerns can cost a few hundred dollars, depending on your location, but this is nothing compared to the thousands to pay for a new roof if the problems are not promptly addressed.
Resources
- https://ehs.ku.edu/ku-ehs-august-safety-tip-500000-falls-ladders-annually-97-percent-occur-home-or-farms
- https://www.bhg.com.au/roof-work-safety
- https://www.littlegiantladders.com/blogs/blog/how-to-place-a-ladder-on-a-roof
- https://upgradedhome.com/new-roof-shingles-not-laying-flat/
- https://homeguides.sfgate.com/roof-shingles-not-lying-flat-36561.html