*This post may have affiliate links, which means I may receive commissions if you choose to purchase through links I provide (at no extra cost to you). As an Amazon Associate, I earn from qualifying purchases. Please read my disclaimer for additional details.
Handling a DIY painting job takes a lot of effort and time.
Getting the perfect finish on ceilings can be frustrating, especially with a roller. You may notice that your ceiling appears patchy even after applying the recommended coats and using the right tools.
The ceiling can appear patchy after painting if you apply several coats over it when it’s not dry. Lack of enough paint or painting over a ceiling with debris can also create a patchy look.
Getting the right finish on a ceiling is challenging, but this shouldn’t discourage you, as you can prevent patchy ceilings once you identify the reasons why.
Our detailed guide explores some of the reasons that could lead to a patchy ceiling. We also give you tips on how to fix it and ways to prevent it.
Table of Contents
5 Reasons Your Ceiling Looks Patchy After Painting
Even for professionals, getting an even finish on your ceiling can be difficult. There’s a lot of movement and details involved, which, when overlooked, can lead to a patchy ceiling.
Some of the reasons your ceiling may look patchy include:
1. Failure to Prepare the Ceiling Surface Properly
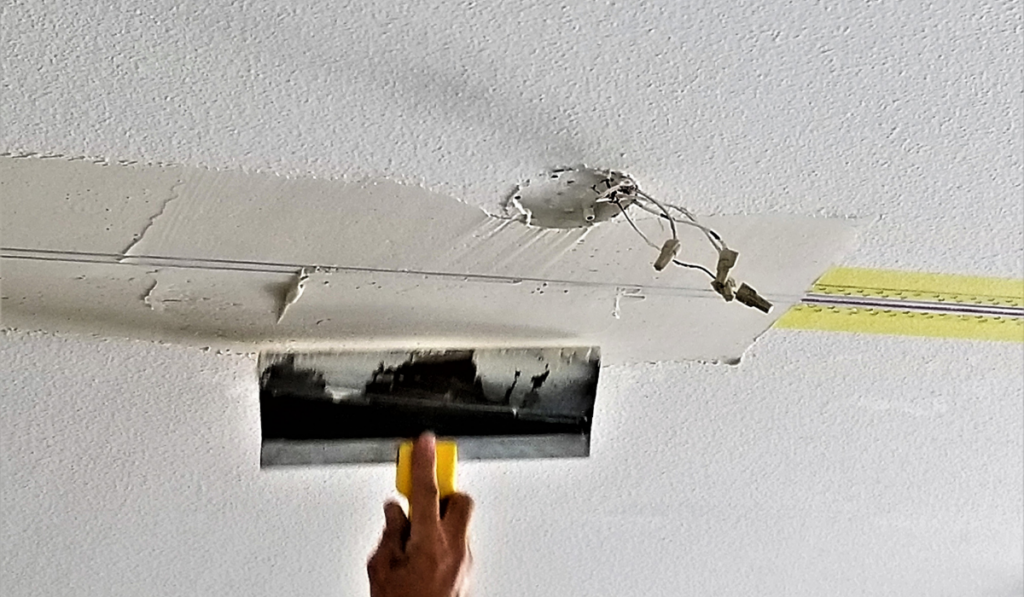

Sometimes, homeowners paint over a ceiling full of debris, dirt, and cobwebs. Sometimes the ceiling may have bumps or a rough texture, which, when painted on, could lead to a patchy ceiling.
Experts recommend cleaning your ceiling surfaces before starting any paint job.
A kitchen ceiling might have some oil or grease stains. You can clean oil and grease with a soap solution; just don’t make the surface too wet.
Check if the ceiling is also leveled before you begin painting. If you notice rough areas, ensure that you sand them. Once you’re done sanding, wipe off the drywall dust.
Allow the ceiling to dry completely; then, you can start painting.
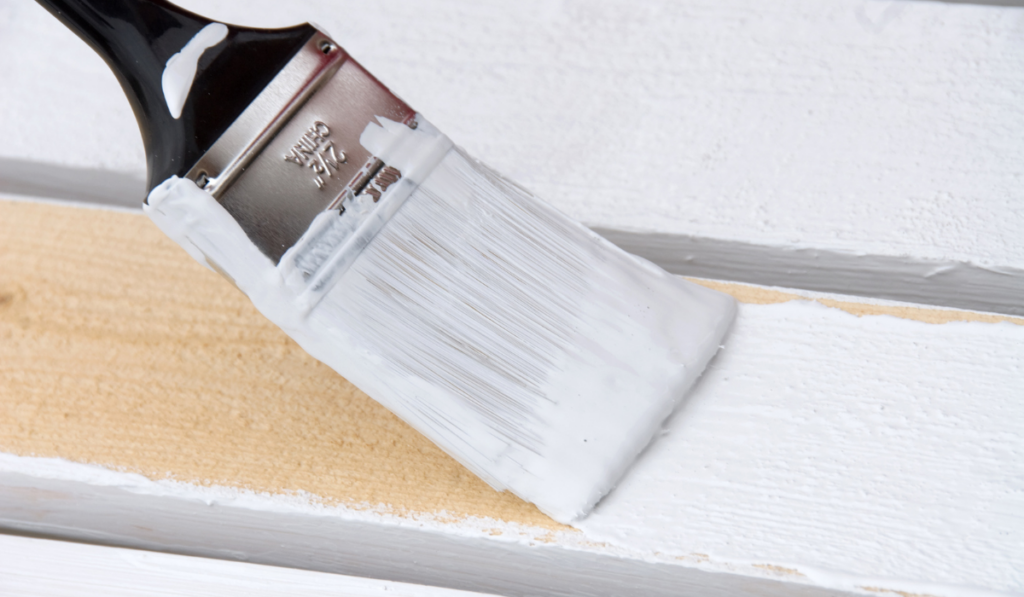
2. Using the Wrong Painting Tools
Painting with different tools like a brush and a roller can lead to a patchy-looking ceiling. Additionally, using tools from different brands can lead to an uneven finish.
Another common mistake that could lead to a patchy look is failing to clean your old paint roller. Trying to paint with a used roller that has paint from a previous job will only lead to undesired results.
If you want to reuse your used roller, ensure that you clean it thoroughly to remove any lingering paint.
You’ll need a 9-inch paint roller to apply ceiling paint and a microfiber roller pad to get an even look. Stick to using paint pads and brushes on the ceiling perimeter.
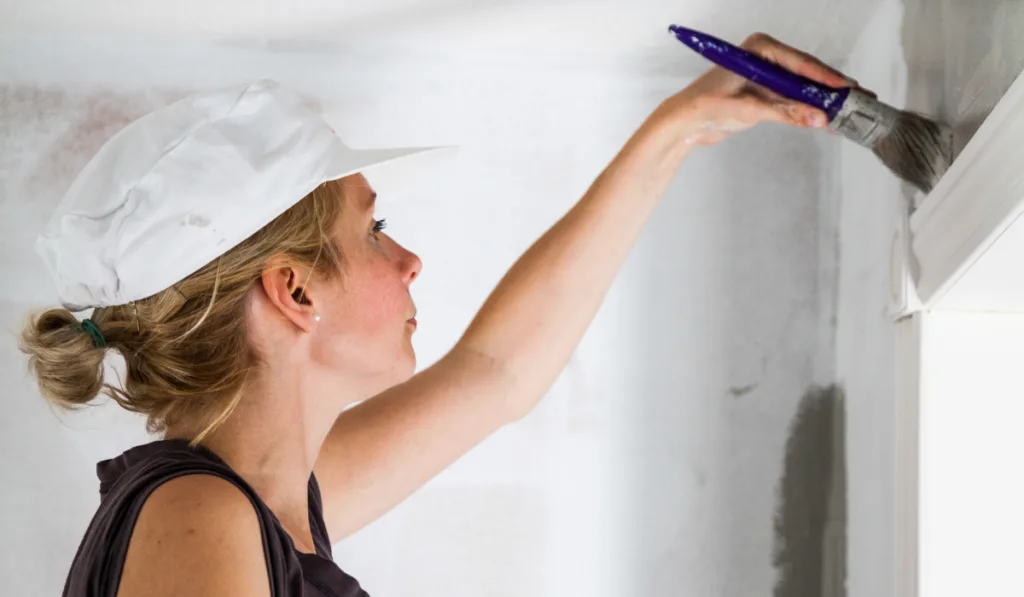
3. Lack of a Primer or Using the Wrong Primer

Various types of ceilings exist, and some need a primer before applying paint. An older house may also need a sealer on the ceiling.
Unfortunately, skipping a primer can lead to a patchy ceiling.
You can correct this by ensuring you use the right primer designed for your type of ceiling.
4. Lack of Enough Paint
Failure to use enough paint can leave you with a patchy-looking ceiling.
It’s essential to have enough paint on your roller pad when applying the paint. You should also apply it evenly around the entire ceiling to avoid a patchy look.
Using paint that’s too thin could also be problematic. If you use paint that has already been watered down from a previous painting session or bought the cheapest ceiling paint, it can be challenging to apply an even coat.
Additionally, applying too much paint can make it settle thickly in some areas, resulting in a patchy look.
Always purchase quality ceiling paint from reputable brands to enjoy an even-looking finish.
5. Failing to Wait Before Applying the Next Coat

When using emulsion paint on a ceiling, you may need two coats and an extra one if you’re dealing with a newly plastered ceiling.
Some ceilings need several coats for that even finish.
You need to give each coat enough time to cure before applying the next.
Unfortunately, most people want to rush through the process and end up applying more coats before the previous one is dry. That can create a patchy finish.
The time required in between coats will depend on the ventilation of the room, the humidity, and the paint type. Most oil-based paints require 24 hours to cure, while latex paints may only need four hours.
Please read the label of the paint as it gives directions on how to apply different coats and the time to wait between coats.
6. Wrong Application
Although some paints claim that you can apply one coat and have the job done, this doesn’t always work.
If you are uncomfortable when painting your ceiling, you may paint it incorrectly by either underpainting or overpainting it.
Lack of painting experience can also lead to a patchy-looking ceiling. Hiring an experienced painter is best to get the job done right. That will also save you extra costs of having to fix the patchy appearance in the future.
7. Mixing Paint Types


Mixing paint types can lead to undesired results when painting your ceiling.
If you notice that you don’t have enough paint for the whole ceiling, reschedule the job until you get enough paint to cover the entire area.
Otherwise, you’ll end up with a patchy look that you won’t like.
Additional Tips to Ensure a Smooth Ceiling Finish
Painting your ceiling can be overwhelming and seem challenging. However, it’s still possible to get a smooth finish without the patchy look.
Here are some tips to make your work easier.
Prepare Your Equipment

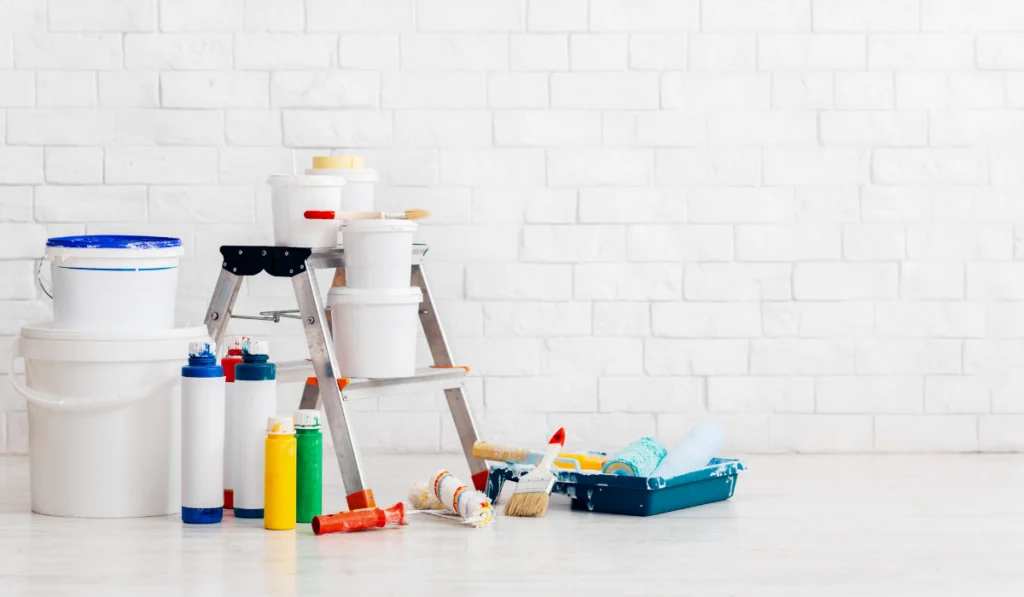
Take time to get all the necessary equipment before starting any paint job. That includes your rollers, brushes, paint, primer, sealer, and anything else you may need.
Give yourself enough time to handle the painting job. Rushing it creates an uneven look that appears messy.
When choosing ceiling paint, get one specially designed for ceilings. Read the label to determine if it’s the right choice. Ceiling paint will reduce drips.
A common choice for ceiling paint is a standard white emulsion. You can also experiment with a dark color if you want a big room to feel cozy and small.
Sand Before You Paint
If you’ve had your house previously painted, crud and bumps could get stuck to the ceiling as the layers of paint build up.
It’s best to start with sanding on an untextured ceiling. Use drywall sanding paper to increase paint bonding and ensure a smooth paint job. Remove the dust with a damp sponge once done.
Use the Right Painting Technique

You need to paint your ceiling using the proper technique to avoid a patchy look or roller marks.
Prime before you start painting the ceiling. The primer acts as a stain barrier and will allow you to use fewer coats of paint to finish.
Note that the primer you choose will depend on your ceiling’s texture.
A ceiling with a lot of texture needs a high-build primer that not only preps the surface but also covers any imperfections in the ceiling.
Lightly textured or smooth ceilings work well with an interior latex drywall primer.
- Let the primer dry completely before starting your paintwork.
- Start by painting the ceiling in 3 x 3 ft sections to track the area covered with paint. A roller is your best bet if you’re looking for the best coverage and less splatter.
- Use the roller in the same direction. If you need to start a new section, overlap the wet edges of the previous section.
- Re-roll each section at a right angle to the first roller direction to get the best coverage.
Having wet edges allows you to blend the sections.
If you’re planning to paint the walls later on, you can let the ceiling paint overlap on them. That will allow you to cover the overlap as you paint the walls.
It’s vital to also have enough paint on your roller. Remember not to submerge your roller in the paint, but instead glide it over the paint. That will allow you to spread the paint evenly and prevent a patchy look.
Lighting is Key


Enough lighting is essential as you can tell the areas that are thinly painted or those that are too thick, creating an uneven appearance.
With enough light, you can quickly fix any mistakes made.
Give It Time to Dry
While ventilation is key to quick-drying, avoid allowing a lot of air in when painting your ceiling.
Once done painting, you can open the window to keep the air circulating and reduce the paint smell.
High humidity levels can also interfere with the drying process. Use a dehumidifier in this case to dry the paint.
Final Thoughts
Painting your ceiling isn’t complicated, and a patchy look can be avoided with the proper preparation. That involves getting the right tools, using the right ceiling paint, cleaning the ceiling before painting, and investing in a quality primer.
Set enough time aside to handle the paint job and allow the primer and paint to dry before applying a second coat.
Resources
- https://paintcentric.com/why-does-my-ceiling-look-patchy-after-painting/
- https://www.lowes.com/n/how-to/fix-painting-mistakes
- https://www.familyhandyman.com/list/10-tips-for-a-perfect-paint-job/
- https://www.homebuilding.co.uk/advice/painting-a-ceiling
- https://diypaintingtips.com/how-to-paint-a-ceiling-without-roller-marks/
- https://www.bobvila.com/articles/2393-how-to-paint-a-ceiling/
- https://www.hgtv.com/design/remodel/interior-remodel/how-to-paint-a-ceiling