*This post may have affiliate links, which means I may receive commissions if you choose to purchase through links I provide (at no extra cost to you). As an Amazon Associate, I earn from qualifying purchases. Please read my disclaimer for additional details.
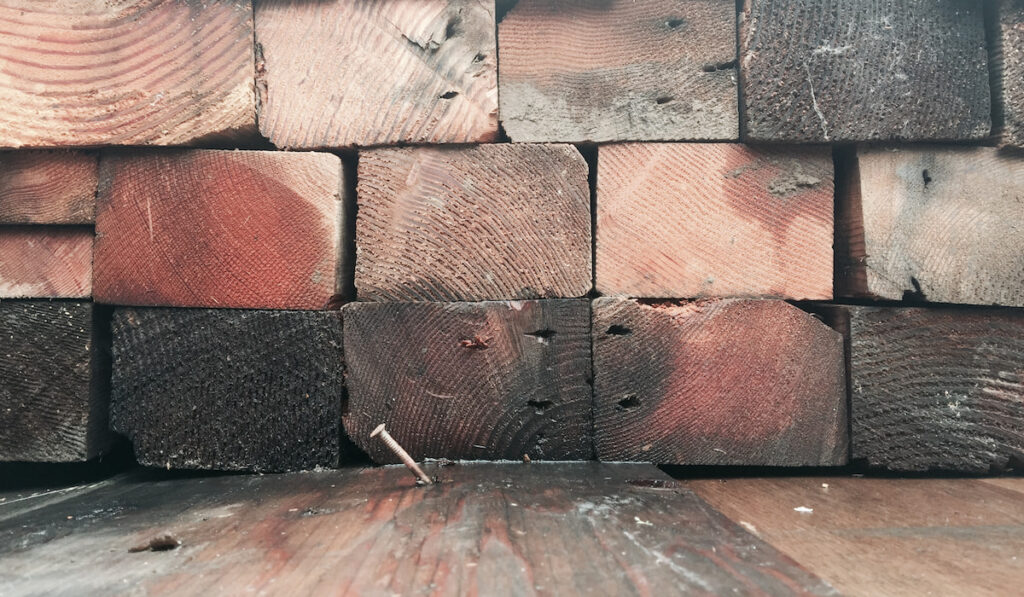
Nails sticking out of your wood floor don’t just look bad, these little guys are also dangerous as you can easily trip over them or even injure your foot. What exactly makes these nails pop?
Wood floors tend to contract and expand with the change of humidity – these movements can literally ‘push’ the nails out of the floor. The nails can also pop up simply because certain types of nails (like conventional ones) and types of wood (kiln-dried lumber and green lumber, for example) were used.

How to take care of these ugly nail pops and not ruin the look of your wood floor? You’ll find the step-by-step instructions below.
Table of Contents
Why Do Nails Keep Popping Up in a Wood Floor?
The wood is ‘moving’
Wood is a natural material that contracts and expands with the change of humidity and, to a lesser degree, with the change of temperature.
On a humid day, the wood will expand, while drier air will make the material contract. In any weather, foot traffic results in vibration that can also affect the floor. So the more foot traffic the floor has, the more likely the nails are to pop up.

These minor shifts might cause the nails that are holding the floorboards down to loosen and, eventually, pop up.
In the majority of cases, the nail will be barely visible, however, it does pose a danger to bare feet and it’s also a tripping hazard.
The wrong nails were used
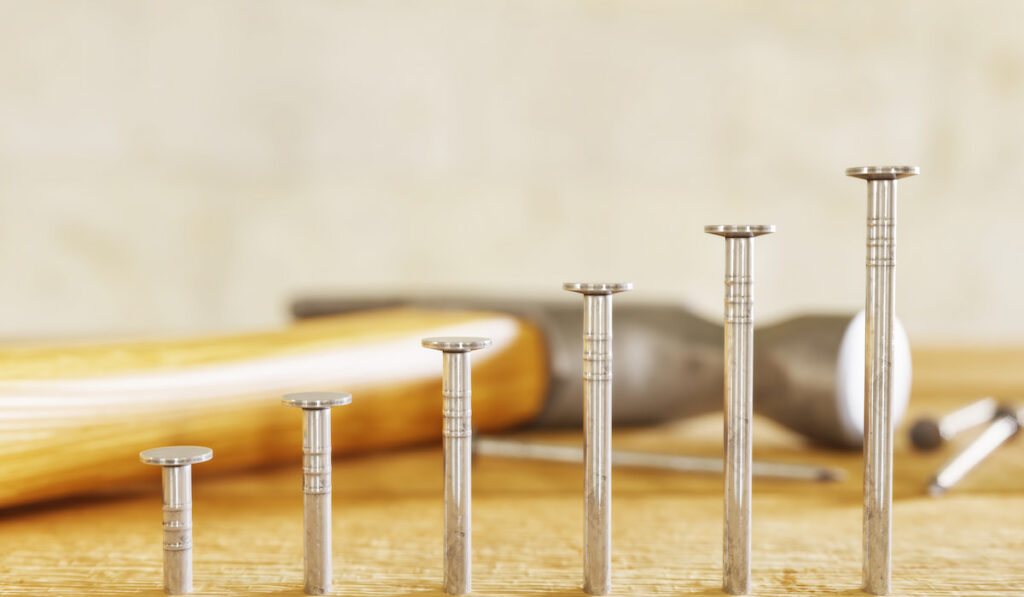
Some nails are simply not designed to penetrate deep into wood floors. Conventional nails, for example, are able to penetrate up to only about an inch, while lag screws are quite resistant to pullout.
The shape of the nail is also important. Spiral- and ring-shaped nails will hold on to the wood more ‘aggressively’ than regular smooth nails.
The green lumber had shrunk

If the nails have been pounded into green ‘wet’ lumber, the nail head will get exposed as soon as the material becomes dry. The lumber will shrink along the shank and this is exactly what is going to cause the problem.
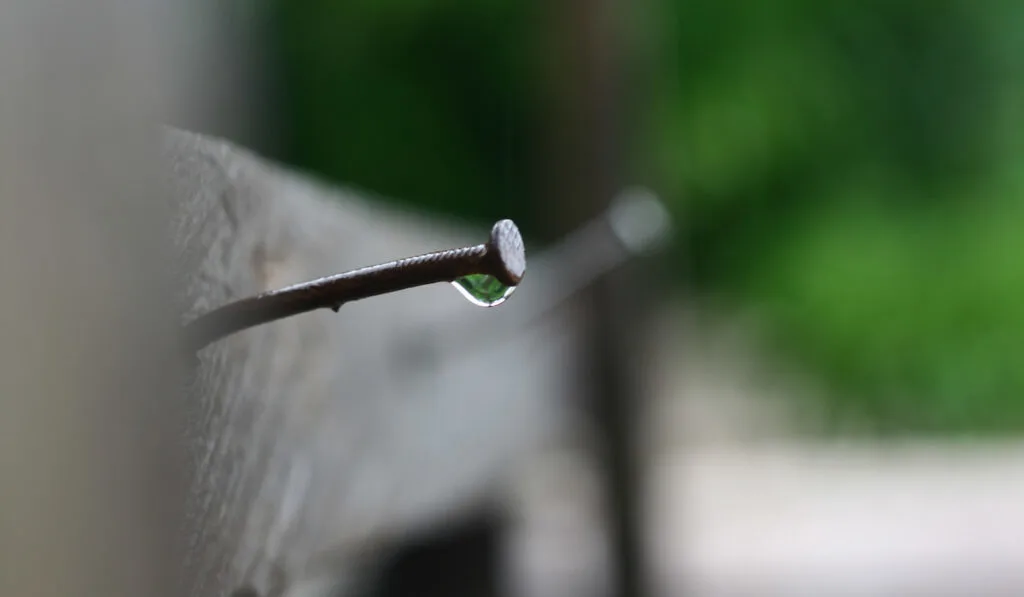
You have wet and dried the floor too many times
The presence of water will make the wood expand, and as soon as the floor dries out, the material is going to contract. If the wood floor is subjected to spills or if you tend to forget to close the window when it rains, the nails can start popping up.
Simply pounding the nail back into the floor won’t fix the issue. The stubborn, sock-catching hazard is going to emerge from the wood once again in a few months.
How to Repair Nail Pops in a Floor?
You will be, basically, left with two main options when dealing with nail pops in a wood floor. You would have to either remove the nails from the floor and place trim screws right into the old hole or add the new screws to another place in the floor.
The main thing that you should be worried about is the aesthetics, so pick the option that would be less damaging for the lovely wood in your specific case.
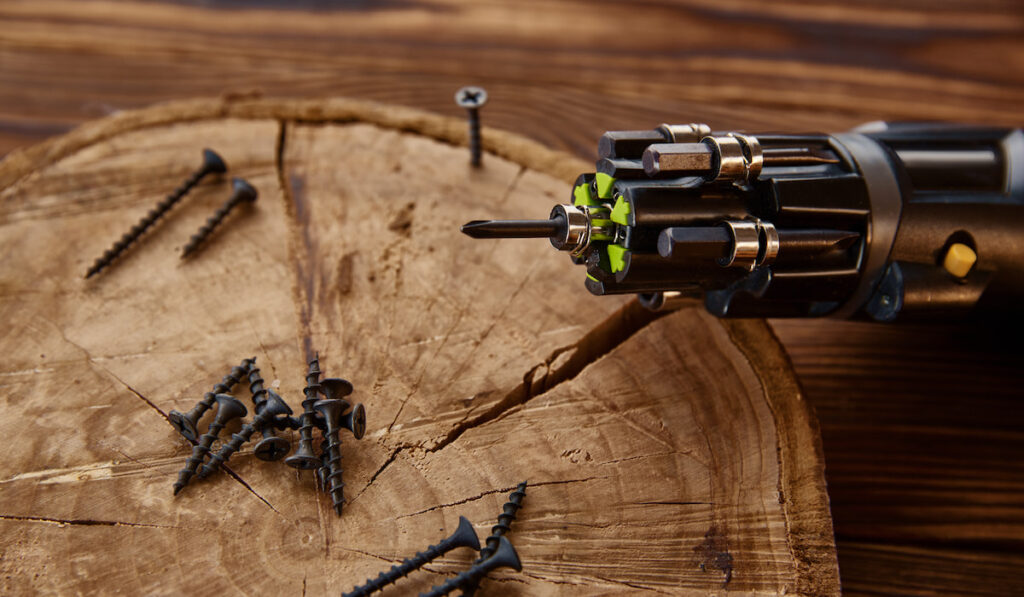
Switch the Nails Up for Trim Screws
You wouldn’t need to repair the actual nails – you can choose to switch them up for trim screws that won’t have a ‘popping up’ issue.

Things you are going to need:
- A wooden block (or something else to push against)
- Trim screws that have the same length as the nails
- Vice-grip locking pliers
- A screwdriver
- Wood filler
- Fine-grit sandpaper
- You can put a wooden block a couple of inches away from the nail that you’re about to tackle. This block will be protecting the floor as it gives you something to push against when using the pliers.
- Grip the nail head with your pliers and lean the handles right against the wooden block (you can try holding the block with your foot to keep it still).
- You should be able to lever the annoying nail out of the floor.
- Screw the trim screw right into the old nail hole. Keep on screwing until its head is a bit below the level of the floorboard.
- Now you would want to apply some filler over the screw head. You can slightly overfill the depression as the substance is going to shrink as it dries.
- Apply a second layer of filler, if necessary, after the first one had dried.
- Allow the final layer to dry and then even out the surface of the floor with sandpaper.
Add New Screws
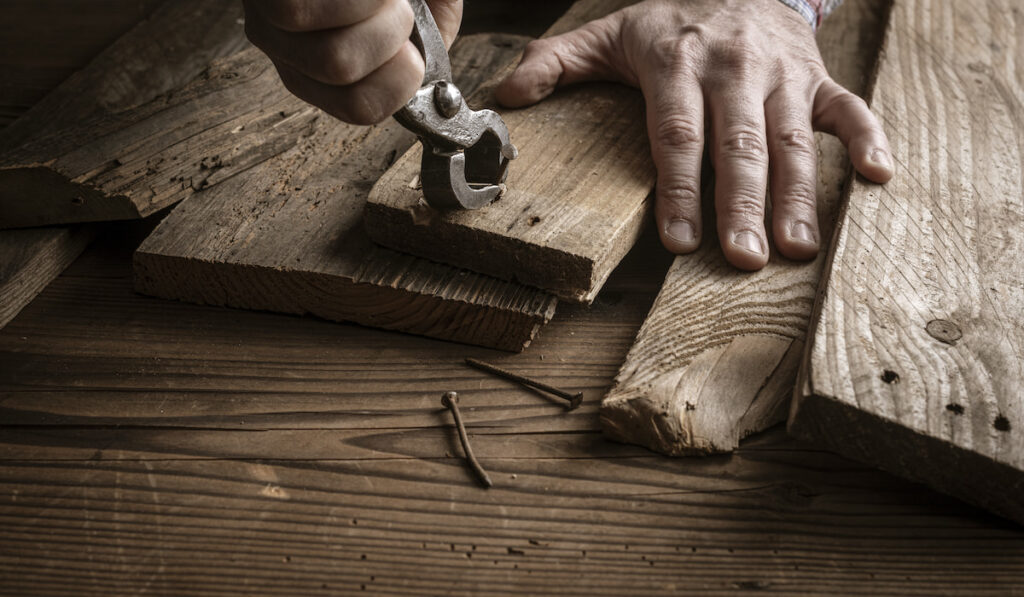

- Use pliers or a claw hammer to remove the nail that had popped up. Be extremely careful as it’s quite easy to damage the beautiful floor.
- If the nail is not entirely exposed but is lifting the floor, you can lay a board over the nail and pound it back into place by tapping the board. Such a trick will help you minimize the damage to the wood floor.
- Add a new screw to the place close to where the pop up had occurred. It should be aligned with the nails that are already in the floor so that the repair is not obvious.
- If necessary, seal the area where the screw was added. You can also use a high-quality No products found. to disguise your work.
How to Minimize Nail Pops?
Is there a way to prevent the nails from popping up in the first place? If you follow these tips, you will most certainly be able to avoid such an issue.
Go for the right material
We are talking about wood here. You would want to make sure that the material is as dry as possible before using nails.


If you can, choose dry lumber or engineered wood framing (glulam, trusses, I-joists, structural composite lumber) as those are manufactured in a dry environment.
Green lumber and kiln-dried lumber have quite a lot of water in them, so that would inevitably cause shrinkage.
Use nails of the proper length
It is important to make sure that your nails aren’t short as those will pop up in no time. When you’re attaching the underlayment panel to the subfloor panel, make sure to use the nails the length of which is equal to or close to the total width of the underlayment and the subfloor layers combined.
Also, don’t forget to apply foot pressure, if using pneumatically driven fasteners. This will help make sure that the subfloor and underlayment panels are ‘in contact’ with one another.
Use nails of the right shape
You might want to go for screw- or ring-shank nails as those will be holding on to the wood a lot better.
Pay attention to the framing surface
You have to make sure that the floor sheathing gets attached to a clean and level framing surface. Otherwise, the gaping between the framing and the sheathing together with the foot traffic or construction loads will make the nails pop.
Final Thoughts
Why do nails keep popping up in a wood floor?
This happens mainly because wood is the kind of material that contracts and expands when the humidity changes and these movements ‘push’ the nails out of the floor.
Shrinking wood, smooth nails, and gaping between the framing and the sheathing can also cause such an issue.
Resources
- No products found.
- https://www.youtube.com/watch?v=FmV96holbwE
- https://www.apawood.org/glulam