*This post may have affiliate links, which means I may receive commissions if you choose to purchase through links I provide (at no extra cost to you). As an Amazon Associate, I earn from qualifying purchases. Please read my disclaimer for additional details.
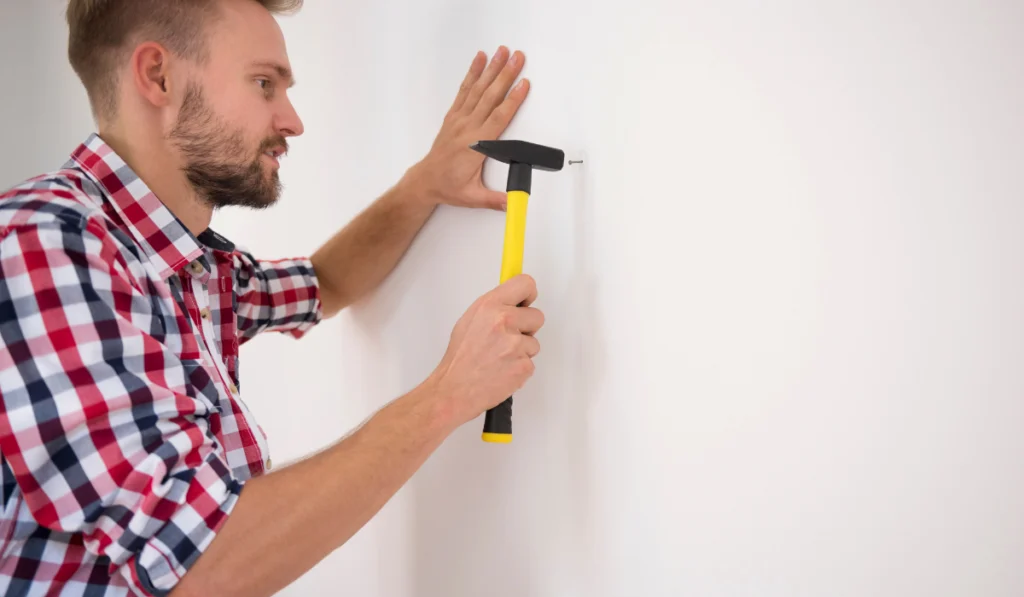
Renovating stuff at home is already stressful and daunting, regardless of the angle you look at it – not the actual one. Nailing an accurate angle to make everything in the house square is a struggle.
But what if the “nailing” part isn’t working?
Making a nail go into the wall is an ability that requires both physical skill and instinct. You’re definitely not the only one to struggle with this part of home repair.
Sometimes nails don’t go into the wall as they should. Oh boy, does it stress us out! You’re almost ready to bang that nail with your head!
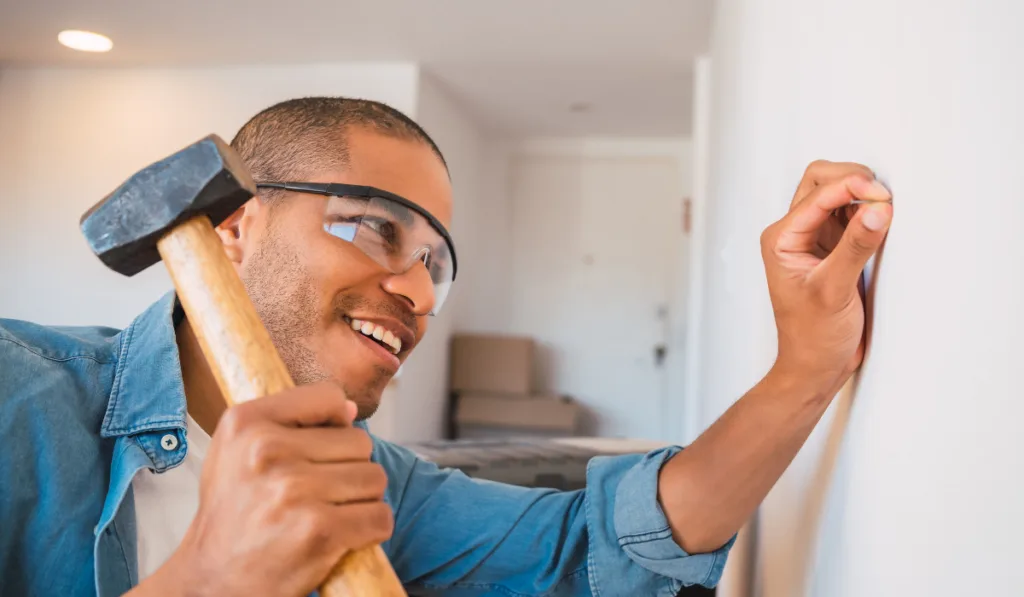
But save that head of yours! Let us manage that inconvenience in a smart, not complex way. Spare a minute before conquering that wall and read a couple of tips we’re about to give you.

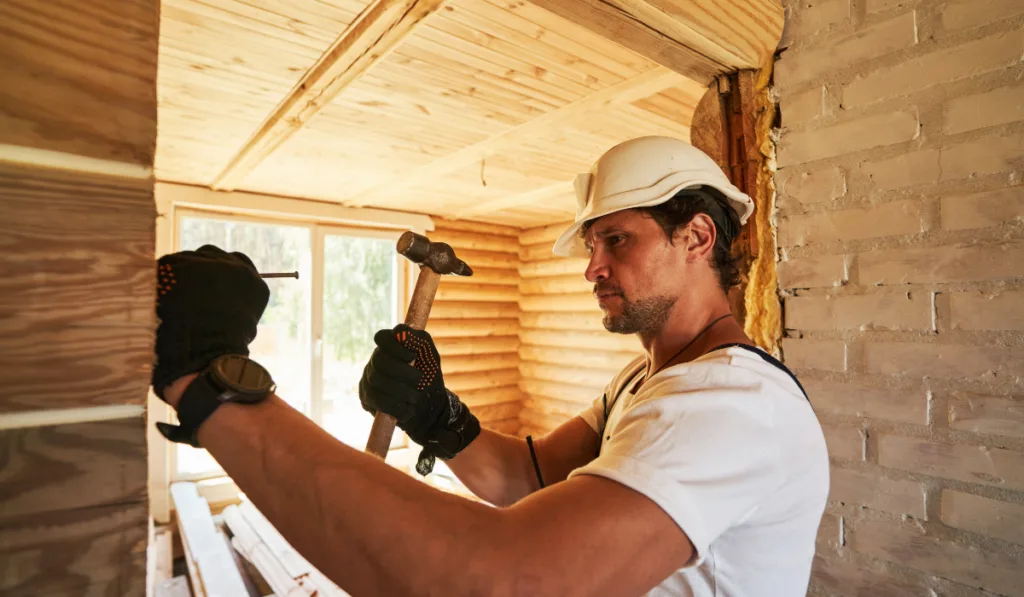
Table of Contents
How to Remove Stuck Nails
We assume your nail is stuck because you tried to hit it into the wall. So, let’s first look at how to remove stuck nails before we hammer them properly.
Tip #1: Side Pull
Pulling the nail out with a straight hammer is disrespectful to physics. In other words, you will not go far with it but just exhaust yourself.
Instead, try maximizing your hammer’s power by pulling to the side with a hammer claw.
Ram the hammer claw into the nail and move it from side to side while pulling it. Continue till you take the nail out completely.
Tip #2: Dig for the Nail
There are situations where nails are buried too deep, and there’s no other way but to damage the surface. But to make it less “painful” for the latter, try using a cat’s paw or cat’s claw tool.
Put the claw under the nailhead and pull the handle toward you to lever the nail out.
Tip #3: Send the Nail Through
If you happen to hit the nail in too deep, there is another way out – punch the nail all the way through.
Take a nail set or pin punch and hammer it over the nail to push it through.
What Type of Wall Are You Hammering Into?
The type of wall plays a critical role when it comes to nails.
Before you put that nail against the wall, make sure you know your “enemy.” What type of wall is it?
You aren’t sure? Let’s look into that first, instead of hitting that nail angrily.
Plaster Walls


For example, if your wall is made of plaster, or reconstituted rock, it will be pretty challenging to seat the nail nicely without damaging the wall and yourself.
Hammering nails into a plaster wall can and usually is an uneasy experience because, despite its visual density, it’s quite easy to damage the plaster wall and cause cracks.
Plaster is usually supported by a series of wood strips called lath. If you hit a part of the lath in the wall, it will cause vibrations that can loosen the plaster and makes cracks in the wall.
So, if you want to have a perfect hole in the plaster wall, here are some tips:
- So, the first thing you do is cover the spot with masking or painters’ tape. This way, you’ll protect the plaster from cracks and crumbling around the future hole. Then, you mark the spot with a pen on the tape.
- And now, here comes a drill. Yeah, you’ll need one to make an accurate hole. At a slow speed, drill a little hole using a screw of 3 mm. It’s the most usual size of the screw, and it’s pretty easy to find a wall anchor for that size hole. Yes, you’ll need that one.
- So, after you drill the pilot hole, remove the tape and insert a wall anchor; it will make hammering the nail safer for the wall and you. When you’re finished, hang whatever you want on that nail.
Wooden Wall

Nailing wooden surfaces can also be problematic, although it does not look like that on the surface (see what we did there?).
Anyway, if you’re not careful, it’s really easy to cause splitting. Usually, it happens when nails are too close to the edge or when the wood is tough and dense.
If the nail doesn’t go into the wooden wall or only damages it, what you need to do is to blunt it.
It sounds a bit contradictory, we know. But blunting will allow the nail to go through the wood fibers smoothly instead of pulling them apart.
You can blunt the nail by holding it upside down on any hard surface and tapping the point with a hammer. Be careful not to overdo it. Tap the nail lightly.
Another tip for smooth nailing is driving the nails at a downward angle. This way, when you apply a load on them, the nails will dig deeper inside the wood and hold better.
Drywall

Drywall differs from other kinds of material. Like on any other type of wall, a nail can damage the surface if not hammered correctly.
Plus, nails can leave bumps if hammered improperly.
Also, if you try to hang something from the drywall ceiling, it’s better to use hooks rather than anchors – drywall cannot hold much weight.
On the other hand, it’s pretty easy to hammer those nails in drywall.
The actual problem is when nails come out while they are in use. Usually, it happens because of seasonal moisture that makes the wood expand and contract, which lets the nails slip out of the wood.
If you have the humidity issue, you’ll be hammering those nails over and over again. It is better to use screws instead of nails to avoid this problem.
This tip is particularly applicable if you need to attach the drywall to the studs or hang something heavy from the wall.
Concrete Wall

Now, when we’re talking about cement walls, it’s a little different. The issue is you may not be using the proper nails.
Hardened concrete nails are more suitable for this material as they are made from tough steel. However, you will also need a drill to make pilot holes.
It’s essential to make the bit’s diameter a little smaller than the nail’s.
It’s best to use a carbide-tipped masonry bit for a hammer drill if you are attaching to concrete.
Also, you will need to pick a framing hammer. They are more robust than regular hammers and are more effective for working with concrete. After you have drilled the pilot hole, insert the nail.
You can also use anchor nails instead of concrete ones – they’re no less effective and sturdy enough to be hammered into hard materials.
Ceramic Tiles

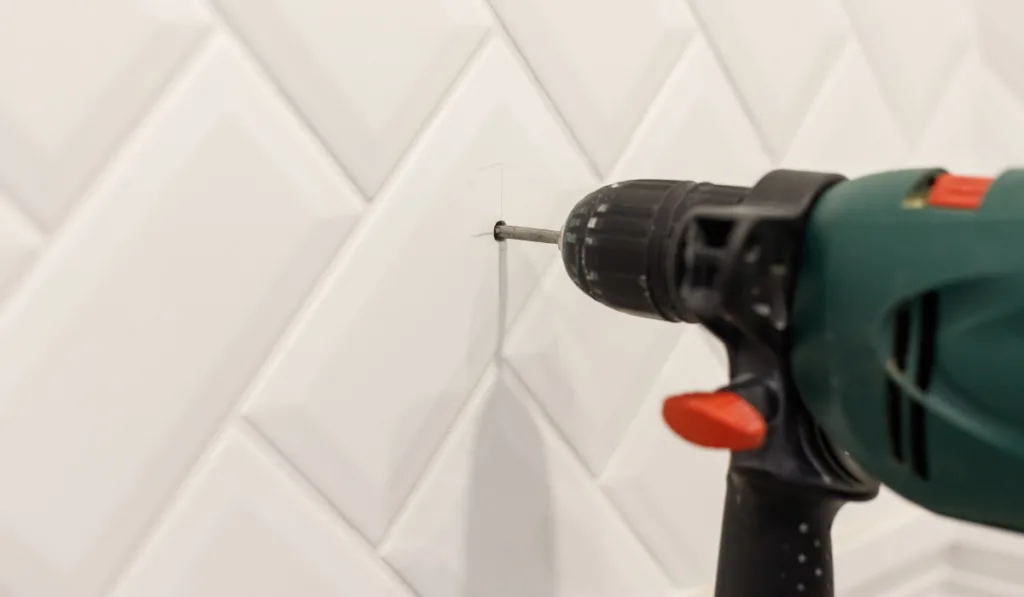
Working with ceramic tiles seems somewhat frightening, considering the fragility of the material.
But, in fact, using nails on the ceramic wall is not that scary. Of course, as long as you don’t try to gouge this wall with a naked nail.
You may feel slightly underwhelmed if we tell you “the formula” because you already know it: attach the masking tape, mark a spot, drill with a masonry bit to the needed depth, and insert a nail.
But Wait, We Have a Little Tip!
Working with ceramic tiles has some element of surprise, after all.
Here:
Instead of using a hammer drill, try working with a variable speed drill.
Hammer drills can shatter the tile because of intense vibrations. So, this being said, pick up a proper drill and keep a slow speed as you drill through the tile.
And to Finish off…
We hope these tips will make your life a bit easier and minor repairs less intimidating. After all, we all have to start somewhere!
Resources:
- https://www.bosch-diy.com/gb/en/all-about-diy/guide-to-drills
- https://www.hunker.com/13403192/tips-on-nailing-into-hard-plaster-walls
- https://utrdecorating.com/blogs/news/afraid-to-hang-stuff-on-plaster-walls
- https://www.nytimes.com/1984/02/26/nyregion/home-clinic-how-to-avoid-problems-in-the-simple-task-of-nailing.html
- https://www.familyhandyman.com/article/this-nail-hack-will-prevent-wood-from-splitting/
- https://sportsclinictampico.com/self-organization/how-to-put-a-nail-in-a-concrete-wall/
- https://howtodiscuss.com/t/drywall-nails/100716
- https://www.doityourself.com/stry/how-to-nail-through-tile
- https://www.familyhandyman.com/project/how-to-remove-stuck-nails-hammer-tips/