*This post may have affiliate links, which means I may receive commissions if you choose to purchase through links I provide (at no extra cost to you). As an Amazon Associate, I earn from qualifying purchases. Please read my disclaimer for additional details.
We’ve heard it all before. How important it is to get your landscaping done right.
A well-kept lawn can add tens of thousands of dollars to your home’s value, and it can help your commercial property make a good first impression whether you’re trying to attract tenants or customers.
One of the biggest challenges of landscaping is finding ways to make it last. Sure, a weekend of hard work can turn the dumpiest of yards into something that looks so much better.
The problem with landscaping, though, is that owners often lose motivation after month after month of landscaping work.
Keeping a yard or commercial landscape is indeed tough. However, there are things you can do to keep your property looking amazing for years.
One of the best ways to do this is with painted landscape timbers.

I mean, you’ve probably seen it before. A yard that looks dated with faded landscaping timbers lining flower beds or parking space. The dry look that worn-out timbers give can pull the rest of the landscaping around a property way down.
By following these tips, you can paint your landscape timbers and make them a beautiful accent to your home or commercial property.
Here are 7 tips for painting landscape timbers:
Table of Contents
Tip 1 – Don’t Paint It Right Away
If you’re installing landscaping timbers, they’ve probably been treated with alkali and other chemicals to harden them against bad weather, water, and other conditions that inflict wear and tear on the wood.
You want your timbers to stay hard and in one piece for years, so companies that sell landscape timbers treat them with a solution to make that happen.
When you buy treated timbers, you need to let them breathe for a few weeks after purchase. If you paint them right away, the fluids trapped in the wood will eventually make their way out and affect how the paint looks.
People refer to letting the timber breathe and ready to paint as being “shop dry”. In other words, they have had time to rest and are ready for painting.

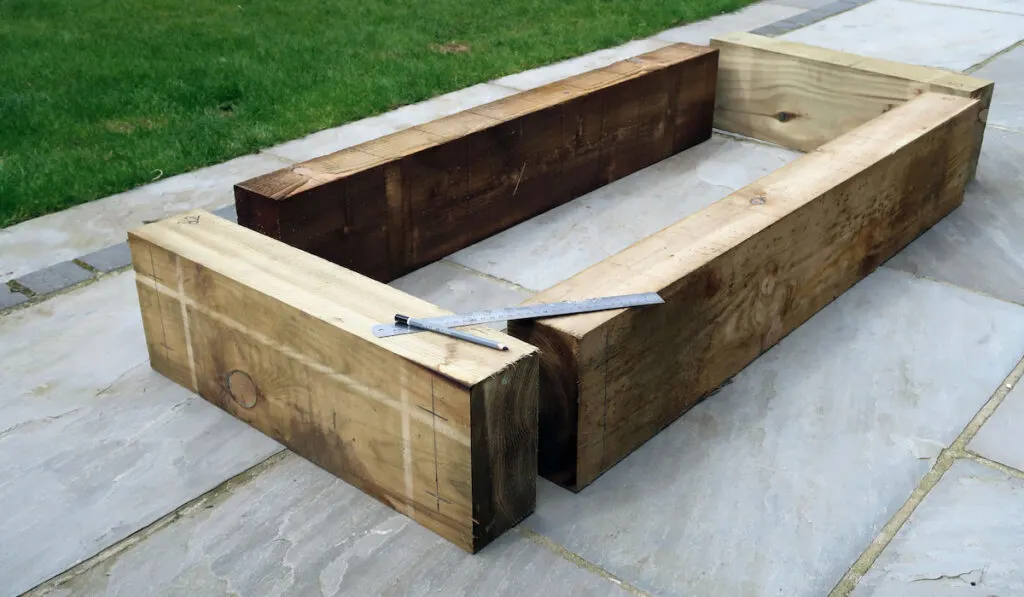
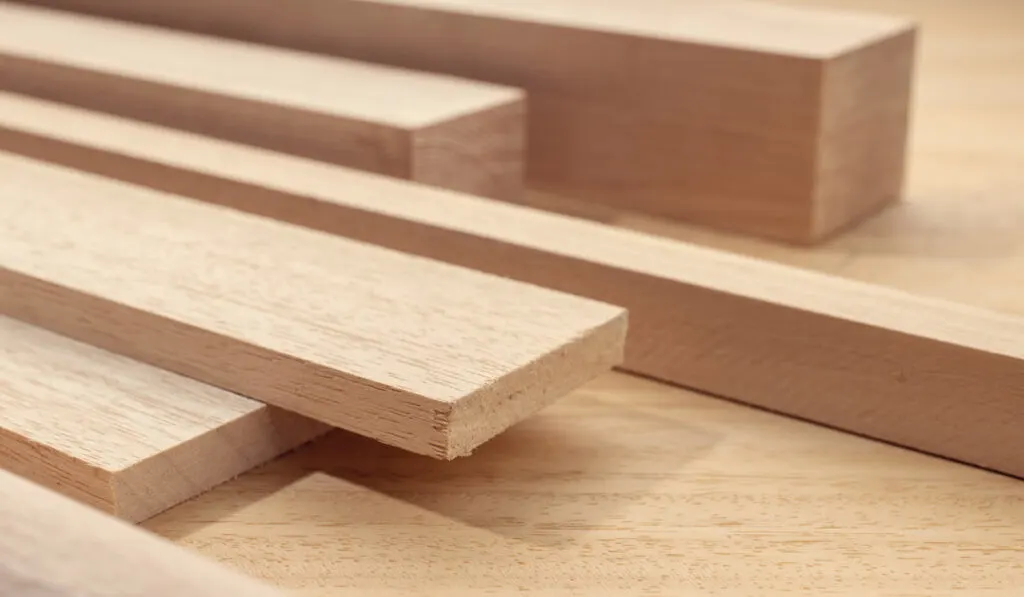
Tip 2 – Reshape the Timbers First
Before you add paint, cut and reshape your landscaping timbers into the shapes you want. If you paint and cut, you’re probably going to have to paint again, so save yourself the trouble and cut the timbers first.
Tip 3 – Clean the Timbers
Once you have the shape and size of your design down, you need to clean it off before you put any primer or paint on the timbers. If you try to paint over dirt, grime, pieces of mulch, or any other debris, it’s going to impact the way the paint looks.
You’ll get uneven surfaces and the paint will chip more easily. Just give it a dusting with a cloth or towel to make sure nothing’s sticking to the wood.
Remember, you need the timber to be dry before you paint it, so don’t clean it with water or anything wet.
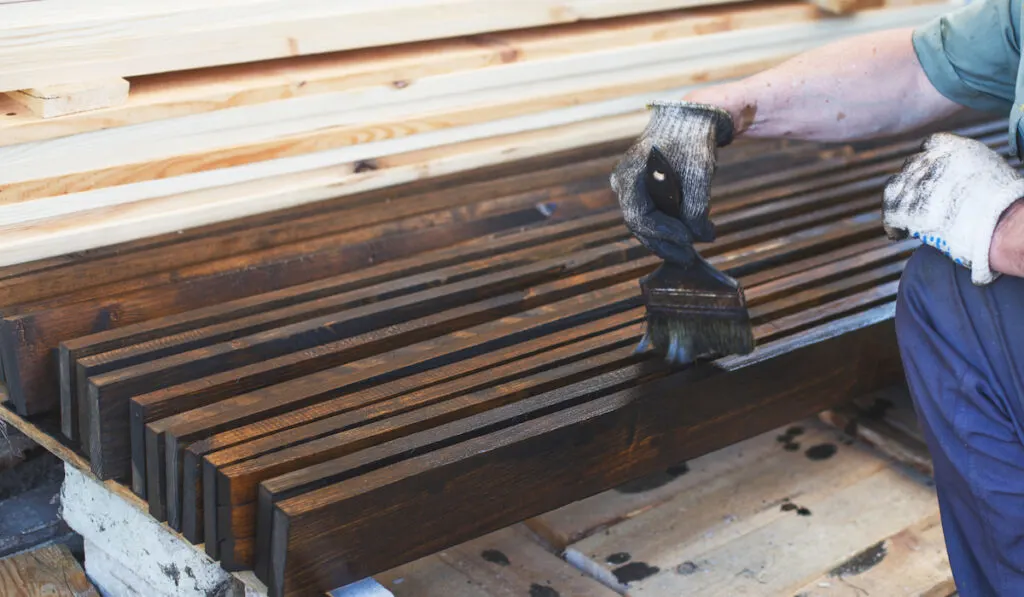
Tip 4 – Use Primer or Paint + Primer
When you are painting onto clean wood, you should always use a primer.
The primer is a coat that goes on before your first coat of paint. It gets into the wood and fills up any pores so that when you get around to putting your paint on, you’ll get a nice, even coat of paint.
You can buy primer on its own or some more common colors have combination paint plus primer cans available. Always put the primer on first and give it time to dry.
If you notice that the timber is really sucking the primer in, then think about giving it another coat of primer before you paint.

Tip 5 – You Can Use a Heat Gun to Speed Up the Drying Process
No one wants to wait forever to get a landscaping project done. Finding ways to get the primer and the paint to dry faster can shorten your timeline so you can finish up quicker.
If you’ve got a heat gun available, or you feel like grabbing one from your local hardware store, then you can use it on your landscaping timbers to get the primer and paint to dry faster. It can come in very handy if you’re outside and it looks like rain, etc.
Simply move the heat gun evenly and slowly across the timber. Be careful, though, because heat guns can get super hot.
Tip 6 – Add Multiple Coats of Paint
Paint is going to fade over time, especially on landscaping timbers outside. To keep your landscaping looking great for longer, add more coats of paint.
Even if your timber looks amazing, it’s always a good idea to add another coat for good measure because you never know how it will react after the sun hits it for a few weeks.
Tip 7 – Consider Dry Treated Timber
If you’re working on a project with a shorter timeline, it is possible to buy treated timber that’s dry already.
You’re not going to find it as easily in your local big box hardware supplier, but specialty lumber suppliers may have it in stock. That timber is ready to be painted as soon as you buy and can make your project timeline easier to manage.
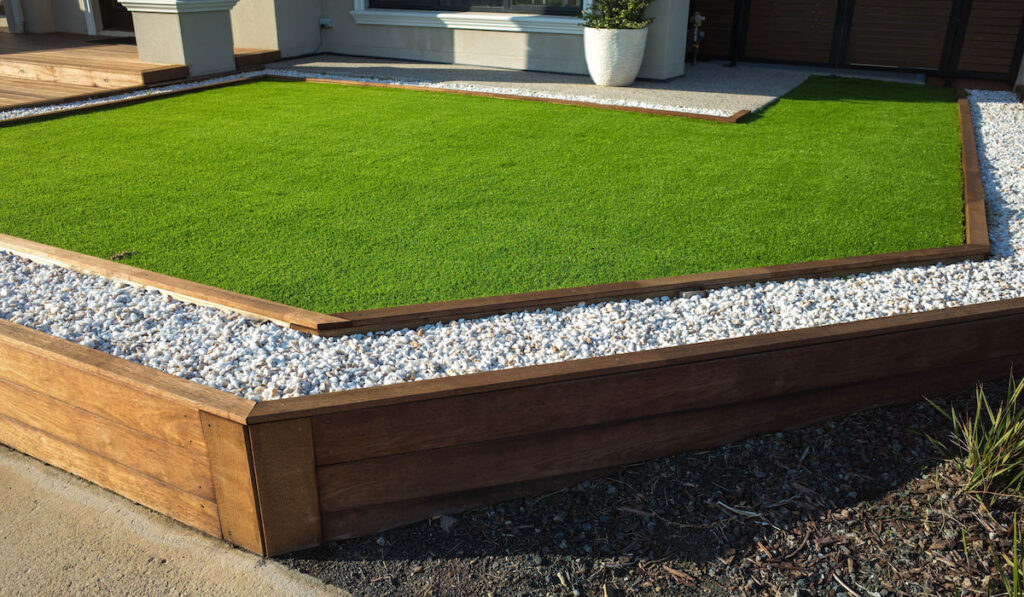
By following these tips, your landscaping timbers, whether you’re lining a driveway or building a retaining wall, will keep their great look for years. No more faded brown in your backyard or at the entrance to your office building.
With a little time and effort, you can add some color that will improve the overall look and feel of your property. The time you spend on the details of your landscaping will pay dividends when it comes to property value and curb appeal.

If it’s your first time painting landscaping timbers, don’t be afraid to ask questions at your local hardware store or do some more research online to make sure you get things right. You’ll love the way it looks and won’t have to make spot repairs as often.