*This post may have affiliate links, which means I may receive commissions if you choose to purchase through links I provide (at no extra cost to you). As an Amazon Associate, I earn from qualifying purchases. Please read my disclaimer for additional details.
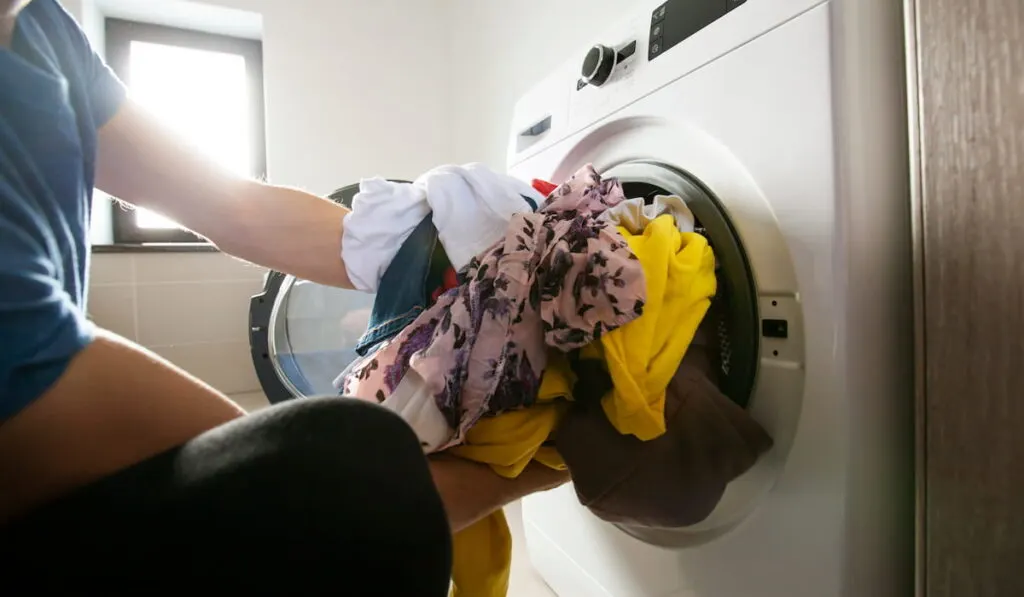
Your dryer does a lot more than dry clothes and other fabrics. A quality dryer also keeps your clothes in good shape and reduces drying time.
However, over time, we get so caught up in getting laundry done that we forget the dryer also needs proper maintenance.
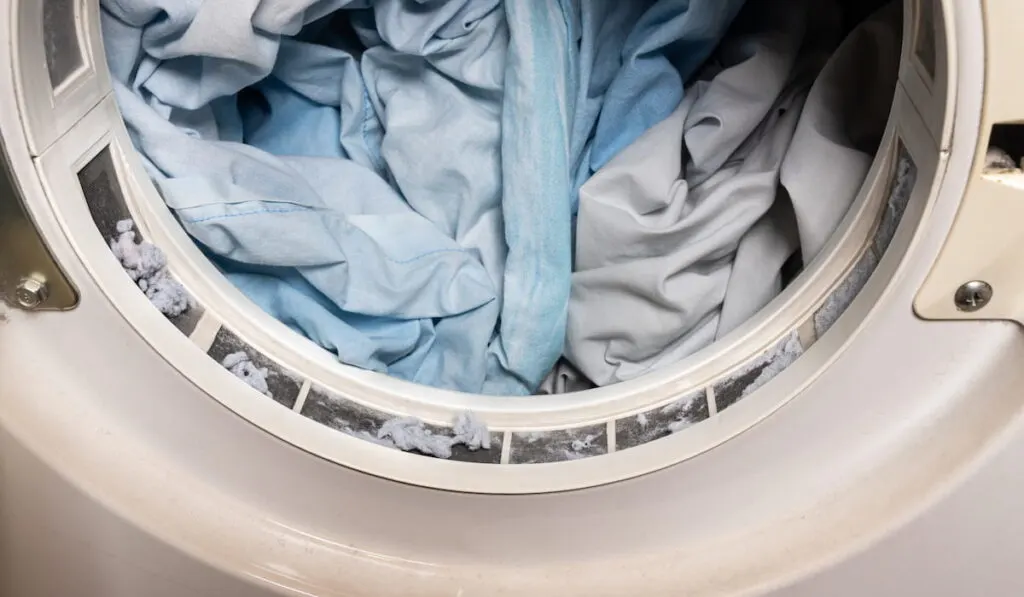
Dryers accumulate lint and dust with time, which can affect their performance. Cleaning the dryer allows it to run efficiently and reduces the risk of a clogged vent that could lead to a fire.
Our detailed guide lists some tips you need to know when cleaning your dryer.


Table of Contents
Do You Need to Clean the Inside of Your Dryer?
Cleaning the interior of your dryer at least once a month is essential to prevent residue buildup and odor accumulation.
How Often Should You Clean Your Dryer?
According to National Fire Protection Agency, it’s best to clean your dryer every year. However, the frequency can change depending on how often you use the dryer, if you have pets around the house, the number of people in the place, and the location of the vent.
You may have to clean the dryer monthly if your dryer gets clogged often.
7 Tips for Cleaning Your Dryer
If you notice that your clothes are taking longer to dry, there’s a lot of lint in and around the dryer, and the dryer is warm when you touch it, those are indications that you need to clean your dryer.
Here are some tips that will get you started.
1. Gather the Cleaning Supplies
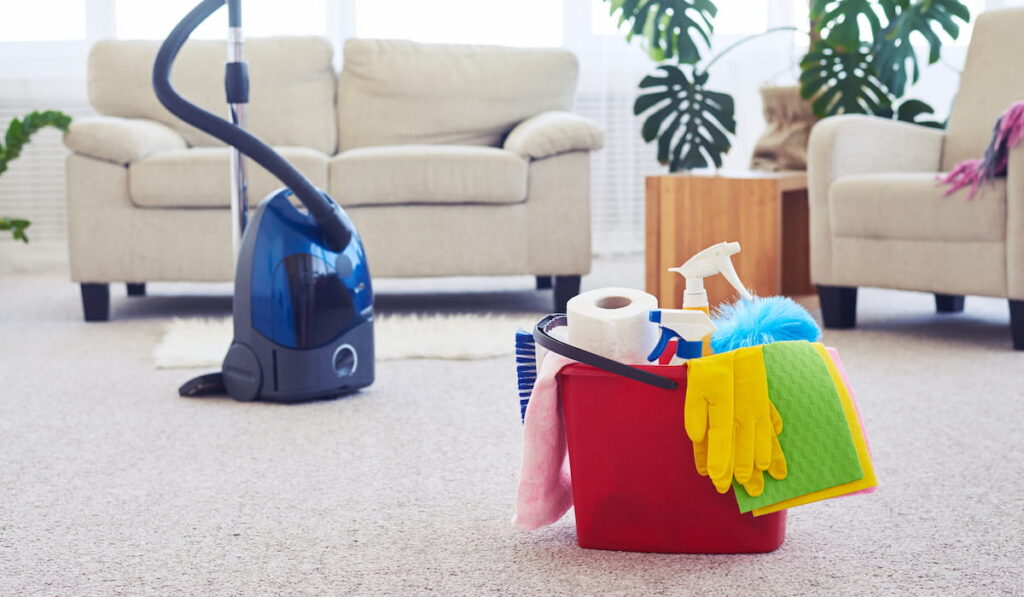

Some of the items you’ll need include:
- Clean towels
- Lint-free cloth
- Old toothbrush
- Warm water
- Cleaning brush
- Vacuum cleaner
- Screwdriver
2. Unplug the Dryer and Remove the Clamp
The first step is to power down the dryer and unplug it from the power source before deep cleaning it.
Use the screwdriver to remove the clamp that connects the vent pipe to the wall. Move the dryer to a place where you can access the sides, back, and front easily.
3. Remove the Lint Screen and Clean It
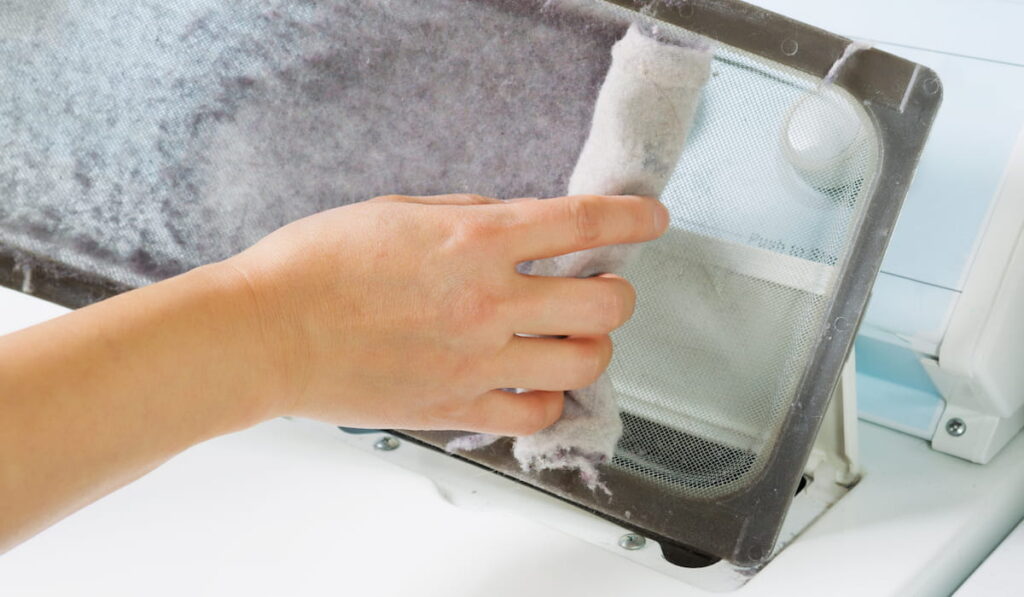
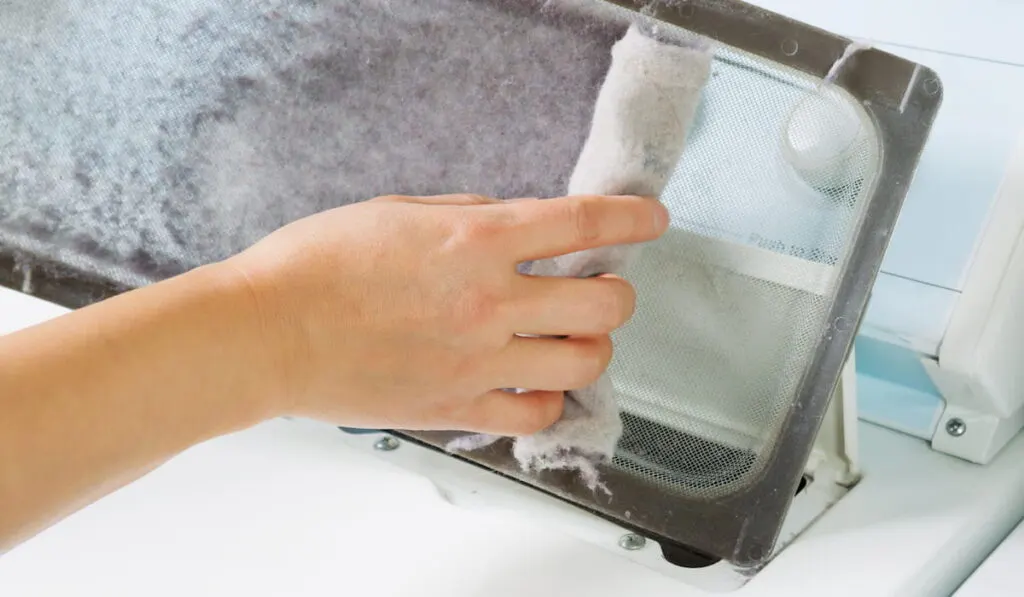
Wash the lint screen with warm water and cleaning solution and ensure you’ve covered all the corners. Use an old toothbrush to scrub out any trapped dirt in the crevices. Use the cloth to wipe the trapped lint and repeat until the toothbrush comes out clean.
Alternatively, you can use a vacuum cleaner with an attachment to clean the lint trap.
4. Wipe Down the Drum
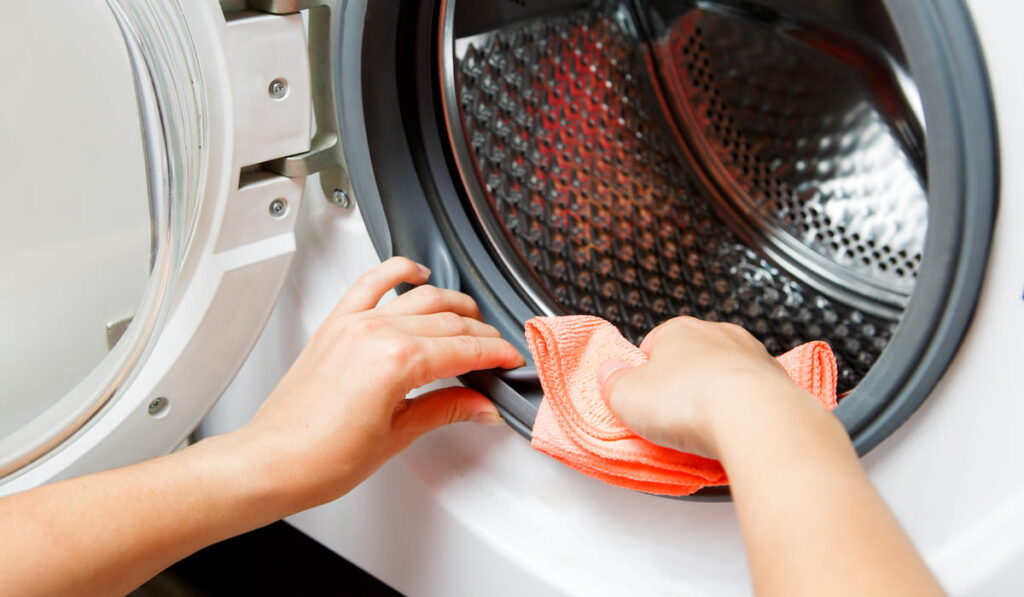

The next step is to clean the drum using a lint-free cloth. Start by wiping it down before using a clean cloth and warm, soapy water to wipe down the dryer drum.
Use a clean towel to dry the inside of the drum. Leave the door open to allow it to air-dry.
5. Inspect and Clean the Dryer Vent
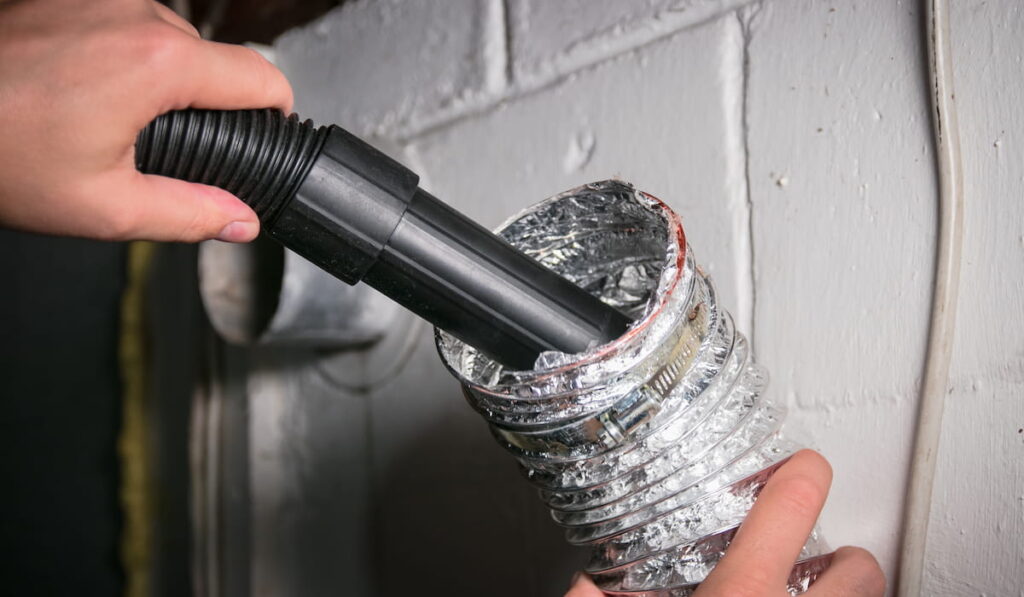

The dryer vent should be outside on an exterior wall or the roof. Dryers have an exhaust pipe that connects to ductwork in the wall. Hot air is pushed through this exhaust pipe and exits through a vent.
There should be a plastic cover that protects the vent. Remove this cover from the outside and any clamp that holds the dryer to the vent duct inside the laundry room.
Clean the dryer vent ducts by inserting a brush into one side of the vent, scrubbing every corner, and pushing the stuck dirt and debris to the other duct side.
Use the hose cleaner vacuum attachment to suck up lint that’s around and inside the vent. Once everything is cleared, vacuum any dirt and lint pushed to the other end of the vent duct.
6. Reconnect Everything
Once you’ve cleaned up the vent duct, it’s time to reattach the cover to the end of the duct. Put the clamp or tape on the dryer’s end of the vent duct.
Move the dryer to its position and reconnect it to power or gas. Remember to run an empty cycle to ensure no dust or lint is left inside the dryer.
7. Clean the Outside of the Dryer
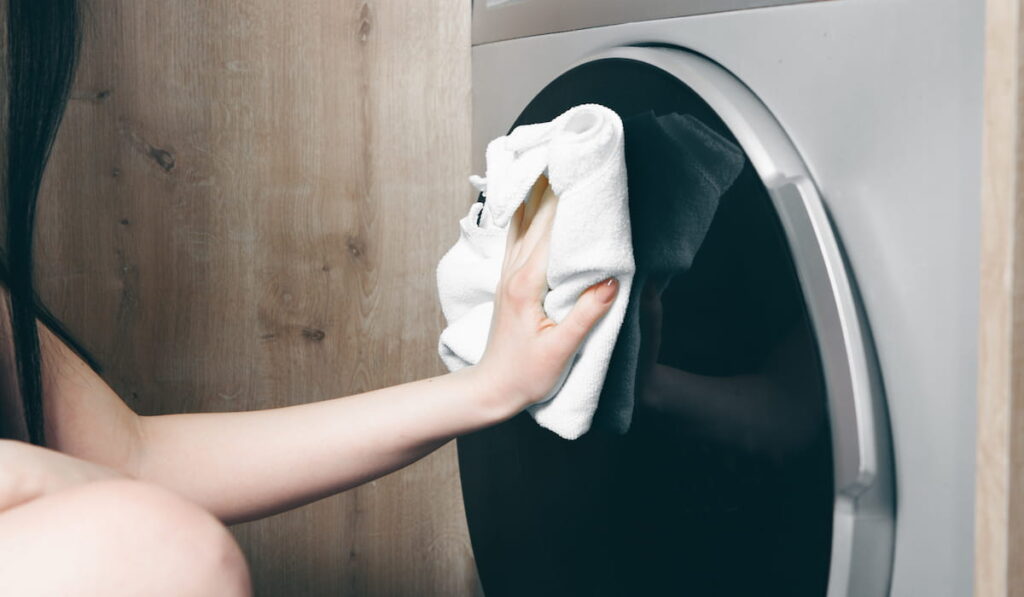

Your dryer tends to accumulate residue from fabric softeners and detergent drips. Sometimes lint can also get on the sides and top of the dryer.
Clean the outside of the dryer using a microfiber cloth and a vinegar/water solution. That will remove any gunk that is stuck on the knobs, surface, and buttons.
Maintaining Your Dryer Between Cleanings
Dryers collect a large amount of lint over time. There are some things you can do to reduce the amount of lint:
Hang Lint-Prone Fabrics


Consider hanging clothes like flannels or pet bedding outside to dry, rather than placing them in the dryer. That will reduce the lint that collects in the dryer over time.
Clean the Lint Screen After Every Load
Ensure that you clean the lint screen after every load, as a dirty lint screen increases drying time. Remove dry lint by hand and put the trap back.

Clean Moisture Sensors
Some dryers have moisture sensors that work with auto-dry cycles to determine the clothes’ dampness and switch off the machine when the laundry is dry.
With regular use, the sensors get covered with film and may not detect when the laundry is dry, which leaves you with damp laundry.
You can prevent this by cleaning the sensors. Use rubbing alcohol and cotton to clean the film off the sensors.
Don’t Overfill the Dryer
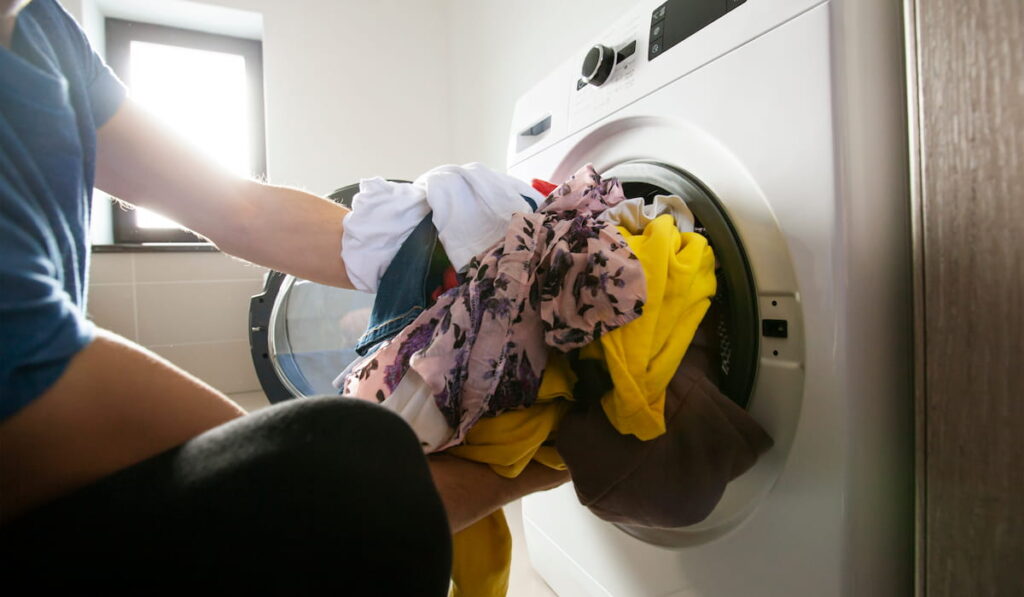
Avoid overfilling your dryer, as this causes the machine to work extra hard, which can interfere with its performance.
Put the correct amount of laundry in the dryer for better performance and machine durability.
Consult a Professional for Thorough Cleaning
Sometimes you may not be sure that you’ve cleaned the vents correctly, or there is damage to the vents. It’s best to consult an experienced dryer operator for cleaning and inspecting cracks or damaged vents.
Final Thoughts
A quality dryer lasts about 8-10 years. Cleaning your dryer and vent can help prolong the life of your dryer and ensure it effectively dries your clothes.
Remember to always read the instructions that come with the dryer for details on how to clean your specific model. Our tips above will help you learn how to clean and maintain your dryer for years.
Resources
- https://www.bhg.com/homekeeping/house-cleaning/tips/how-to-clean-trash-can/
- https://www.hgtv.com/lifestyle/clean-and-organize/how-and-why-you-should-clean-your-dryer-today
- https://www.nfpa.org//-/media/Files/News-and-Research/Fire-statistics-and-reports/US-Fire-Problem/Fire-causes/oswashersdryers.pdf
- https://www.webmd.com/a-to-z-guides/how-to-clean-your-dryer
- https://www.today.com/series/how-often-should-you/how-often-you-should-clean-your-dryer-right-way-do-t77396
- https://www.thespruce.com/how-to-disinfect-a-washer-2147320
- https://www.whirlpool.com/blog/washers-and-dryers/clean-dryer.html