*This post may have affiliate links, which means I may receive commissions if you choose to purchase through links I provide (at no extra cost to you). As an Amazon Associate, I earn from qualifying purchases. Please read my disclaimer for additional details.
As people progress in their DIY journey, they’re willing to take on more complex and challenging projects. Pretty soon, you learn that all it takes to do something is the right tools and instructions on how to get it done. Sure, mistakes will be made, but that’s part of the fun.
One thing a lot of hobbyist DIYers with some experience under their belts love to try is working with sheet metal, and that means learning soldering and welding.

What’s the difference between soldering and welding?
The terms soldering and welding are often used interchangeably like they mean the same thing, but they’re quite different. The difference is all about the techniques used to work with sheet metal.
With welding, you’re melting the base metal and fusing two pieces. When they dry, they dry as a single hardened piece.
Soldering, on the other hand, heats the metal but doesn’t melt the pieces. Instead, the solder is applied to the heated metal and holds the two pieces together.
How do you know which one is the best for your project? Let’s explore a bit about soldering and welding, what you need, how easy they are to learn, and some other interesting facts about each.
Table of Contents
Are There Differences in Strength?
The short answer is, yes, there are differences in strength. In general, welded metal pieces will be stronger than soldered metal.
That’s because the welded pieces are melted and fused. The strength of the piece and the joint are the same.
With soldering, the strength of the solder is what’s holding the metal together. It can still be very strong, but it’s usually not as strong as welded joints would be.
Soldering Basics: What You Need to Know
Are different materials required for soldering?
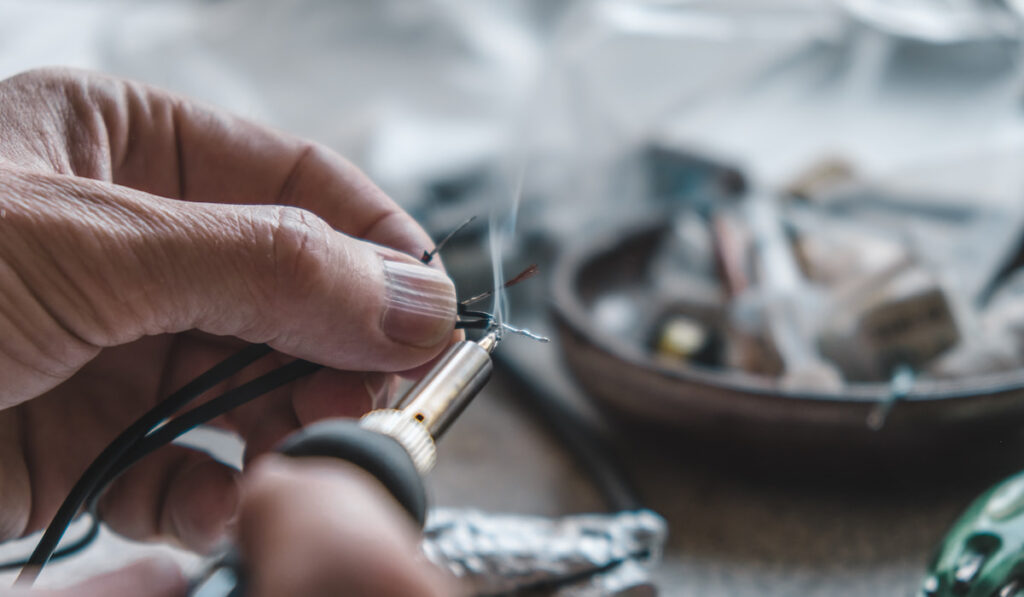
There are a lot of different types of solder, also sometimes called filler. You’ve got silver solder, brass solder, and iron solder. The most popular solder, though, is a tin-alloy solder that’s made up of a majority of tin with a tiny bit of copper mixed in.
With soldering, you’re not changing the properties of the metal you’re working with to join them together.
Soldering is usually a lot easier to do because it requires less heat. While welding needs around 6500 degrees of heat to melt the metal, solder can be melted and applied to sheet metal at about 840 degrees.
The ability to use less heat and different materials in soldering makes it ideal for joining electrical components, jewelry, and other sensitive materials.
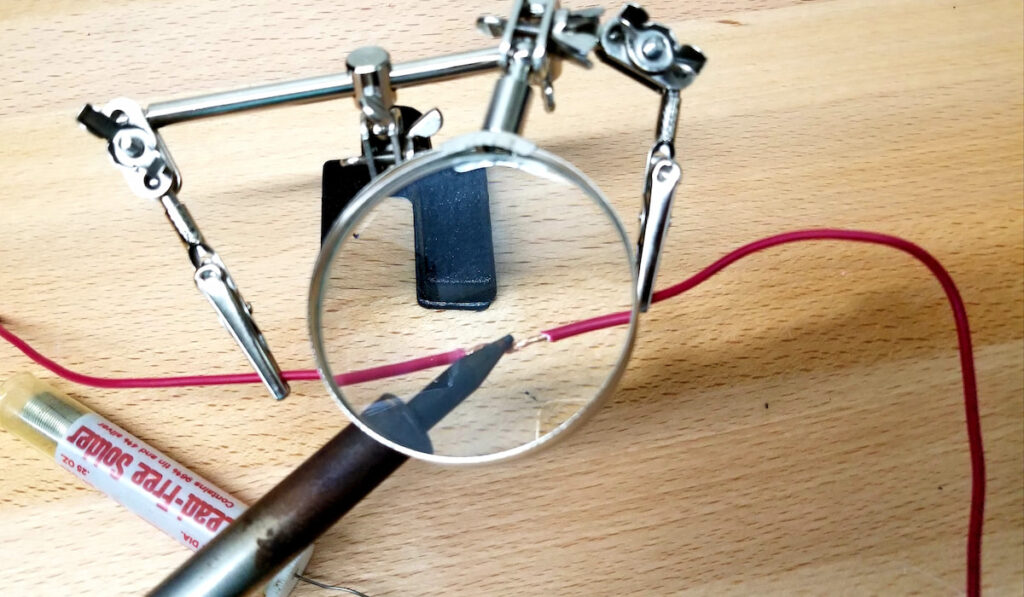
How to Solder
Here are some basic steps to get you started soldering:
- First, you have to heat the soldering iron to the desired temperature. Different materials will require different temps, but most soldering irons need to be between 300-375 degrees. It usually takes like five minutes to get there.
- Take the solder and melt it on the soldering iron’s tip.
- Hold the soldering iron like a pencil and trace along the joint or area that you want to attach metals to.
- Let it cool in place and it will harden.
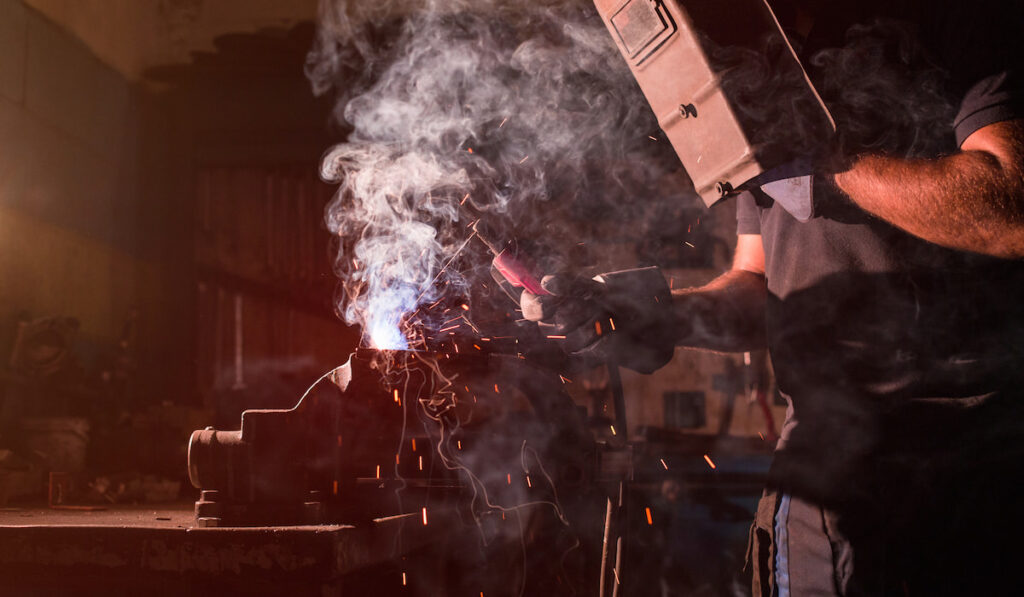
Welding Basics: Generally for More Advanced Metal Workers

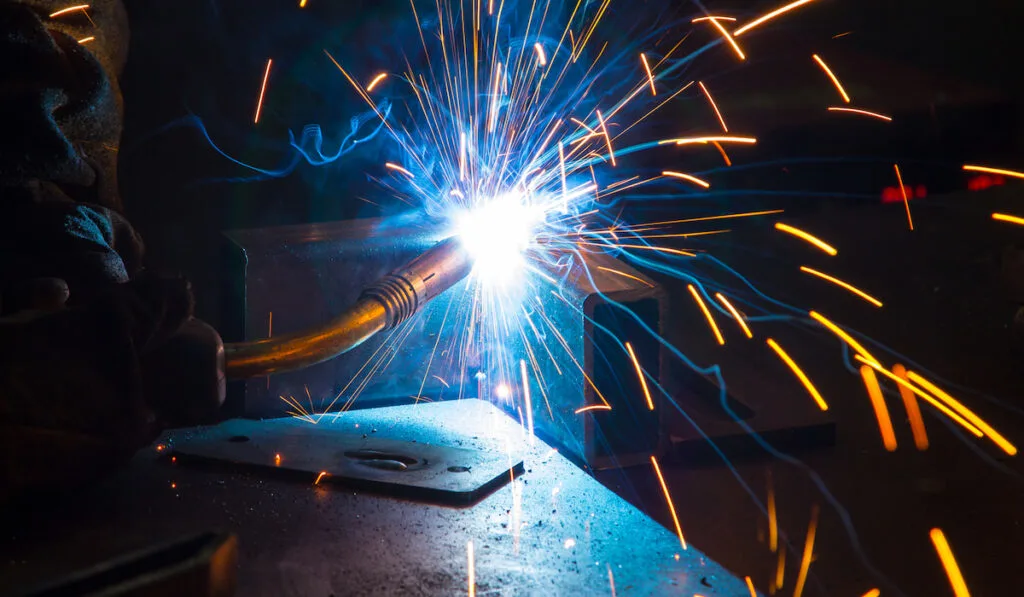
Welding delivers stronger metal joints because you’re melting the metal. When the two pieces come together and cool, they harden into something stronger than the original pieces.
Typically, the welding process must use oxygen combustion and acetylene that generates a very powerful flame required to melt metal. It works great on things made of steel but won’t do well on softer metals that are more delicate.
The most popular form of welding currently is electric arc welding. This process involves melting an electrode (often a welding wire) which then melts the base metal.
A welding wire is continuously fed through to the tip of the welder which then heats the base metal hot enough for it to melt.
Once the metal pieces cool, they essentially become a single piece of metal with very strong joints.
The Welding Supplies You’ll Need
Here’s a basic list of what you’ll need to weld metal.
Welding Pliers – You’re going to need a pair of pliers to keep your welder clear of splatter. That will ensure the welding wire comes through the nozzle cleanly.
A Grinder – A right-angle grinder will help you flatten welds to make them look more presentable.
Welder – Welders can cost a lot of money and they can vary widely in quality. Read online reviews on the best starter welder and, if possible, invest in a quality welder. It will show up in your finished products.
Welding Wire – Wire is affordable, so you can buy different types and experiment to find what works best.

Gas – Shielding gas is what gives your welder its fuel. Talk to a local welding supplier about different types of gas. They can usually sell you a reusable tank that you can take back whenever you need a refill.
A Rolling Cart – Wire, pliers, your face shield, and other supplies can get heavy. Invest in a rolling cart that you can move around the shop with you.
Safety Gear – You should use a full-face darkening helmet to protect yourself while welding. Without proper protection, the light generated by the welding process can damage your eyes.
The Welding Process
Here is a basic overview of the welding process.
- First, grind the edges of your metal pieces down to make getting a clean weld more likely.
- Make sure the electrode is sticking out of your nozzle by about a quarter inch. Clear the nozzle of any splatter.
- Hold the welding gun with both hands and guide the gun along the welding lines. Steady hands will create cleaner lines and neat joints.
- Grind the welds down to give your metal a smooth finish.
Learn By Doing
Both the welding and soldering process can be a lot of fun for DIYers. It’s going to take some practice, though, to get the hang of things. Pay attention to safety and take things slowly as you have fun learning more about metalwork!
Resources
- https://weldersmen.com/soldering-vs-welding/
- https://www.kaempfandharris.com/industry-news/difference-between-welding-and-soldering
- https://www.popularmechanics.com/home/tools/how-to/a15739/how-to-get-started-with-welding