*This post may have affiliate links, which means I may receive commissions if you choose to purchase through links I provide (at no extra cost to you). As an Amazon Associate, I earn from qualifying purchases. Please read my disclaimer for additional details.
A socket wrench makes it easier to tighten bolts and nuts and saves you loads of time, but how do you use one? With the selection of sockets they come with and the ratcheting feature, you may feel overwhelmed when trying to use one for the first time.

How do you use a socket wrench? To use a socket wrench, follow these seven steps:
- Select the socket to fit the bolt or nut you’ll be tightening or loosening.
- Slide the socket onto the handle by clicking it into place on the square knob.
- Select whether you’ll be loosening or tightening.
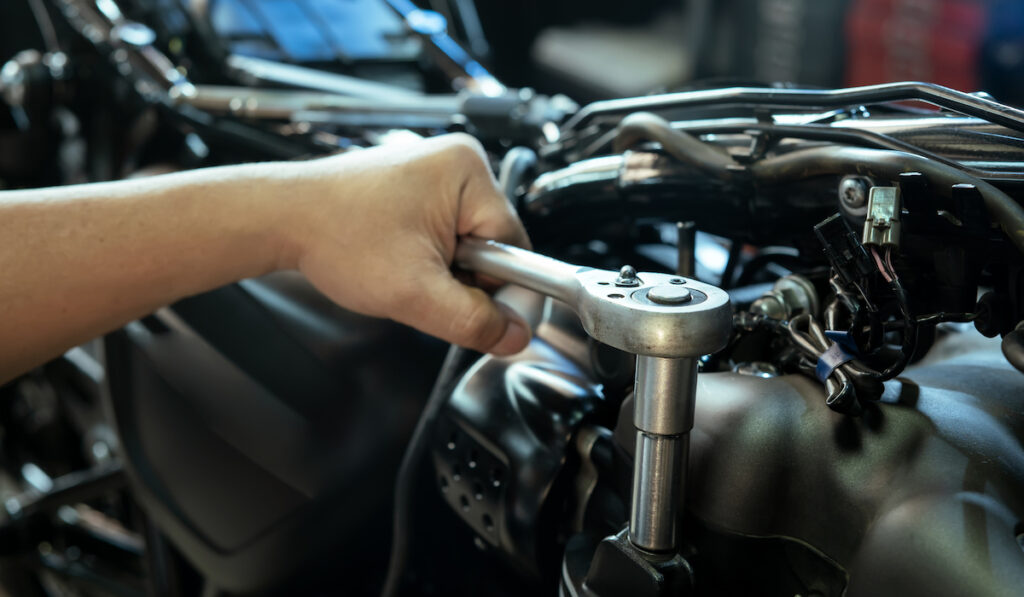
- Place it on the bolt or nut.
- Twist the handle like you would a standard wrench.
- Don’t remove it from the bolt or nut; simply twist it in the opposite direction.
- Continue twisting one way, then the other, until you’re finished.
As simple as that sounds, you may still find yourself overwhelmed when trying to select the right socket, getting it on and off the handle, and changing the direction of the ratcheting. If you haven’t quite gotten the hang of it, don’t worry! This article will guide you through using a socket wrench correctly.
Table of Contents
Using a Socket Wrench 101
You can probably find multiple socket wrenches in the toolbox of any mechanic, handyman, construction worker, or other tradespeople. If you are making any home improvements with nuts and bolts, purchasing a socket wrench will make it much more manageable.
Some advice for using a socket wrench is:
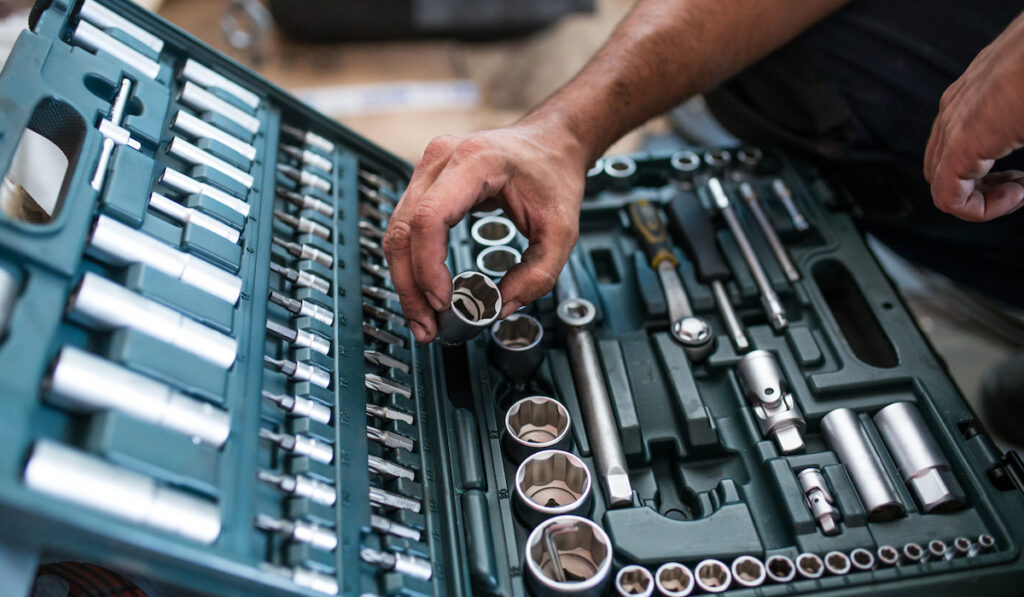
- When you use a socket wrench, you’ll most likely have to try a few sockets before you find the right one for the nut or bolt you’re working with, unless you know the exact size already.
- When you find the correct sized socket, it should be easy to insert the square knob on the handle into the square hole on the socket. If it doesn’t click into place, you should look for any debris in the socket’s hole.
- On the back of the handle where the socket is attached, you’ll see a switch. When the top is pointed to the right, you’re tightening the nut or bolt. If it is pointed to the left, you are loosening it.
- Place it on the nut or bolt and twist the handle like you would a standard wrench. However, don’t take it off the nut or bolt. Instead, turn it in the opposite direction.
- It will ratchet back, and you can continue twisting it as a typical wrench.

Once you’ve gotten the hang of using the socket wrench instead of a traditional wrench, you’ll find it much easier to use. However, it can be tricky to put together and find the right socket for the job.
How Do You Put a Socket Wrench Together?
One of the most confusing parts of using a socket wrench is putting it together. The first thing to do is to identify the different parts of it.
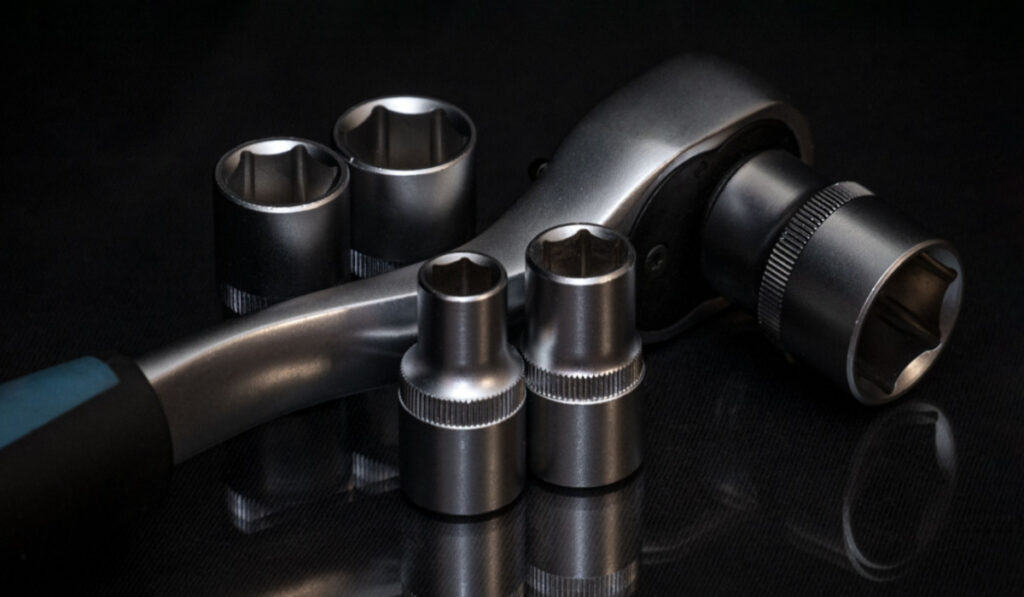
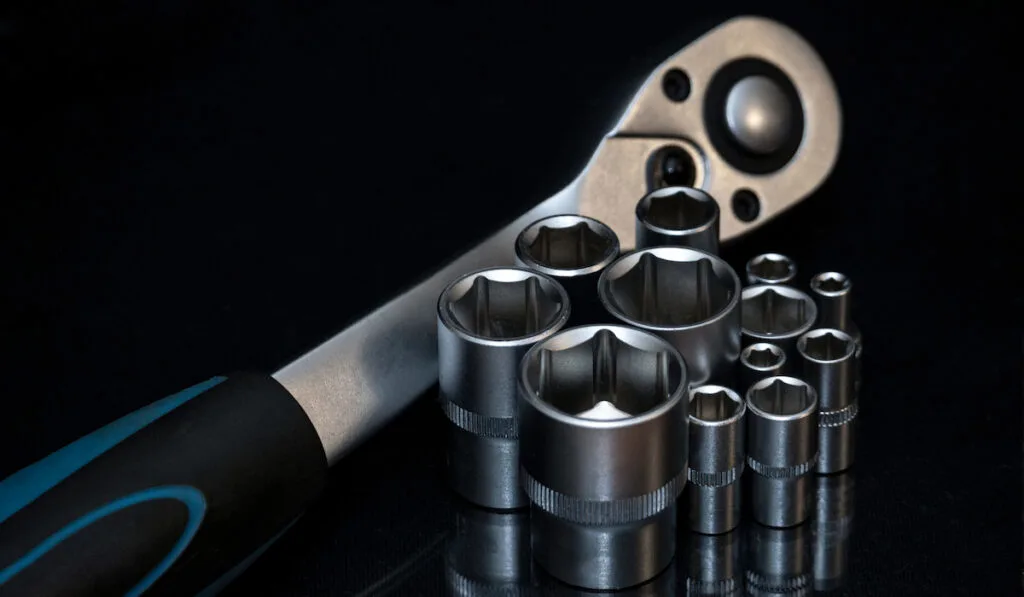
The three working parts of a socket wrench are:
- The socket. This is the cylinder-shaped piece with one end shaped to fit over a nut or bolt while the other end has a square-shaped hole. What size it is will be imprinted on the side of it, so it will be easy to determine which size you need.
- The handle. This is the piece you grasp to twist, just as you would a typical wrench.
- The head of the wrench. This is where the socket attaches. On one side, there’s a square-shaped knob for the socket to click onto. On the other side, you’ll see the switch to adjust whether you’re tightening or loosening.
When you’re ready to assemble your socket wrench, here’s what you’ll do:
- Holding your socket with the square knob facing up, line up the square hole in the socket with the handle’s knob.
- Press the knob into the hole until you hear a click. Tug on the socket once to make sure it’s secure. If the socket isn’t secure, it’ll fall off or won’t work.
- Remember the phrase “righty tighty, lefty loosey” and adjust the switch on the back of the head accordingly.
Before you attach the socket, however, you should make sure it fits the nut or bolt you’re attempting to tighten.
How Do You Find the Right Socket for Your Bolt/Nut?
One of the benefits of socket wrenches over traditional wrenches is the detachable sockets. When attempting to find the right-sized socket, you can simply slip a socket over the bolt to see if it fits. This is much easier than trying out different wrenches.

However, if you use a socket that’s too big, you risk stripping the bolt head and making it impossible to unscrew. Why?
With a socket that’s too big, the inside of the socket chips and damages the bolt head. If you continue to attempt to use the wrong sized socket, the corners of the bolt head will wear out. Once it’s been damaged enough, you won’t be able to get a grip on it with a socket or wrench and a specialty tool will be required to remove it.
A properly fitting socket will fit snuggly on the bolt head without having to be forced on and shouldn’t feel loose when you twist it with your hand. If you can jiggle it on the bolt head, it’s too big. On the opposite side of things, if you have to shove it onto the bolt, it’s too tight.
How Do You Release a Socket from a Socket Wrench Head?
The entire point of socket wrenches is being able to switch sizes without having to change wrenches. However, many people have spent a fair amount of time struggling to get a socket off the handle!
Some sockets have a quick-release. If you have a small button on the wrench’s head or you can depress the switch on it, your socket should fall off. For other wrenches, however, it’s a bit more complicated and frustrating.
To switch sockets on a socket wrench, follow these steps:
- Wrap a rag around the handle and the socket for a better grip. Grab the socket firmly in one hand and the handle’s head in the other.
- Then, pull hard.
- If it doesn’t release, first try applying WD-40 where the socket connects to the head. Allow it to sit for a few minutes at least before attempting to rerelease the socket.
- If you still can’t get the socket off, use a vise to grip the handle. Using a set of pliers or a wrench, grab the socket tightly.
- Again, pull as hard as you can until the pieces separate.
- Finally, if nothing else works, you can wedge a thin-bladed screwdriver in between the socket and wrench head to pop them apart.
Pro Tip: Regularly applying a lubricant such as WD-40 and keeping your socket wrench in a dry location when you aren’t using it will help prevent the wrench and socket from getting stuck together.
How Does a Socket Wrench Work?
A socket wrench has a ratcheting mechanism inside it, which allows you to turn the handle back without unscrewing the bolt. Each time you push the handle forward, it grips the bolt head to screw it in, just as a regular wrench would.

Unlike a regular wrench, the socket wrench’s ratchet releases the bolt head when you turn it back. It’ll make a “ratcheting” noise to let you know it isn’t tightening or loosening your bolt but merely coming back to make it easier for you to keep screwing it in.
This not only makes it easier and less time consuming to tighten or loosen a bolt, but in tight spaces, it’s a lifesaver. When you only have a couple of inches to move your wrench, you can quickly twist the socket wrench back and forth to screw it in, whereas, with a regular wrench, you’d have to pull it off every couple inches.
Conclusion
Once you’ve gotten the hang of it, socket wrenches don’t seem nearly as difficult as they may seem initially. Socket wrenches are one of the most helpful tools out there, both for professionals and the average person just fixing things at home. Keep practicing until you get the hang of it!