*This post may have affiliate links, which means I may receive commissions if you choose to purchase through links I provide (at no extra cost to you). As an Amazon Associate, I earn from qualifying purchases. Please read my disclaimer for additional details.
Excessive use, as well as external factors such as wind and other extreme weather, can lead to a swaying deck over time. Luckily, though, there are several effective DIY ways to keep your deck from swaying.
The most effective way to keep a deck from swaying is to brace it. There are several ways and styles to brace a deck, including cross bracing, diagonal bracing, as well as a continuous footing for taller decks.

In this DIY guide, we’ll explore several ways to protect your deck from swaying with practical, at-home projects.
Each method accounts for a different style or size of home deck to give a more comprehensive guide. Keep reading to learn more about how to stabilize your deck on your own.
Table of Contents
How to Keep a Deck from Swaying (DIY Guide)?
There are several different ways to brace a deck, which effectively stabilize the columns and other structural components. Furthermore, you can also stabilize your deck against swaying by choosing the most durable deck materials to begin with.
Below, we’ll tackle the following bracing methods and ideal deck materials:
- DIY Cross Bracing
- DIY Diagonal Bracing
- DIY Continuous Footing
- Finding the Most Durable Deck Materials
- Tips for DIY Deck Bracing
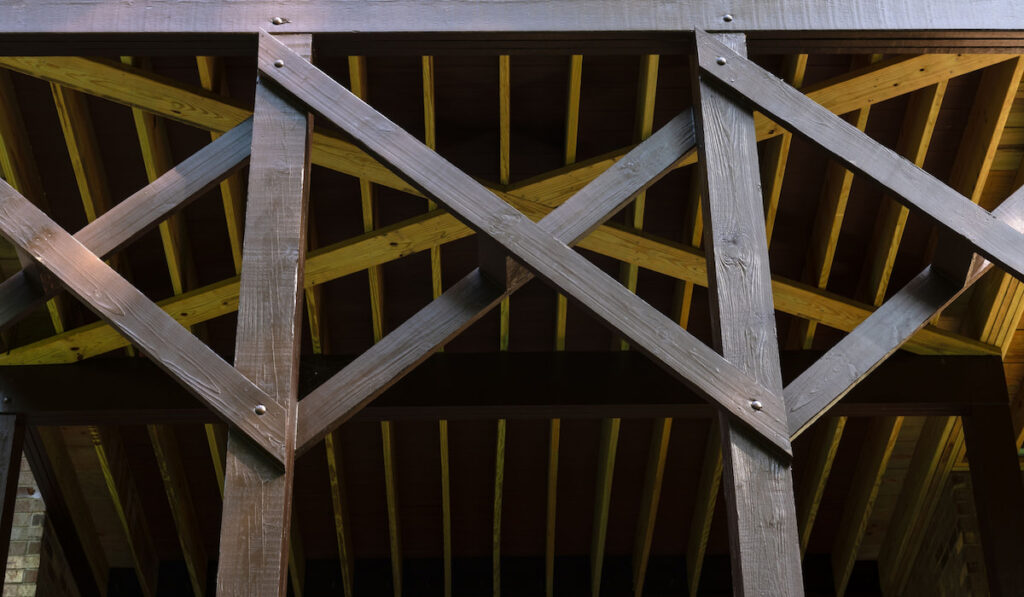
DIY Cross Bracing
Cross bracing is an effective way to secure your deck against harsh winds, weather, and other factors that make it prone to swaying.
Cross bracing is useful if you have a deck that is not secured to a structure. As its name suggests, this method of bracing involves X-shaped braces or “cross”-shaped braces.
Typically, you use wood materials to create these braces and fasten them to the deck columns. Both 2×4 and 2×6 brace pieces are the most common dimensions for cross-bracing or X-bracing on decks.
A deck that isn’t attached to a structure – or a freestanding deck – needs some form of lateral (or sideways) support. And that’s why this method is so effective for certain decks, including those situated on slopes or inclines.

How to Cross-Brace a Deck?
Follow these step-by-step instructions to secure your freestanding deck with cross bracing:
- Acquire enough 2×4 or 2×6 planks to add an “X” between each of your deck columns (2 planks for every column gap)
- For aesthetic purposes, you may cut the ends of the planks at an angle so that they don’t overlap the columns when you attach them
- Attach these planks from the top of one deck column to the bottom of the adjacent column (so in a diagonal direction)
- Use 16d stainless steel nails (which are rust-resistant) or hot-dipped No products found. (which are cheaper) and hammer them in
- As you criss-cross the planks, you will have X shapes between each deck column, resembling a railroad design
DIY Diagonal Bracing
Diagonal bracing is another effective and practical way to stabilize your deck at home. With a few construction supplies and some good weather, you can get this job done in less than a week’s time.
Diagonal bracing is often used to keep decks from swaying and is one of the more common methods. It’s effective when it comes to decks that are fastened to a structure, but it should be limited to standard-sized decks, rather than extra-large decks.
Diagonal bracing involves attaching wood planks that stretch from the columns to the beams, resulting in a V-shape design. Typically, you would use 4×4 planks for diagonal bracing projects.
How to Diagonal Brace a Deck
Follow these step-by-step instructions when diagonally bracing your deck at home:
- Acquire enough 4×4 wood planks from a hardware store to attach to either side of each column (i.e. if you have 4 columns around your deck, you’ll need 8 planks to act as braces)
- Hold a 4×4 plank up to a deck column, with the other end pointing up to the beam at a 45-degree angle, keeping in mind that the 4×4 planks will fit snug between the column and beam (not overlapping either one)
- Mark your plank on both ends so you know where to cut
- Use a No products found. to cross-cut your 4×4 planks appropriately
- Fasten stainless steel or hot-dipped galvanized nails perpendicular to your columns and through the 4×4 planks
- Fasten nails perpendicular and upwards through the other end of the planks and into the deck beams
- Continue this process around the deck until all beams and columns are supported at 45-degree angles with braces
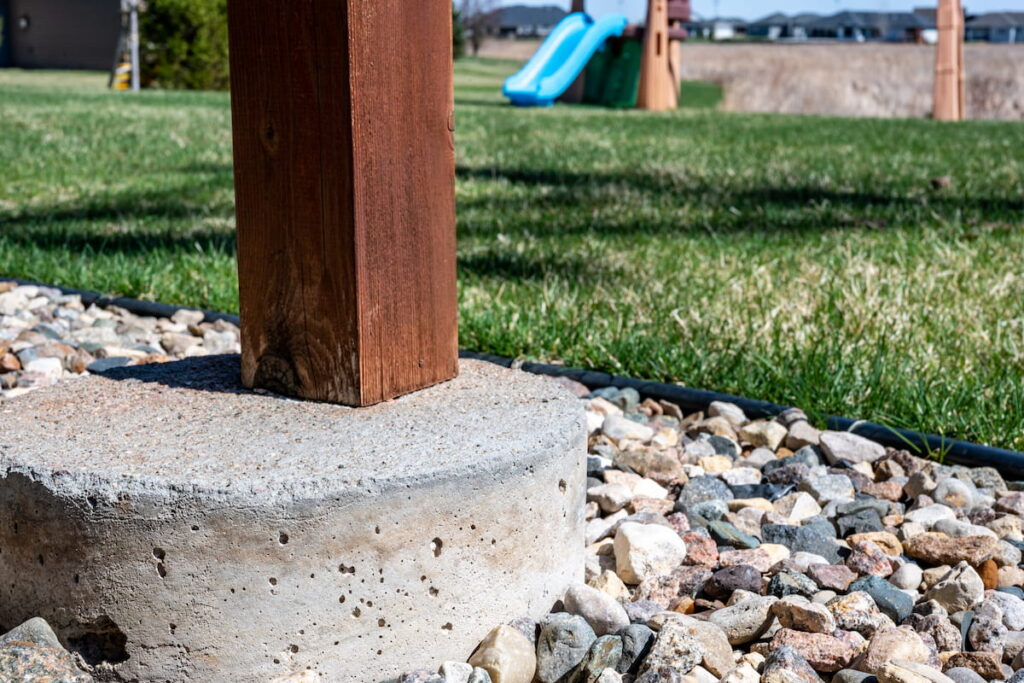

DIY Continuous Footing
Another form of deck stabilization that is usually reserved for extra-large or extra tall decks is called footing.
If your deck is larger than 6-8 feet tall, you may consider trying this DIY method to keep your deck from swaying. It’s considered one of the safest and most secure ways to stabilize a deck.
Keep in mind that this is a more time-consuming, tedious, and expensive deck support method. Furthermore, you’re going to want to use this method when you first construct your deck, rather than add this support to an existing deck.
You have to pour enough concrete at the deck’s base to create consistent footing around the whole deck.
How to Foot a Deck
Take the following steps when securing a new deck with footing around the base:
- Gather a spade, hoe, tamper, measuring device, level, utility knife, posthole digger (or an auger), form tubes, and concrete
- Find out the frost depth in your region and make note of this depth in the soil
- Dig holes 12 inches down below the frost line in each of the spots where a deck column will go, making sure they’re wide enough to fit the form tubes
- Use a tamper to pack down loose soil at the bottom of the holes
- Trim your cardboard form tubes so that they’ll reach the bottom of the holes and stick above the ground by about 2 inches
- Insert your form tubes so they reach the bottom of the holes
- Use a level device to make sure the form tubes are level and can stabilize the columns you’ll put in them
- Add a base layer of concrete to the bottom of the holes
- Set the posts/columns into the holes, using a level to make sure they’re aligned
- Continue adding concrete around the posts with a shovel until the form tubes are filled to the top
- Use your utility knife or a trowel to get rid of air bubbles in the concrete and smooth over the top layer
- Wait 24-72 hours for the concrete to fully dry and then remove the cardboard form left above ground
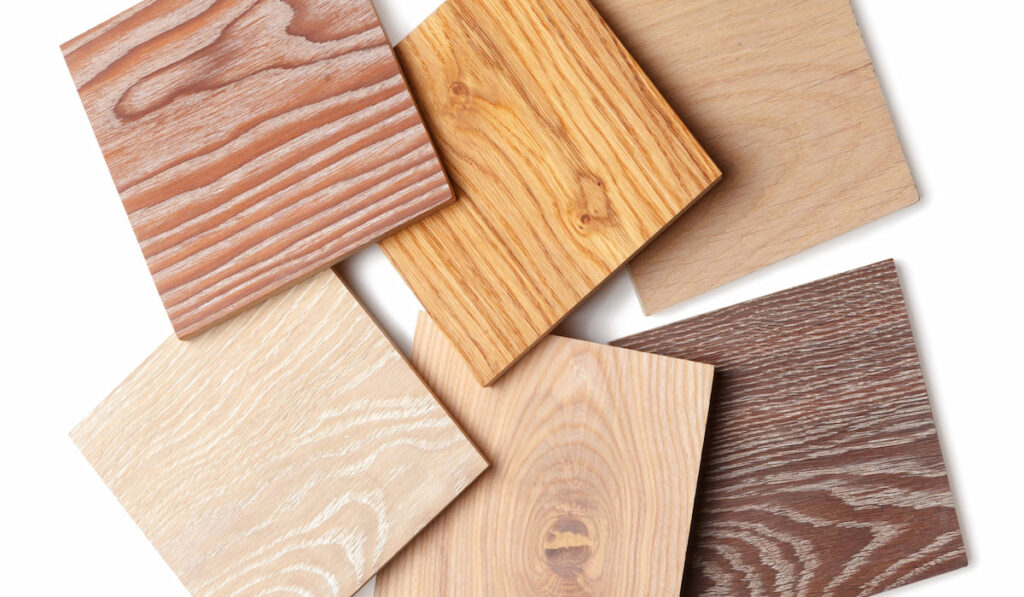

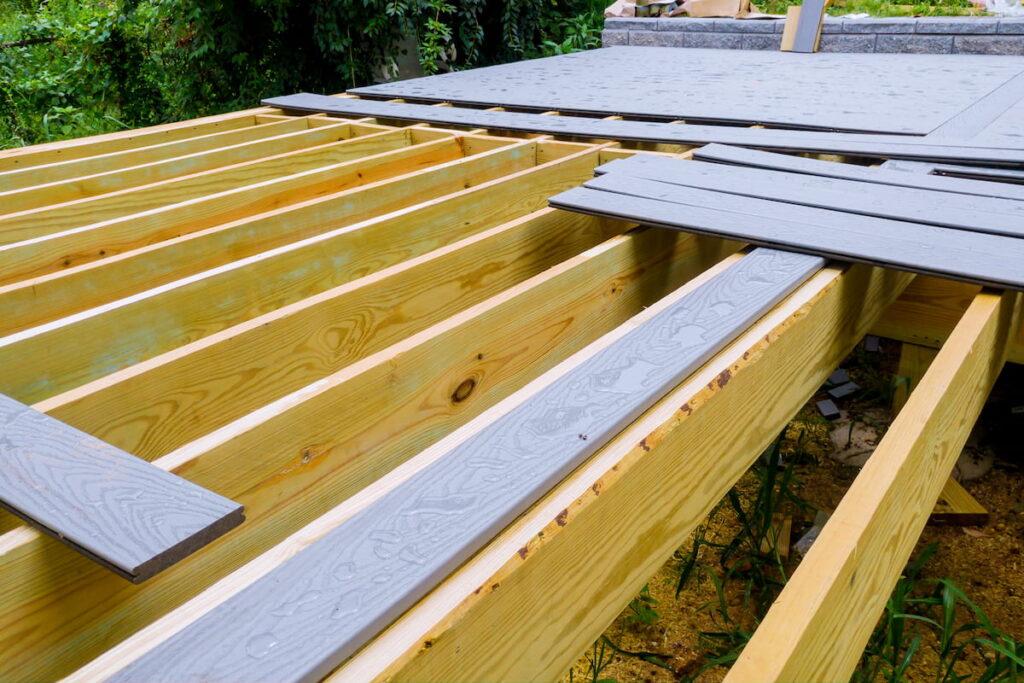
Most Durable Deck Materials
Another way to ensure that your deck is protected against harsh winds, external pressures, and swaying is to use quality and durable materials. Some of the best decking materials include the following options:
- Natural woods such as cedar, tropical hardwood, or redwood (bug and rot-resistant)
- Composite decking materials (often made from recycled PVC, polyethylene, and wood fibers)
- Pressure-treated wood (treated pine that’s easy to work with and resists insects, rotting, and water)
- Aluminum decking materials (weather-resistant, rot-resistant, stain-resistant, anti-rust, anti-crack, anti-skid)
- 10d or 16d stainless steel nails (won’t rust or stain deck materials)
- Hot dipped galvanized nails (resistant to corrosion but more affordable than stainless steel nails)

Tips for DIY Deck Bracing
When you’re working on your deck at home, there are some things to keep in mind so that you don’t hurt yourself, others, or your deck.
Bury Posts
Although some people have an existing deck without buried or footed posts, if you’re starting anew, you can take on this task. Using the deck concrete footing method mentioned above is going to increase the longevity of your deck and minimize swaying.
Wear Safety Gear


When working with saws, nails, wood, and other construction materials, it’s important to protect your face, eyes, lungs, and hands.
Always take precautions when using a miter saw by wearing construction goggles and gloves so that sawdust doesn’t get in your eyes.
You might also wear a surgical mask or something to keep sawdust out of your mouth so you don’t breathe it in.
Plan Ahead
Another good idea when working on a deck is to acquire all necessary materials before you start. You also want to plan ahead by taking all measurements – including angles and lengths – before you start cutting and fastening parts together.
Pay Attention to Frost Line
Our last tip is to pay attention to frost line rules when pouring deck footing. Don’t ignore this factor, or else the feet will shift in cold weather and de-stabilize the deck (heaving).
Final Thoughts
In the process of researching how to keep a deck from swaying (DIY Guide), hopefully, our steps and suggestions have been helpful.
The most effective way to keep an existing deck from swaying is to add bracing. You can use cross-bracing for freestanding decks or diagonal bracing for secure decks. And if you’re building a deck from scratch, you can begin by setting up post footing with concrete.
Keep these tips in mind when stabilizing your deck to minimize the possibility of swaying and instability!
Resources
- https://www.bobvila.com/articles/best-decking-material/
- https://www.decks.com/how-to/articles/how-to-brace-a-swaying-deck
- https://plasticinehouse.com/how-to-brace-deck-from-swaying/
- https://www.decks.com/how-to/articles/deck-bracing
- https://anotheramazingdeck.com/blog/how-to-choose-the-right-fastener-for-your-deck/
- https://en.wikipedia.org/wiki/Miter_saw
- https://www.youtube.com/watch?v=IJ9_WZVXtk8