*This post may have affiliate links, which means I may receive commissions if you choose to purchase through links I provide (at no extra cost to you). As an Amazon Associate, I earn from qualifying purchases. Please read my disclaimer for additional details.
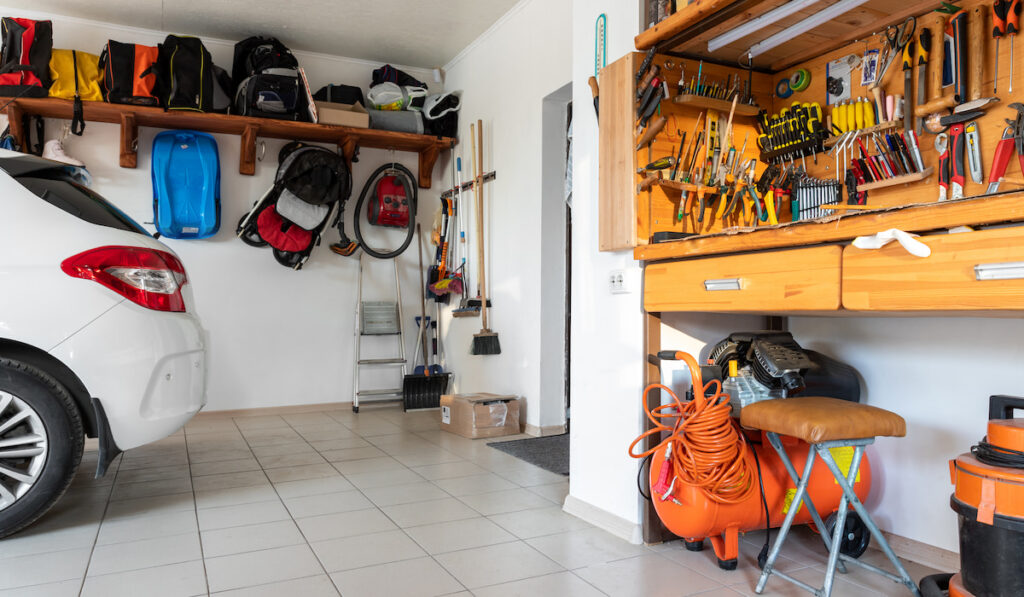
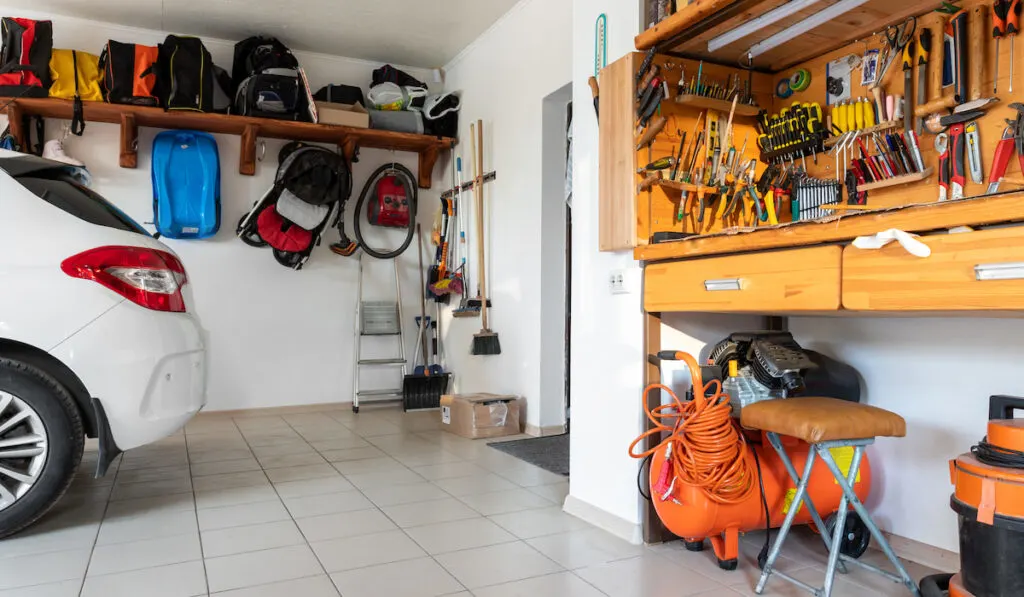
Whether you’re dealing with an attached or detached garage, one thing that may come to mind is insulation. Insulating an attached garage will lend a hand at keeping your home, and car, a bit more temperature-controlled while insulating a detached garage will make it a workplace you can enjoy year-round. If you’re thinking about insulating, you will be glad to know this is a fairly easy DIY project.
How do I insulate a garage?
- Choose which insulation and covering materials you need.
- Clear off the walls.
- Look for cracks and holes around the garage.
- Install the insulation into the wall cavities.
- Staple into place.
- Cover with drywall or other covering.
- Continue the same process on the ceiling.
- Finish with insulating the garage.
- Take care of the windows.
Ready to start insulating? You have come to the right place. We are going to discuss the different types of insulations on the market as well as how to insulate your garage properly.
We will also be discussing whether things like the door and roof should be insulated, and whether or not you will need to utilize drywall. All your questions answered- and more- ahead.
Table of Contents
Types of Insulation
Before you even think about heading into your garage for an insulation project, you must first know the different types of insulation available to you.
Each type of insulation comes with its own pros and cons, and some work better for garages than others. The top 3 picks, according to Amanda Ringler in her article “What is the Best Insulation for a Garage,” include batts and rolls, blown-in cellulose, or spray foam.(source)
Let’s take a closer look:
Batts and Rolls (Fiberglass)
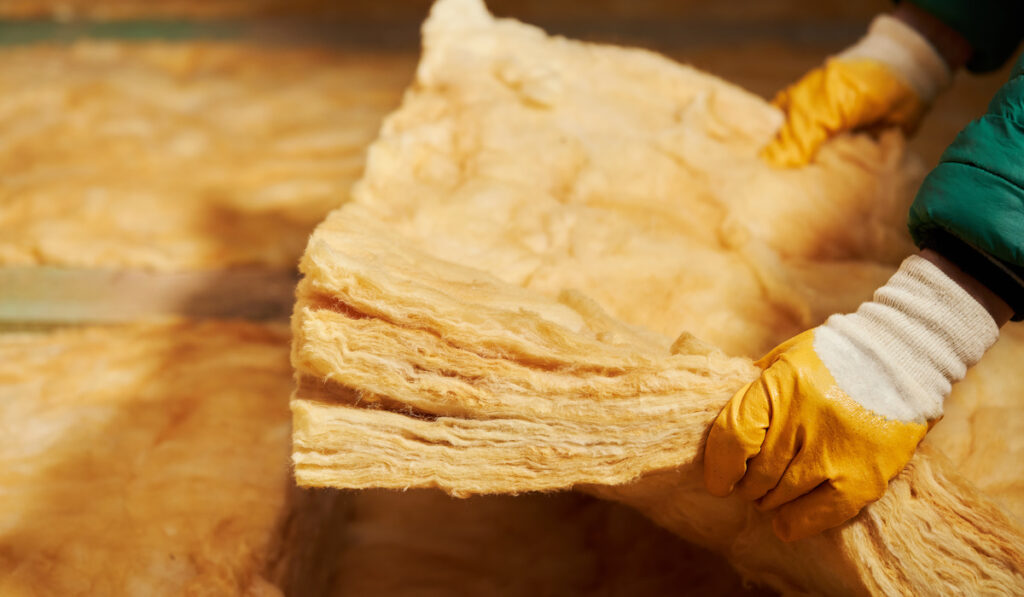

You have likely heard of the term ‘batts and rolls’ before, and this is simply referring to a type of insulation that is made with fiberglass.
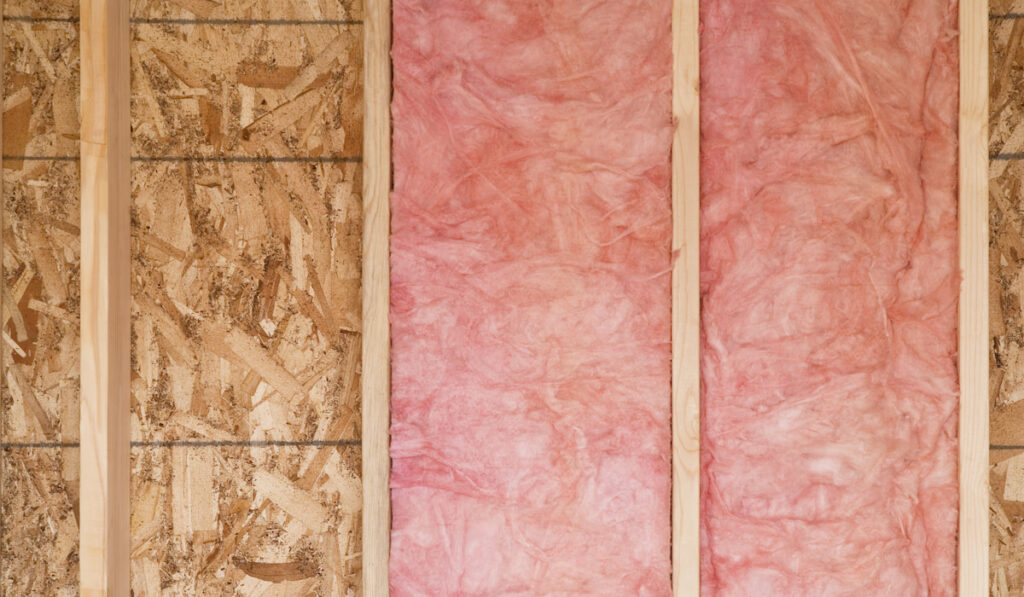
Fiberglass is the most popular and commonly used insulation found in garages and homes alike. This type of insulation comes in the form of pre-cut batts and blankets that can be easily situated between studs and joists.
Fiberglass is best used on unfinished garages as they have to be placed directly into the structure. One should also be careful when stapling, as fiberglass can cause small cuts and wounds to the skin.
You will be glad to know, though, that is one of the easiest types of insulations to install and is very inexpensive.
Blown-In Cellulose

One type of insulation that is growing rapidly in popularity due to its ease of use is cellulose. This type of insulation is blown into the walls, making it the ideal choice for finished garages that lack insulation. However, you can also use wet-applied cellulose instead of blown-in cellulose for walls that are currently exposed.
The major plus side of blown-in cellulose is that it is the cheapest type of insulation on the market. It’s fairly simple to use, and most hardware stores will either rent the blower out for a small fee or free if you are using their cellulose.
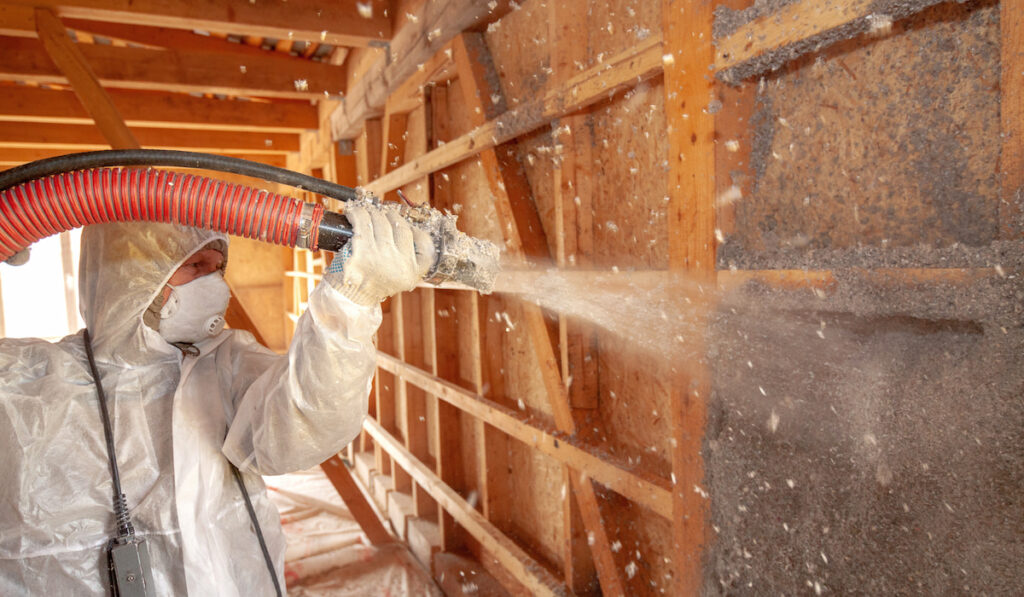
Spray Foam
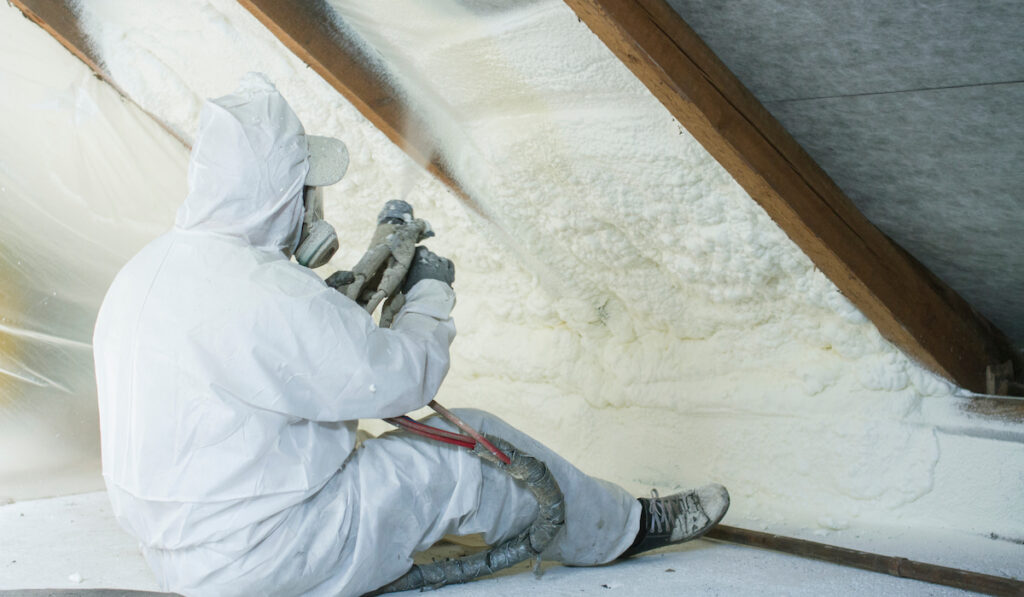
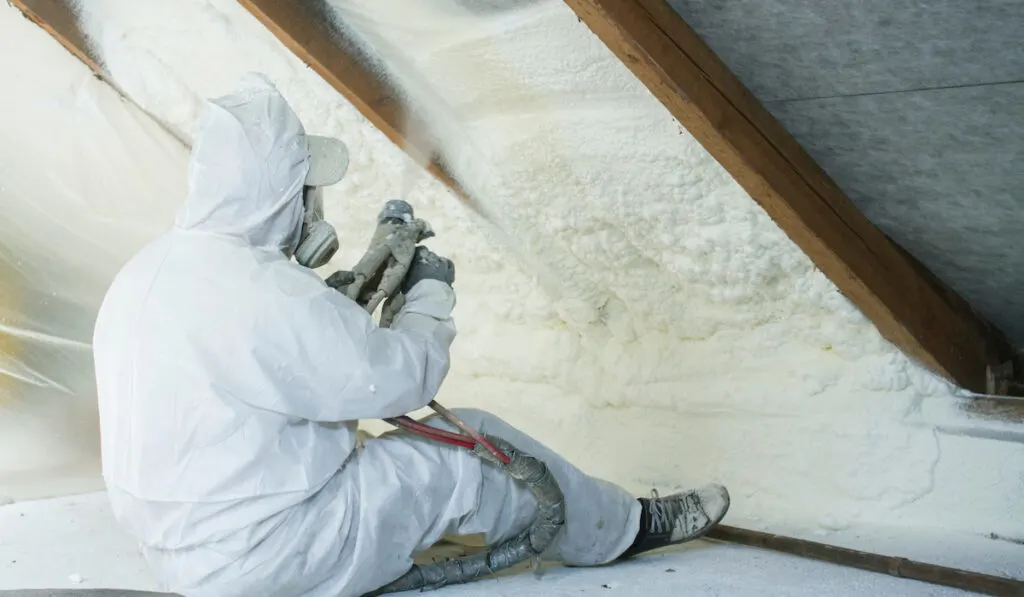
Spray foam is known for creating an airtight seal that will completely block off your garage from the outdoor elements. The R-value is very high and can almost be too much for a regular garage- unless, of course, you are converting the garage into another room that will be occupied.
There is also the option of rigid foam, which comes in sheets of different thicknesses that can be cut to fit your needs. This option comes in higher R values as well and is perfect for garages- even the doors. The typical materials used for rigid foam include polystyrene and polyisocyanurate.
Garage Insulation R-Value
At this point, you may have guessed that R-value is important, but what exactly is it, and why do you need to consider it when insulating your garage?
The Department of Energy describes R-value as “An insulating material’s resistance to conductive heat flow is measured or rated in terms of its thermal resistance or R-value.” (source)
To put it simply, the R-value determines how well the insulation is able to block heat from entering the area. It is also able to hold in temperatures better, which makes the room or space entirely more comfortable and temperate.
Keep in mind that higher numbers of R-value equate to greater insulation.
R-value is different from each type of insulation and is determined based on the density and thickness. For example:
- Fiberglass batts and rolls typically have 2.9 to 3.8 R-value per inch.
- Blown-in cellulose has between 3.1 and 3.8 R-value per inch.
- Spray foam made with polyisocyanurate has a whopping 5.6 to 8.0 R-value per inch.
Keep in mind that some insulations will also change due to the temperatures, the age of the insulation, and how much moisture has accumulated over time.
Is Drywall Needed?


Drywall isn’t necessarily needed for a garage, but if you are looking to enhance the aesthetics of the room or simply want to increase the garage’s energy efficiency and ability to keep a steady temperature, you might want to consider finishing off the garage with some drywall.
Drywall comes in sheets, and you might want to bring extra sheets home in case you make a measuring mistake or have another accident.
Alternatives to Drywall
Drywall isn’t the only go-to when it comes to garages, though. In fact, there are many other options, according to Emily Beach. (source)
Drywall can be difficult to install and finish if you aren’t experienced at working with it. Keep in mind that drywall isn’t always necessary to create a great garage space that’s comfortable and energy-efficient. Consider these other great options:
- Sturdy wood sheathing. Plywood is a top pick for finishing and can be easily screwed onto the wall frames. There is no fancy equipment or materials needed to use sturdy wood sheathing, and it’s strong enough to be able to hold up shelves.
- Metal panels. Metal panels create an aesthetically pleasing look in your garage that comes off as modern and contemporary. You can screw in regular sheet metal throughout the garage or find specially made metal for garage walls.
- Plastic. Plastic is a cheap and easy option that comes with a slew of benefits, such as being easy to clean and resists molds and mildews. Just make sure you’re buying a fiberglass plastic that can be installed directly to the studs, or you may end up with more work on your hands.
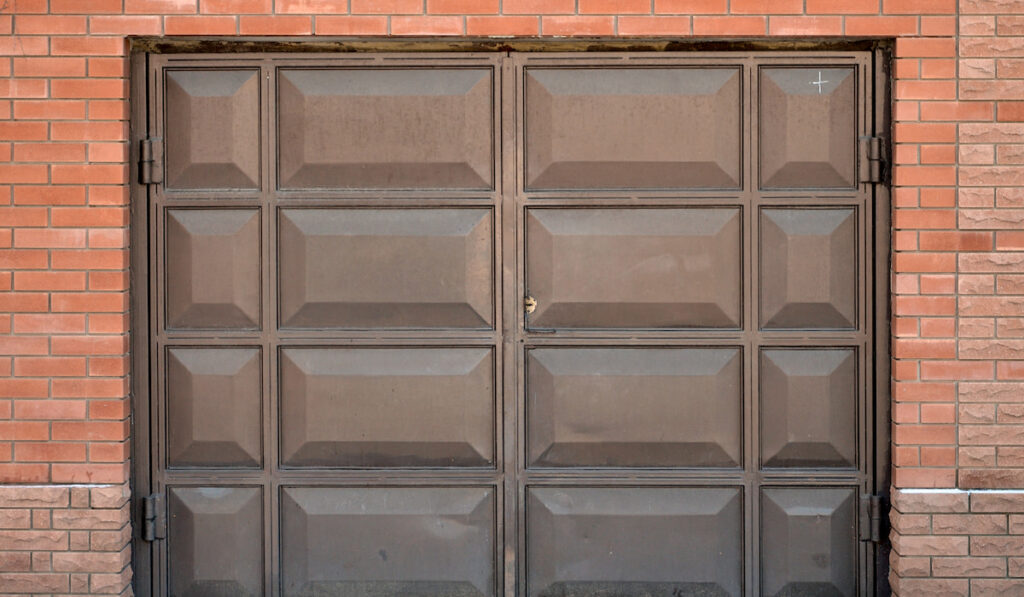
Should the Door Be Insulated?
There is no question that insulating the walls of the garage is important and will completely change the space, whether you’re opting for a modern, state-of-the-art metal workshop or want to convert the space to a room for your mother-in-law. But what about the door? Should the garage door also be insulated?
While you don’t have to insulate a garage door for success, it is highly recommended.
This is because the garage door represents the main barrier between the interior and exterior, and keeping it covered up will keep the area far more temperate. This is especially true if the garage is attached and you want to achieve better energy efficiency in your home.
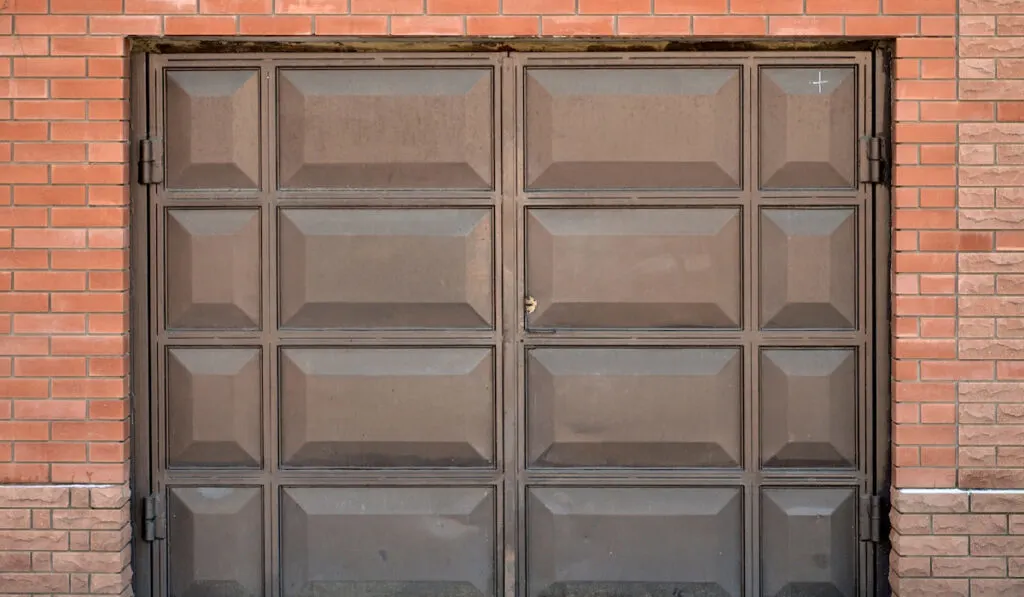
Now, you can use the same type of insulation on your door as you did on the walls. However, the most commonly used is polystyrene foam boards. (source) This insulation comes in handy, firm boards that can be easily cut to fit the required space and can be installed fairly quickly.
The type of insulation you use will also depend heavily on the type of garage door you have.
Nervous about insulating your garage door? Garage door insulation kits are available on the market and make transforming your garage door into a heat-resistant barrier that locks in temperatures and keeps you feeling comfortable and confident- no matter what’s going on outside.
Garage door insulation kits, like No products found., comes with everything you need to finish your insulating project. Most of the time these kits can be installed in less than 1 hour and only require a few extra tools on your behalf, such as a tape measure, utility knife, and straightedge.
If insulating your existing door doesn’t seem feasible, you may want to consider purchasing a newer garage door before starting your insulation project. Various degrees of insulation are available.
Another benefit is that an insulated garage door will help to reduce the amount of sound that can get into, or out of, your garage.
How to Insulate a Garage Roof
One more spot in your garage that you should also consider insulating is the roof. This is especially true if there is a room above the garage, as these rooms tend to be less temperate year-round, and adding insulation will allow this room to obtain a better temperature and energy efficiency.
When it comes to insulating a garage roof, you can use any type of insulation material. However, as noted in the article “How to Insulate a Garage Roof,” there are two main types that have the best results. (source) They are also easy to use.
- Foam Sheathing, and
- Reflective Insulation Rolls
Once you have decided on what type of insulation to use on the roof, all you will need to do is these simple steps:
- Measure the area of the roof. This will allow you to cut the insulation into the proper lengths and widths.
- Look for any electrical outlets. If there are any outlets or lights present, then you will need to make sure to leave enough space around the electrical unit to avoid a fire.
- Place the insulation in the cavities. After cutting your preferred insulation to fit the space, use staples to attach to the roof trusses. You may also want to utilize foil tape to secure it in place.
As you can see, it’s fairly simple to insulate your garage roof, and you will be glad you did. It should only take a few hours, if that, to successfully insulate the roof or ceiling of your garage. Here is a great video showing a step-by-step garage roof installation.
Insulating a Garage: Step By Step
Now that you are fully educated on the different aspects of garage insulation, you can get started on your DIY project. It’s a lot easier than you think, and even amateur construction workers can find this a fairly simple task that leads to a more temperature workspace and home that’s energy-efficient- which means less money pouring out of your pocket.
Pricing
Before we get started on the step-by-step guide, let’s talk about prices. For the most part, insulations will cost anywhere between $0.50 and $1.25 per square foot.
The cost to insulate a typical two-car garage is likely to be around $350 to $850, depending on the type of insulation that is used and the size of the garage.
Tools and Materials Needed
- Insulation. Of course, this will differ from person to person as everyone will choose a different type of insulation. For the most part, though, fiberglass or cellulose are the likely top two picks for insulating a garage.
- Garage door insulation kit. If you’re planning on insulating your garage door but don’t want to use the same insulation that is found on the walls, you will want to consider purchasing a handy garage door insulation kit.
- Expanding foam or caulking. This will be used to cover up any cracks or holes that may be found around the garage. These openings, no matter how small, can cause the garage to heat up or cool down even after insulating.
- Drywall or other covering. If you’re planning to drywall, go ahead and buy it when you’re at the hardware store. Remember, you can also use other forms of ‘coverings,’ such as sturdy wood sheathing or metal panels.
- Gloves. This is especially important if you opt for fiberglass as it can be irritating to the skin.
- Utility knife. This will be used to cut the insulating material to the right size.
- Staple gun and staples. These tools will be necessary to complete the project.
Insulating the Garage

1. Choose which insulation and covering materials you need.
Weigh the pros and cons of the different insulating materials and coverings available. Remember, each one has its own R-value, and one may be more difficult to install than the other. Coverings have their own benefits, so consider which one is right for you.
2. Clear off the walls.
You want to start off with a fresh, clean slate. If you see any dirt or grime in the garage, now is the time to clean it. You will also want to get rid of any hazardous waste, such as mold or chemicals hanging around the area. You may need to locate a hazardous waste collector to dispose of these materials properly.
3. Look for cracks and holes around the garage.
Any gaps throughout the garage will allow heat and cold to enter, rendering your insulation somewhat useless. That being said, look around the garage for any openings.
Even small cracks should be filled. You can easily find these openings by looking for areas that let sunlight shine into the garage.
If you are using expanding foam, make sure you only fill the opening about halfway. The expanding foam will continue to ‘grow’ and cover the area. If using caulking, you should fill the spot entirely.
4. Install the insulation into the wall cavities.
The installation will differ slightly depending on the insulation you are using. For the most part, you will start by measuring the space between the wall studs and cut your insulation as needed.
Then, place the insulation between the studs and push down, so it fits tightly. If too long, cut down with your utility knife.
5. Staple into place.
Once your insulation fits snugly between the studs, you can staple. Using your staple gun and staples, take great care to ensure that the insulation is stapled to the studs generously. It should be a tight fit that doesn’t look or feel as if it could fall out from the wall.
6. Cover with drywall or other covering.
When using drywall, you may need additional tools depending on the type used. For other insulation covers, simply place over the insulation and screw or staple into the wall studs.
7. Continue the same process on the ceiling.
Once you have been successful in your insulation of the garage walls, you can move on to the ceiling. The same steps can be used as the walls, as described in “Garage Insulation Ideas for Year-Long Use” by Bretton Keenan. (source)
8. Finish with insulating the garage.
Insulating the garage is likely the easiest process when fully insulating your garage. If you are using a garage insulation kit, simply follow the instructions on the package. If not using a kit, you can simply fit the insulation into the door. The door does not need any coverings or drywall.
9. Take care of the windows.
Some garages contain windows, which can also cause a draft during the wintertime or let in far too much heat during summer. If you have a window, you can opt to replace the glazing, weatherstrip the sides, or use shrink film to help keep the area more temperate.
Here is a quick, informational video showing how to insulate garage walls smoothly and easily.
Conclusion
Insulating your garage is a good idea, whether you’re dealing with an attached or detached garage. It’s a fairly simple DIY project that can create a temperate, comfortable space that also cuts down on energy bills. All you need to do is install the insulation to the walls, roof, and door, and finish off with drywall or another type of covering. Your garage will be able to be used year-round without any unwanted heat or chills.