*This post may have affiliate links, which means I may receive commissions if you choose to purchase through links I provide (at no extra cost to you). As an Amazon Associate, I earn from qualifying purchases. Please read my disclaimer for additional details.
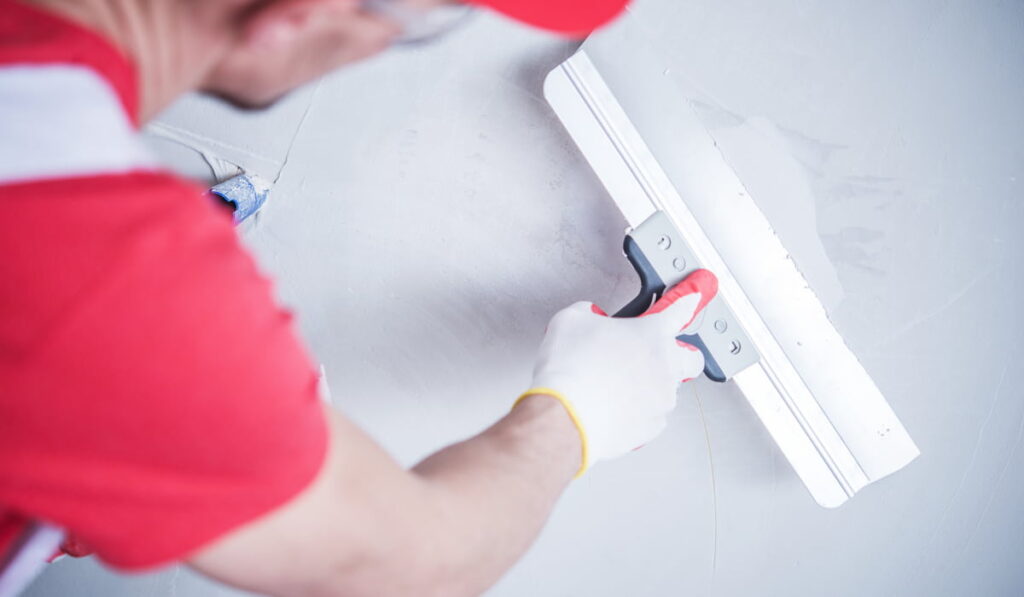
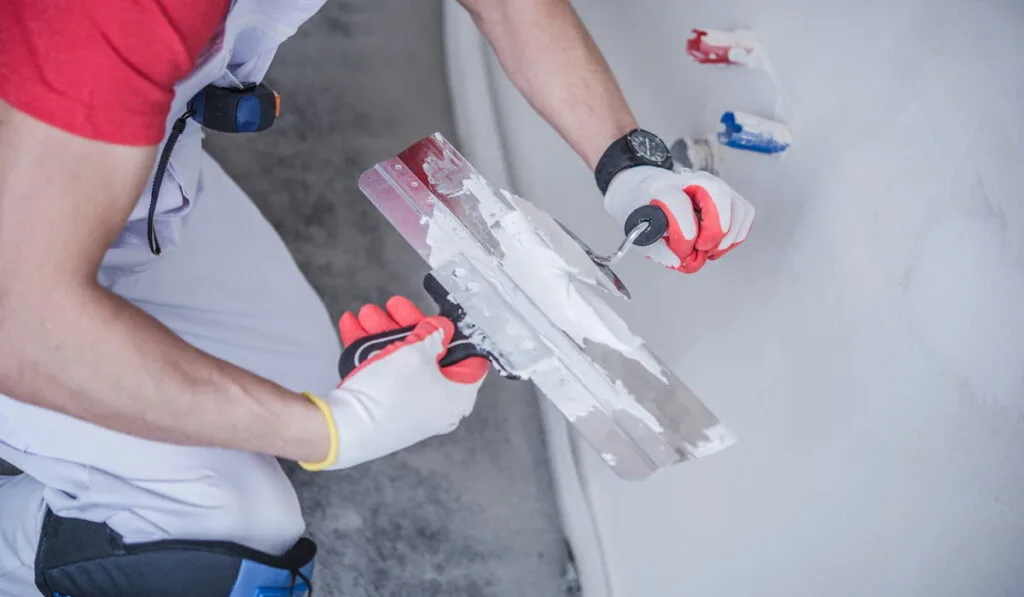
Applying drywall paper is one of the most challenging tasks during drywall installation. Unfortunately, the paper will become even a bigger headache, if it’s applied incorrectly, as the thing can start to bubble.
To remove the part of the drywall paper that is bubbling, cut around the bubble and take the ruined section out. Patch up the area with the joint compound, apply new drywall paper on top of it, and apply a new layer of compound over the paper once it had dried.

How to make sure that bubbling drywall paper never becomes an issue ever again? You’ll find a few helpful tips below.
Table of Contents
How to Deal With Bubbling Drywall Paper?
When you notice bubbles on your drywall paper, the first thing that might cross your mind is that applying a fresh layer of compound over the area is a great idea. You shouldn’t do that. An extra layer will make the area more prone to cracking.
Instead of trying to cover up the bubbles, you should try to remove them entirely. Remember that any unevenness that you’re going to leave on the wall is going to show up in the end.
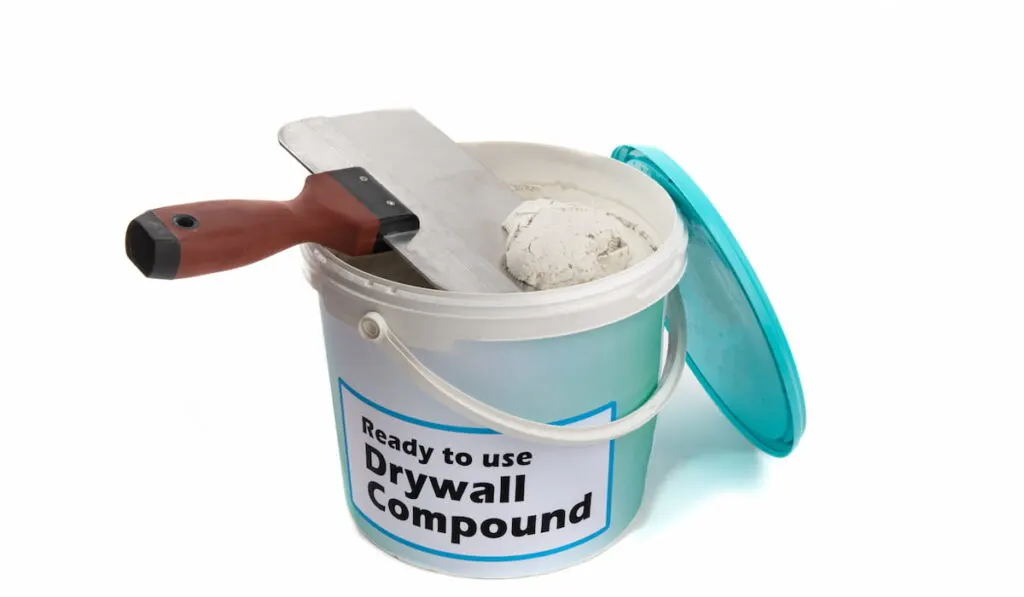
For the repair, you are going to need:
- No products found.
- A sealer (you can choose not to use one)
- A taping knife
- A regular cutter
- Remove the part of the paper with the bubble with the tip of a taping knife or a cutter. Cut around the bubbles and remove the small section of the paper. It doesn’t really matter whether the joint compound is wet or dry (the former is messier though and you might end up peeling off more paper than needed).
- Allow the compound to fully cure, if it was wet, and apply a sealer.
- Use joint compound to patch up the area. If you will be putting the drywall tape on the joints and seams, make sure to apply quite a lot of compound to the area (about 1/8th of an inch).
- Don’t press too hard when applying the drywall paper. Otherwise, the joint compound will get squeezed out and the paper will not stick to the wall.
- Once the first layer had dried, apply more compound over the paper (the layers shouldn’t be thick, about 1/6th of an inch of the compound would do). You can apply another layer in about 24 hours and then carefully sand the area.
If there is only one small section of drywall paper that needs to be removed, you can try slitting the paper with a blade (across the top and the bottom of the bubble) and then applying compound right underneath the paper.
You can use a small trowel for that. Then you would want to gently press the paper right into the joint compound.

Why Is My Drywall Paper Bubbling?
Understanding where these bubbles actually come from is important as this information will help you prevent bubbles from forming next time. The chances are high that the root cause of the problem is the installation.
The joints were poorly embedded
You might have been in a hurry or there wasn’t enough compound for you to work with. As a result, you could have left untreated spaces that contributed to the formation of bubbles.
Make sure to apply a generous amount of compound before applying the drywall paper.
The compound doesn’t have the right consistency
If the compound was way too thick, bubbles will form. This will happen simply because it is extremely challenging to spread such a thick substance evenly.
Moreover, the compound might end up drying in some areas before you finish spreading it. This will create an ugly unevenness.
Take your time to properly mix the compound. If it’s too thick, adding a bit of water should fix the issue.
The drywall paper wasn’t applied correctly
You might have failed to properly press the tape into the joint compound or the skim coat layer of mud.
Working with the right tools is also something that can’t be underestimated. The knife, for example, should be wide enough as it makes the whole process a lot easier and more effective. If you’re not quite sure about what exactly to use, make sure to consult the supply store workers.

How to Keep Drywall Paper from Bubbling?
Preventing bubbles from appearing in the first place will save you a lot of time and nerves. Here are a few tricks that you can try out to make sure everything goes as smoothly as possible:
Wet the paper before application
All you would have to do is run some water through the paper and then embed it into the compound. This hack will help ensure that the paper is applied evenly.
Do bear in mind that the tape should not be soaking wet.
The easiest way to keep the paper lightly coated with water is to keep a bucket right next to the area where you are working. Simply run the paper through the bucket before applying it to the wall.
Ensure that the paper is completely embedded into the compound

Keep on working your way from the center as you press the paper towards the end until you notice the joint compound oozing out of the edges. If there are areas that have already dried up, you can try applying a bit more compound there.
If the paper is not completely embedded into the substance, bubbles will start forming as soon as the coat becomes dry.
Mix the compound properly
Pre-mixed joint compound can become too thick. Add water in small amounts at a time as a watery substance can create just as many problems as a thick compound.
Use a special product before applying the joint compound
This trick works in the majority of cases. You can use No products found. or No products found. – these primers seal the drywall paper and prevent it from bubbling.
Apply the substance after taking the wallpaper down and before applying the first skim coat – the finish will be a lot smoother. Do bear in mind that even after getting a great sealer, a bubble might appear here and there from time to time.

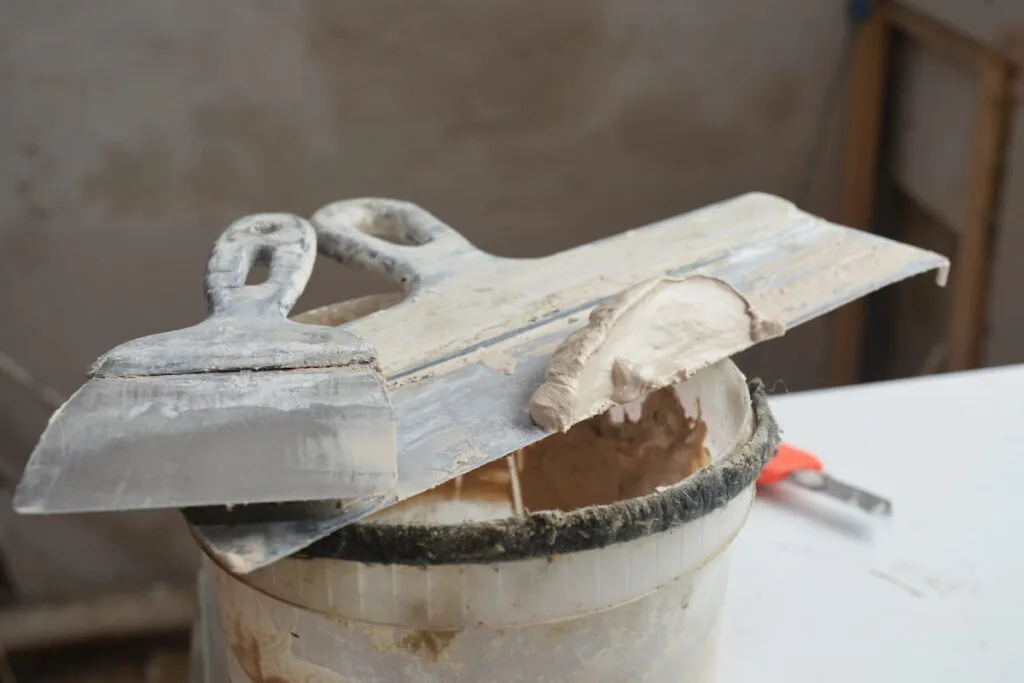
Tips on Mixing and Applying Joint Compound
Going for the right type of joint compound and applying it correctly will help you avoid a lot of problems, including bubbling.
Always mix the compound thoroughly
You might want to use a paddle mixer as this will make everything a lot easier. When it comes to consistency, find what works for you – you might figure out that working with the joint compound that is a bit runnier is easier for you.
By the way, the final coat usually needs to be a bit thicker, while the initial one – slightly watery.
You don’t have to sand in between every single coat
You can sand in between coats, but that’s not always necessary. If you are planning on performing such a job, make sure to apply gentle, even pressure throughout the whole wall – you shouldn’t sand down into the drywall paper.
Let the compound thoroughly dry
Before applying the second coat of joint compound over the drywall paper, you should wait for 24 hours (unless you’re working with a special substance that has a short curing window). Even if the compound feels dry, you should still give it at least one whole day to dry.
Applying the second coat too early can lead to cracks and plenty of other issues in the future.

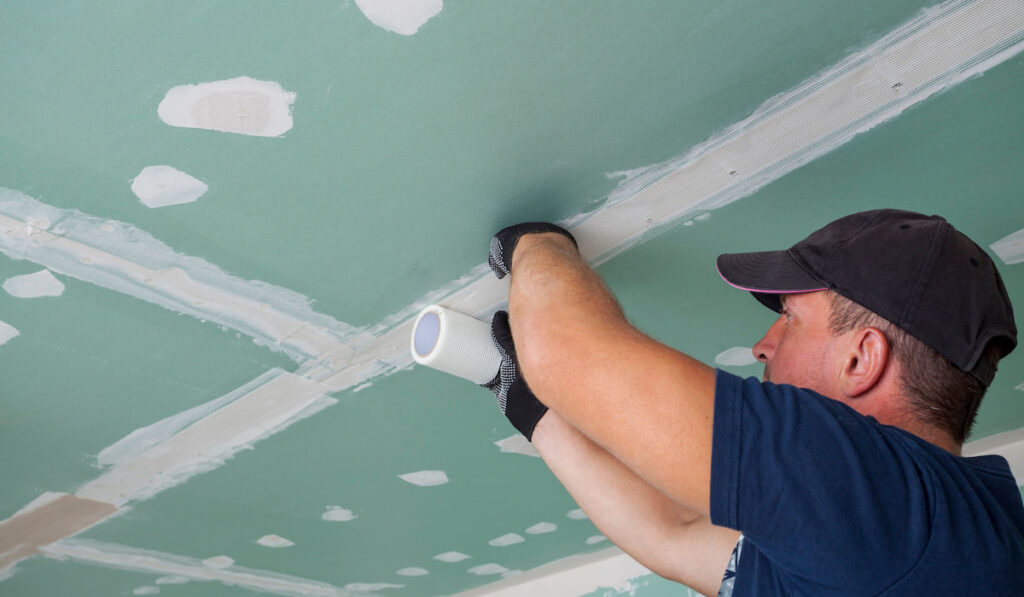
What Drywall Tape to Use to Avoid Bubbles?
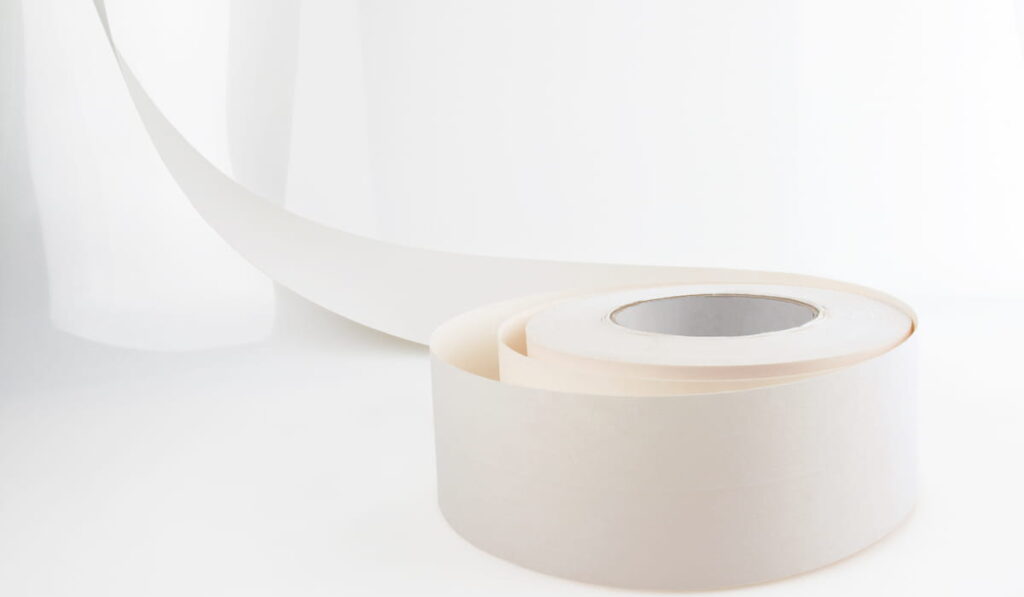
There are three most common types of drywall tape – paper tape, fiberglass mesh drywall tape, and metal reinforced drywall tape.
Paper Tape
Paper tape, basically, contains of strips of paper. You can find such tapes practically anywhere, it is cheap, and will not stand out.
However, it is not the simplest to work with and the process of applying it is often associated with the formation of air bubbles.
Fiber Mesh Tape
No products found. is made out of fiberglass threads. It is strong, doesn’t need to be ‘glued’ onto the wall, and helps avoid issues with bubbles.
Do bear in mind though that such tape can leave residue, is not the easiest to handle, and is quite thick (which means that it can leave a bulge).
Metal Reinforced Tape
Metal reinforced drywall tape, in the majority of cases, has a couple of strips of very thin metal throughout the tape. To install it, you would have to crease it lengthwise and then apply it to the wall without ever having to deal with air bubbles. Such tape is durable, strong, and great for corners, but it’s expensive and might not blend in with the wall nicely.
Final Thoughts
How to deal with bubbling drywall paper?
If there are quite a few bubbles, you would have to remove the strip of paper and, basically, start the process all over again (apply the compound, the paper, and another layer of the compound).
A single bubble can be removed by slitting the paper and then carefully placing the joint compound underneath the paper.