*This post may have affiliate links, which means I may receive commissions if you choose to purchase through links I provide (at no extra cost to you). As an Amazon Associate, I earn from qualifying purchases. Please read my disclaimer for additional details.
Replacing your kitchen garbage disposal is more complex than most DIY home projects, but it’s well within the realm of possibility for anyone who’s handy with tools.
If you’re not accustomed to working with simple plumbing, this with be a fun stretch project with low stakes.
Of course, if things go horribly wrong, you can always call a licensed plumber to come to clean up your mess.
If you buy the correct appliance model, have the right tools, and exercise patience, you can install a new garbage disposal in hours.
In addition, modern appliances are much easier to install and repair. Not only are they easier to use, but there are also a host of options online to help you with maintenance or installation.
Along with these tips, you can watch step-by-step tutorials on YouTube that will walk you through exactly what to do.
If you’re dead set on installing your garbage disposal, here are thirteen tips you should know to make things go smoothly.
Reading ahead of time will help you know what to expect, make the process faster, and give you a better result.
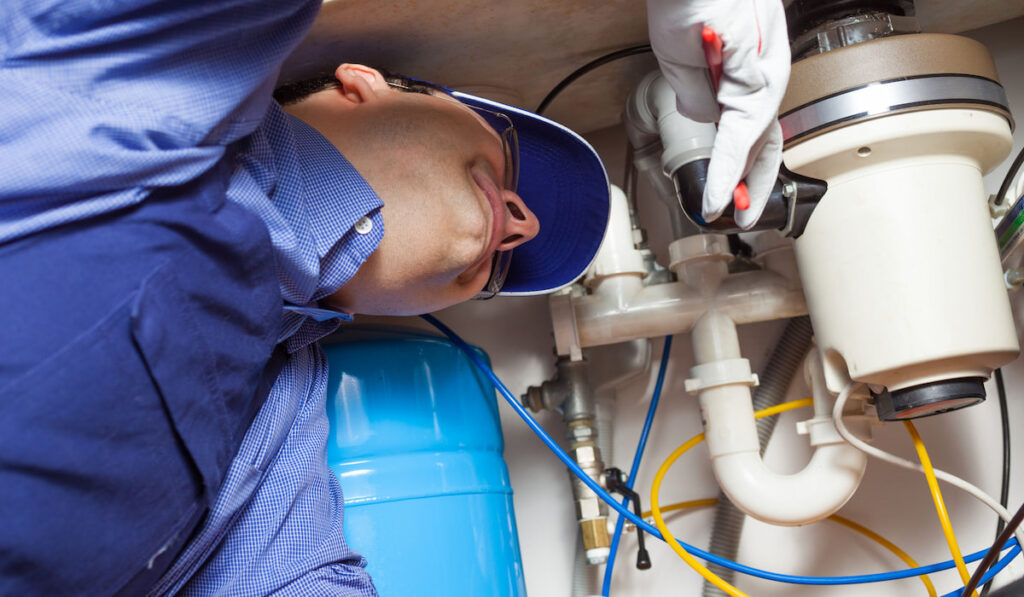

Table of Contents
Diagnose the Issue First
Before you start replacing your disposal, make sure a new one is necessary.
A lot of people install new disposals when their old one only needed a simple part replaced.
Unless you want to upgrade to a newer model, you may be better off making the repair. Repairs are often the same as a new installation.
You can research what’s wrong based on the noise it’s making or what’s happening, and someone online is sure to point you in the right direction.
Something like a leaky coupler only needs tightening or some plumber’s tape. There’s no sense in doing more work than you have to.
Read the Instructions
This might be hard for some to hear but reading the instructions before you start working on the installation will spare you a lot of frustration.
In addition, the instruction manual will walk you through exactly what to do from start to finish.
Garbage disposals have moving parts and typically need to go in a specific order. Follow the instructions to make your installation a success.


You Don’t Need Many Tools
Modern disposals don’t require fancy tools. Usually, you’ll just need:
- Plumber’s Putty
- Screwdriver
- Wrench
- Pliers
- Hammer
- Putty Knife
Even with this short list, there’s a good chance you won’t need all of them. For example, many pipes and plumbing parts can fit together and screw in place with just your hands.
However, this list should do the trick to have you prepared.
Unplug the Disposal
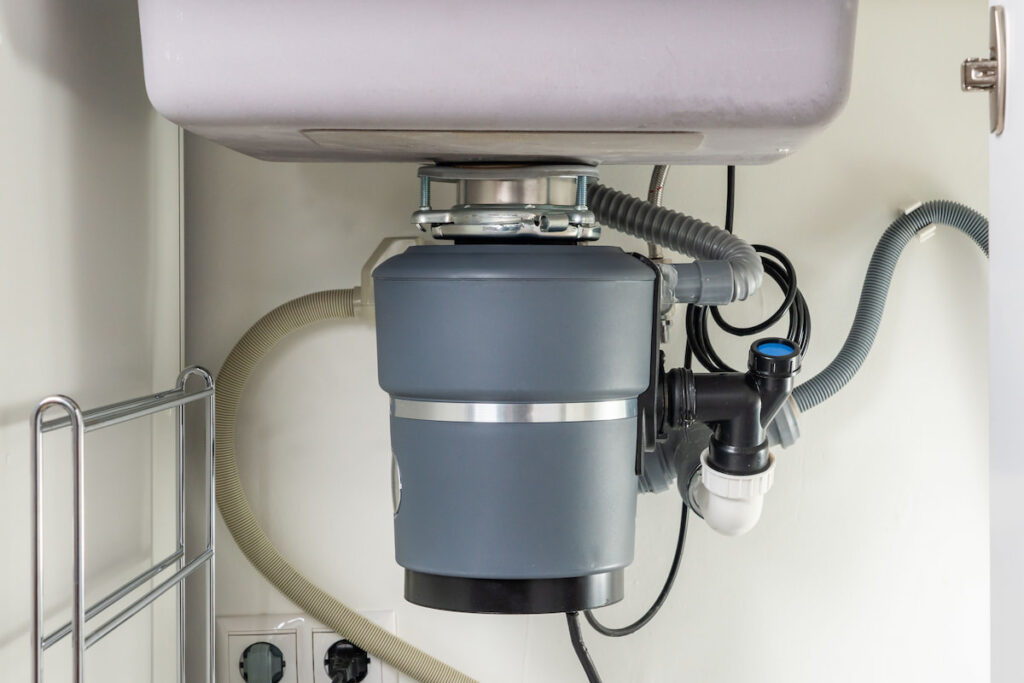
The garbage disposal is probably plugged in somewhere under your counter near the sink. Look for the outlet and unplug the disposal to eliminate any risk of shock while you’re working.
As a precaution, you should also flip off the circuit in your home’s breaker box.
Sometimes the garbage disposal will have its own circuit, but it will typically share it with the dishwasher and some other kitchen appliances if you have them.

Wear Rubber Gloves
This is a sanitation tip but wearing rubber gloves will protect your hands and reduce the yuck factor when handling pipes and the disposal.
Depending on how long you’ve had it, the appliance is likely covered in some degree of slime and churned-up bits of food.
The gloves will stop you from getting grossed out while you remove the old disposal.
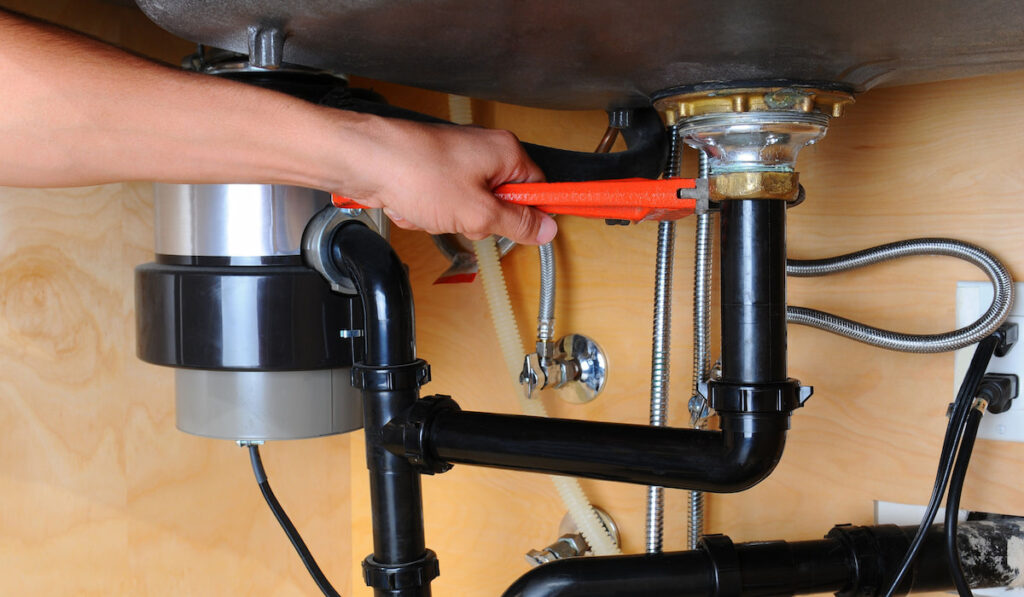
Give Mounting Brackets a Bang
When you unscrew all the screws, pieces like the mounting bracket or metal faceplate should slip right off.
However, if the edges have been painted or there is simply a lot of crust around the edge, it could be harder to pull off with your hands.
Instead, take a screwdriver and hammer and bang it gently until it moves. Once the seal breaks, it should shift and come out quickly.

Make New Attachments Tighter than You Think
Garbage disposals are designed to fit tightly in place.
You might be worried about making things too tight, but you should make things as tight as possible when you’re screwing things in or attaching brackets.
Use a Heavy Object to Help Putty Harden
It will take some time for the plumber’s putty to harden. It’s vital your flange stays in place.
Even if you use a lot of putty, once you insert the flange into the sink it may push upwards resulting in a poor seal.
You should have the old garbage disposal nearby, which is relatively heavy. Set it on top of the flange for several minutes until the putty hardens into a good seal.
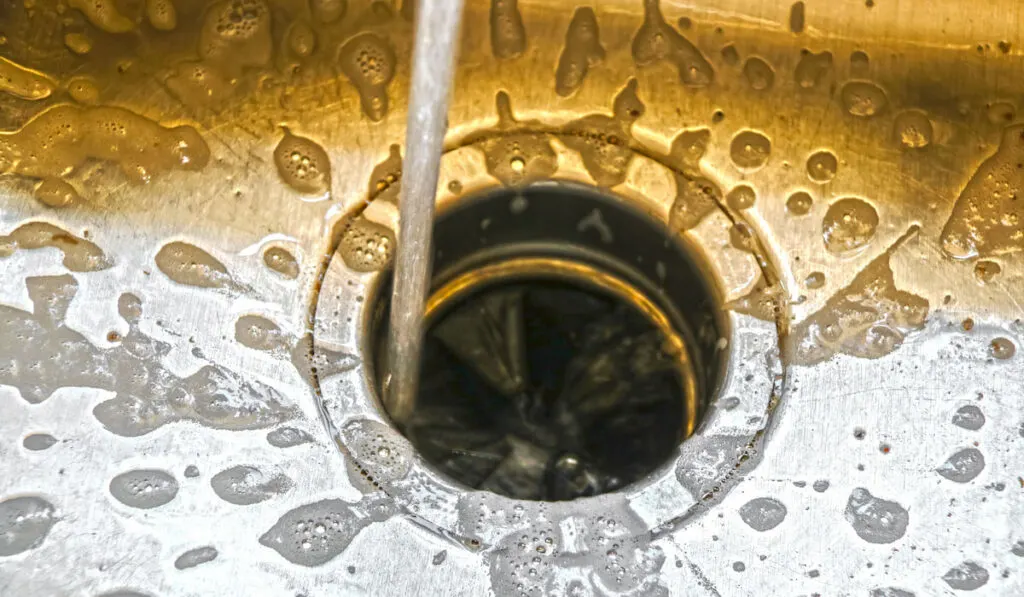
Turn On the Water Slowly
When you’ve followed all the installation instructions and the process is complete, turn on the water slowly.
The last thing you want is water leaking all over the underside of your sink because things are installed wrong or aren’t screwed in tightly enough.
Turning the water on slowly prevents big spills and lets you spot where leaks are coming from much faster.
Once you see a leak, you can try to address it by fastening things tighter, using more plumber’s tape, or retracing a few steps.

Work in Pairs
Working with a partner, whether it’s your spouse, a roommate, or a friendly neighbor, will make your project easier.
The instructions can be complex in places. There are also multiple parts to the mounting system. It’s challenging to track what is what and which pieces go in when.
By having a partner, you have someone who can identify pieces and track where you are in the process.
In addition, it saves you from having to go back and reference the instructions a million times.
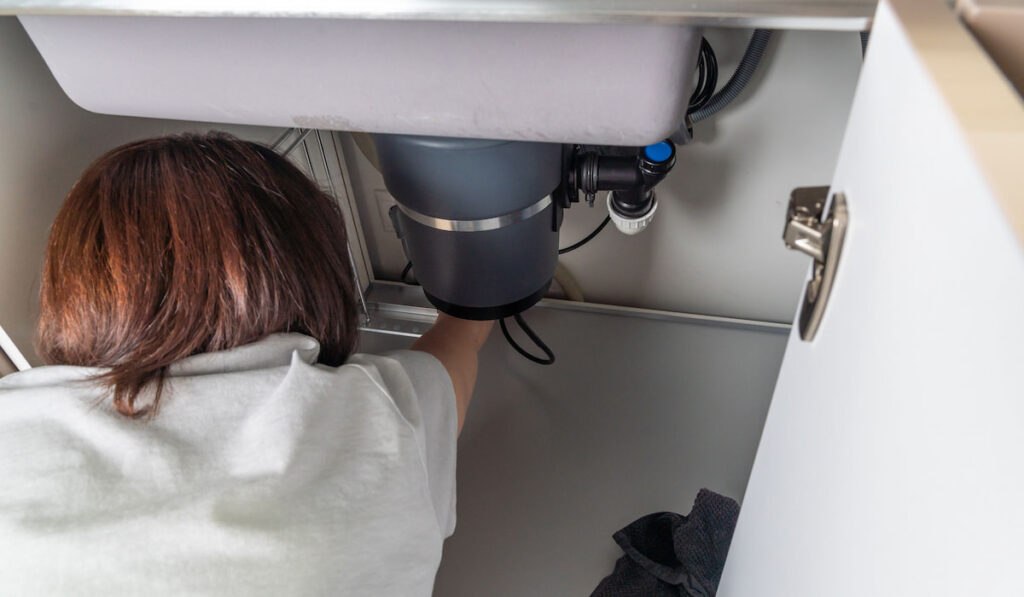
Build a Tower to Hold the Disposal’s Weight
If you try to hold the garbage disposal in place while screwing things in, your arms will tire after a few minutes. Trying to keep it steady is tortuous.
Instead, build an adjustable tower out of books, paint cans, or anything else that you can rest the disposal on while you’re working. It will save your arms and shoulders.
You Probably Need to Buy a Cord
Don’t toss out the old disposal cord until you’re sure you have a replacement.
A lot of newer models don’t include a cable because they assume a plumber or a homeowner will just use the old one.
Cords can last forever, so hang onto them rather than buy a new one, unless you have to.
If it’s a brand-new installation in a house without a disposal, check to see if your model has a cord. If not, buy one at the store to avoid making another trip.
A Trick to Remove the Snap Ring
The snap ring is one of the trickiest parts of the installation process because it can appear stuck.
Actually, the snap ring is in a groove on the lower side of the flange to keep the bracket from falling off.
To remove the snap ring, use a flathead screwdriver to get between the flange and the snap ring. Then, tug downward on the ring as you move around the sides to free it from the groove.
Eventually, it will pop out, and you can remove it by hand.