*This post may have affiliate links, which means I may receive commissions if you choose to purchase through links I provide (at no extra cost to you). As an Amazon Associate, I earn from qualifying purchases. Please read my disclaimer for additional details.
Let’s face it. There’s nothing worse than completing a DIY job only to realize that you need to strip all your work down and start again.
Drywalling may just be one of those jobs if you don’t pay attention to the common pitfalls of the job.
And one of those common pitfalls is ending up with bubbles in your drywall tape.
The reason bubbles appear in your drywall tape is because of improper installation. If you don’t want bubbles to form in the tape, the drywall and tape must completely bond together over the entire joint.
In this article, we will explain why bubbles may appear in your drywall tape, how to avoid this from happening to you, and what you can do to fix it if it does happen.
Read on to find out more.
Table of Contents
Why Do Bubbles Form?
If this is your first drywalling project, you have come to the right place.
By researching the common pitfalls of drywalling before you begin, you will save time and effort in the long run.
When it comes to DIY jobs, prevention is always better than a cure. To avoid bubbles on your next drywall job, you must first understand why they occur during installation.
When you apply the tape to the drywall joint, the joint must be completely sealed. If there are any gaps due to inadequate mixing of the compound, or mud, the tape and the drywall will not bond together in that area.
As a result, air pockets will form beneath the tape, and bubbles will appear.
And if you think that small bubbles won’t affect the end result, think again.
You must eliminate the air bubbles because ripples in the tape that are not removed will show after the wall has been painted.

How to Avoid Drywall Tape From Bubbling
Before starting, make sure your mud mixture has the correct consistency. If your mix is too thick, it will be hard to spread, and you could easily tear the tape in the process.
While lightweight mud is a better solution, make sure it is not too light. You don’t want it dripping down the walls, either.
The consistency of the mud is also important. It should be nice and smooth, so no lumps or bumps exist. A lumpy compound is a sure way to end up with bubbles.
When choosing your compound at the store, don’t be afraid to ask for help, especially if this is your first DIY drywall job.
Having the correct tools for the job will minimize the risk of any potential problems arising, like bubbles in your drywall tape.
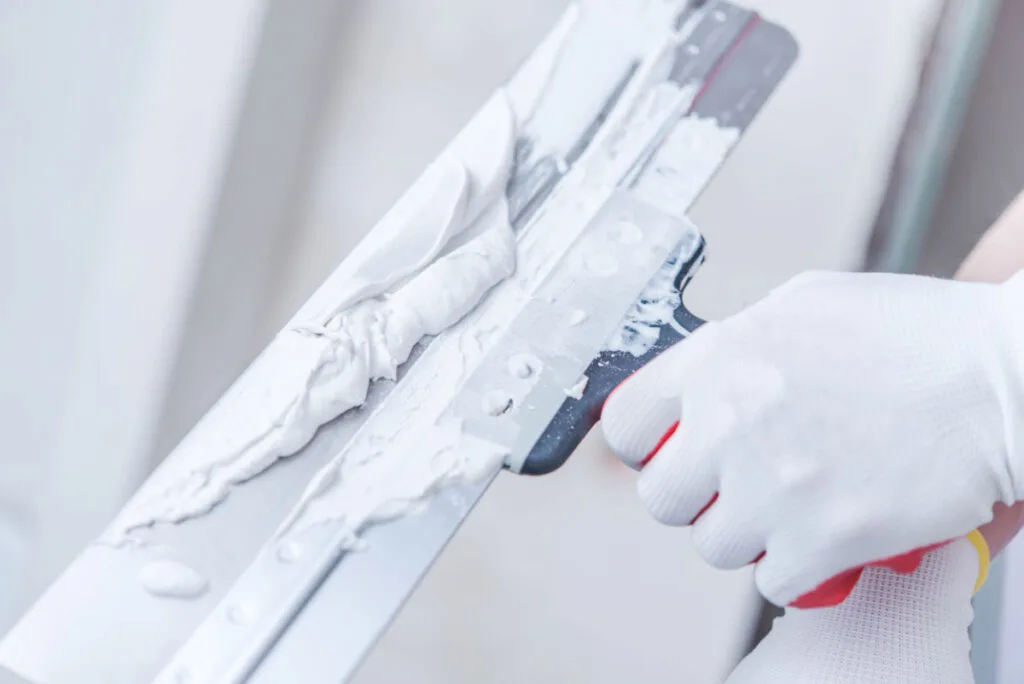
For example, if you use the correct knife to spread the compound, your life will be much easier in the long run.
Tools like a joint knife are designed for this specific job. The correct tools and compounds will minimize errors.
After application, the compound should be totally embedded in the tape. If not, certain areas may loosen or bubble.
Drywall joints must be completely covered with generous amounts of your mud mix. If you do a rushed job and leave gaps and spaces in the joint, bubbles will form as a result.
Make sure you have enough compound mix to complete the job.

Drywall Taping Tips
Wetting the tape before applying it is one great way to avoid complications.
If you want to embed the tape into the compound, all you have to do is run water over it first.
If the tape is wet but not soaked, you will have the best results. It’s a good idea to do this before sticking the tape to the wall, as it will assist in maintaining an even surface.
The tape should be totally embedded in the mixing mud. The dried coat will be blistering with bubbles if this step is skipped. Make sure the tape is securely immersed in the compound.
Smooth it out evenly until the mud mix begins to seep out of the edges. If necessary, the extra compound can be added to any dry areas.
Another great tip for avoiding air bubbles is to thoroughly mix the compound.
The pre-mixed compound is often too thick to apply and distribute evenly across the surface. While adding water is a great solution, be careful not to add too much.
Application
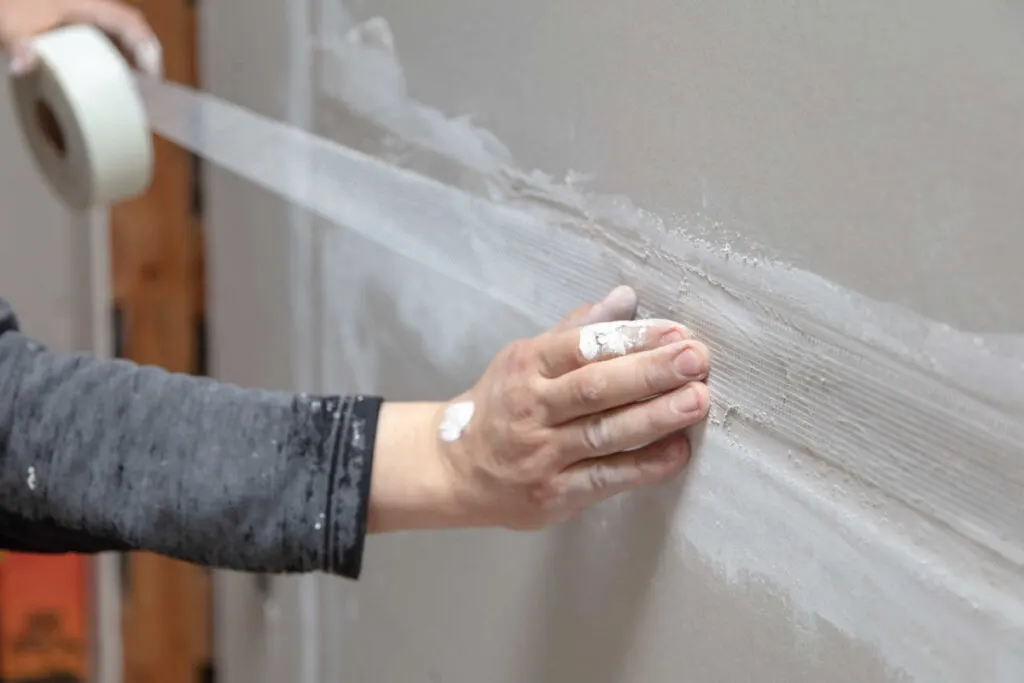
Usually, there are two choices regarding tape; mesh or paper.
Although mesh tape works well for sealing seams, paper tape is sometimes preferred in corner areas. On the other hand, paper tape is often used for the entire job.
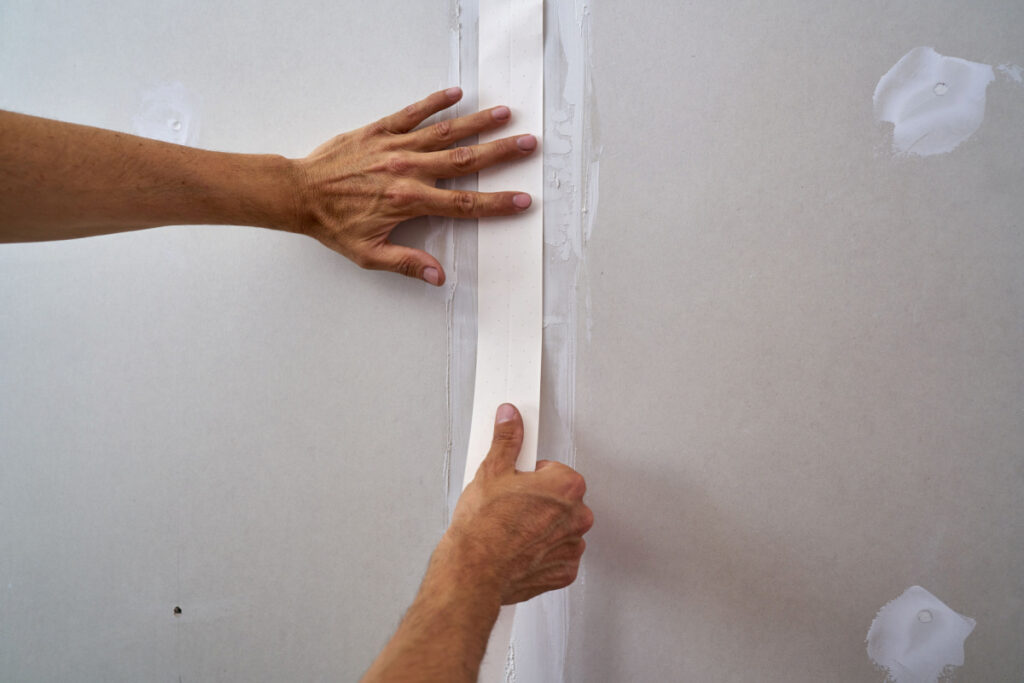
When applying the tape to the layer of mud and smoothing it out, you’ll want to take your time and make sure the tape lines up with the joints in the drywall.
A large sponge is ideal for gently smoothing out the tape. Don’t be too heavy-handed; light strokes are key to an even finish.
When it comes to the corners, the tape will need to be folded into place. Before taping the corners, make sure there is plenty of mud applied. Don’t leave any gaps.
Gently press the tape into the corners and smooth it down with a putty knife to avoid an untidy and uneven finish. Don’t apply two layers of tape at the same time. Wait till one dries before adding the next.

10 Tips for Fixing Bubbled Drywall Tape
While understanding why air bubbles may form around your drywall joints and how to avoid them is important, knowing what to do if they do appear is essential.
- Firstly, the area where the tape has bubbled must be removed. Using a utility knife, cut the tape above and below the section that has bubbled and remove the tape.
- If the tape is completely covered in blisters, remove the whole piece of tape.
- Make sure that your drywall compound is really well mixed. It must have a smooth, creamy consistency.
- Where the tape has been removed, apply a new thin layer of mud mix, making sure it is at least a little wider than the width of the tape.
- After cutting a new piece of tape to the correct length, put it into place and gently smooth it out using a damp sponge.
- Hold the top edge of the tape in place while you pull the edge of the drywall knife downwards along the taped joint. By applying a nice even pressure to the knife, the tape will set in the compound without any bubbles.
- Let the section dry before the next step.
- On top of the dry section, spread a layer of compound measuring one-sixteenth of an inch and let it dry.
- Repeat step 8 until the surface is even.
- When the drywall compound has dried fully, sand the area. Making an even surface is crucial, so you don’t notice where the joint is when the wall is painted.
Drywall Sanding
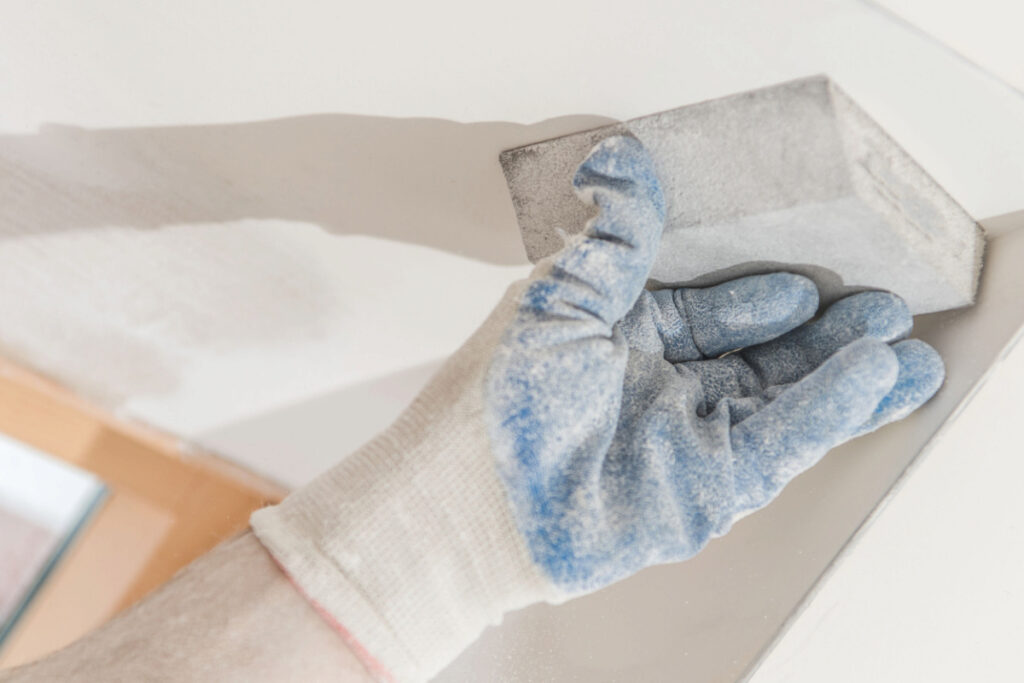
Now that you have eliminated the bubbles in your drywall joints, it’s time to move on to the sanding process. Unfortunately, you can’t avoid this part.
Without proper sanding, painting your wall will be a nightmare.
But it doesn’t have to be as tedious as you think. Here are some simple sanding solutions.
When sanding, you need the right tools for the job. A hand sander, some fine sandpaper, and a sanding sponge are all useful investments.
The sanding process is dirty and requires protective clothing. Protect yourself from the dust by using a face mask and safety glasses.
While working on a large area, you may want to consider purchasing a pole sander.
Dust from sanding drywall at home may rapidly spread throughout the house. Once it gets stuck to your surfaces and furniture, it might be hard to get rid of.
Try using a damp sponge on the joints before sanding. It will take off any excess lumps. Otherwise, a range of dust collection apparatuses is available, but they may be expensive.
Once the dust gets around the house, it can be costly to get rid of it.
It’s important to take precautions to keep dust out of places like bedrooms and kitchens.
Sandpaper with a grit of 150 is best for the job. If the joint compound you’re working with is very soft, resist the urge to apply a coarser grain of sandpaper.
Sanding too vigorously might leave the surface uneven and impaired.
Precut sandpaper sheets designed specifically for use with a hand sander are available.
Prior to sanding, priming the walls significantly enhances the finish. Before sanding, wait until the primer has completely dried.
After priming, sanding the area lets you discover problem areas and fix them using joint compound.
Sanding in the corners might be especially challenging because it’s an awkward space. Try a sponge sander or some folded sandpaper. And take care that you don’t scratch the adjacent wall.

Final Thoughts
Even though working with drywall can be difficult and take a lot of time, the best results come from a professional approach. Attention to minor details will help you achieve an excellent finish.
Understanding how to avoid bubbled drywall tape will save you time and effort in the long run.
But if you do happen to have bubbles in your drywall tape, don’t panic. By following the ten tips in this article, you will remove the problem areas so you can be well on your way to a professional finish.