*This post may have affiliate links, which means I may receive commissions if you choose to purchase through links I provide (at no extra cost to you). As an Amazon Associate, I earn from qualifying purchases. Please read my disclaimer for additional details.
Leaky drain pipes are the worst. Unnoticed, they can damage wood vanities, and flood your floors. The tough ones are the leaks that just won’t seem to stop no matter how hard you tighten things.
For the best results and peace of mind, replacing your bathroom sink drain pipe is the only option. It’s a perfectly doable DIY project that won’t take you too much time. You can find all of the parts online or at your local hardware store, and with basic tools, you can get the job done.
Here is a basic guide that walks you through replacing a bathroom sink drain pipe and what you need to know before you begin.

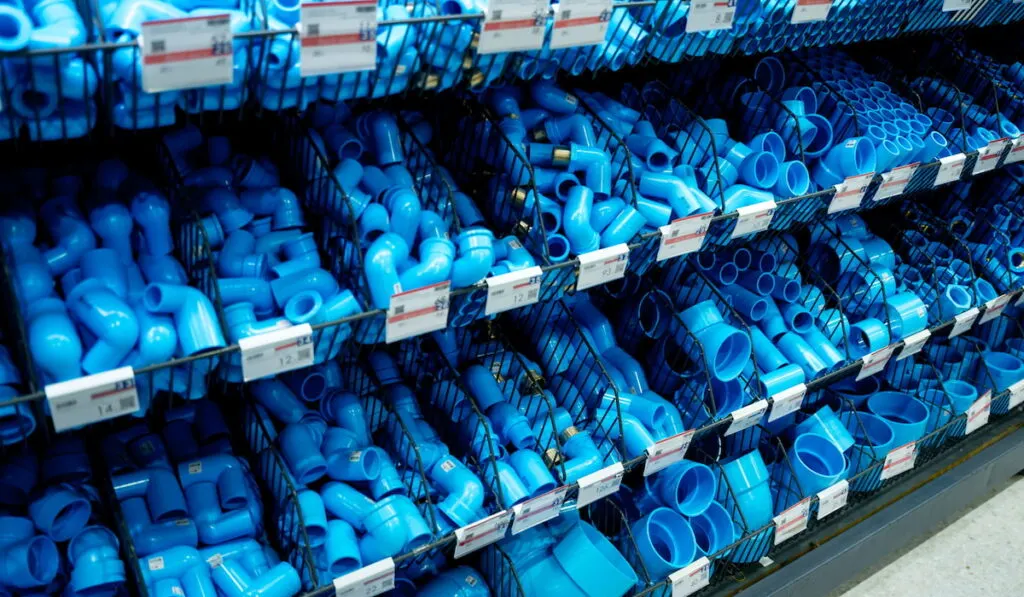
Table of Contents
What Is a Bathroom Sink Drain Pipe?
A drain pipe is just that. It’s where the water from your bathroom sink, or any sink for that matter, empties and feeds into your wastewater system.
Drain pipes can handle a fairly high amount of water flow. They aren’t perfect, though, and will eventually need replacing.
Typically, your bathroom sink drainage system is made of at least a few sections of pipe.
You have the pipe that feeds directly down from the drain, a j-pipe (also called a trap), and then another section that goes into the sewer system. The trap houses water that prevents any gases and other harmful materials from making their way back up the pipe.
Washers and plastic rings hold these sections together and, when tightened, form a water-tight seal to prevent leaks.
How Much Does It Cost to Replace?
You will have to spend anywhere from $7-$30 to replace your sink drain pipe. The cost differences depend on the size of your pipes, what parts you need, and the material of your pipes.
PVC is going to be a lot more affordable than metal pipes, for instance.
Most of the time, you’ll want to buy a drainpipe kit that comes with all of the parts you’ll need if you’re taking everything out and putting in an entirely new system.
Here’s a good example of a drain pipe kit.
No products found.
Step by Step Guide to Replacing a Bathroom Sink Drain Pipe

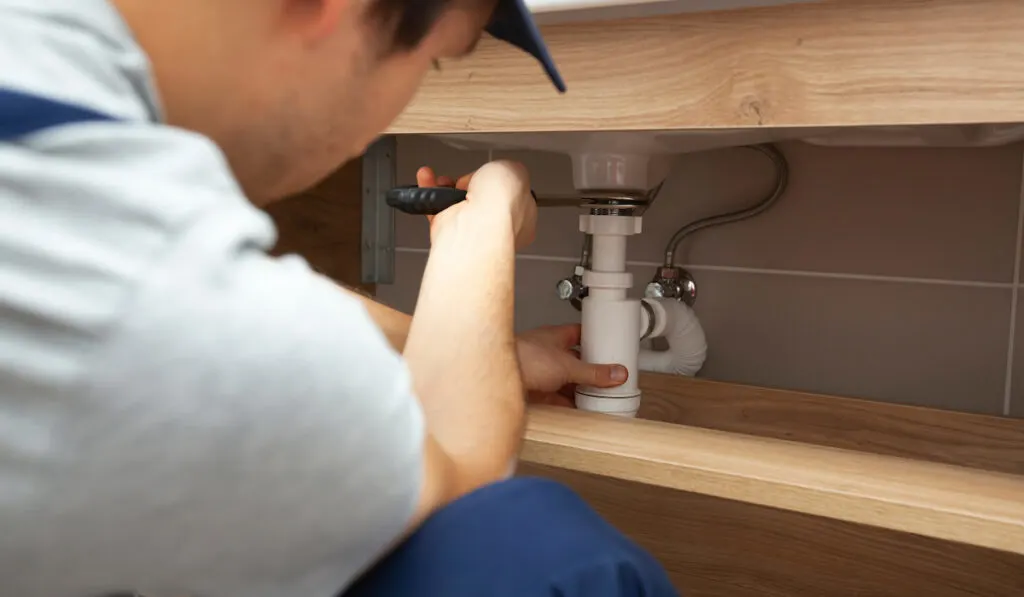
Step 1 – You may not have to replace the entire drain system, so the first thing you’ll want to do is find where the leak is. You can do this by looking at the drain system with your eyes, or you can use a dry paper towel and touch different parts of the drain to find out where it gets wet.
Once you know where it is, you can get to work.
Step 2 – Make sure the bathroom sink is turned off (you don’t need to turn off the water main or anything). Grab a large bowl or a bucket to put under the drain to catch any excess water that comes out when you start loosening the washers on the pipes.
Step 3 – Remove the sections of the pipe where the leak is located. Or, if you’re replacing the entire thing, take everything out.
Step 4 – Take the pieces of new pipe out of your drain pipe replacement kit and start installing the new sections. You’ll typically want to start with the pipe section that attaches underneath the sink drain first. Then, insert the j-pipe underneath that longer section of pipe and tighten the washer.
Make sure the small plastic ring is pointed in the right direction before you start tightening. The pointy end goes into the pipe it is attaching to. As the washer gets tighter, it will push the pointy end further in to create a water-tight seal.
Step 4 – Grab the shorter section of the new pipe and attach one end to the j-pipe. Tighten the washer with the plastic ring pointed the right way, and then feed the other end into the plumbing pipe under your sink and do the same thing again.
Step 5 – Turn on the bathroom sink and let it run for a few minutes to make sure nothing is leaking in the new kit.
If you do see a leak, you can try tightening the washers throughout or where the leak is happening, or you can loosen it completely, reposition the plastic ring, and try tightening again.

Tools You Will Need for the Job
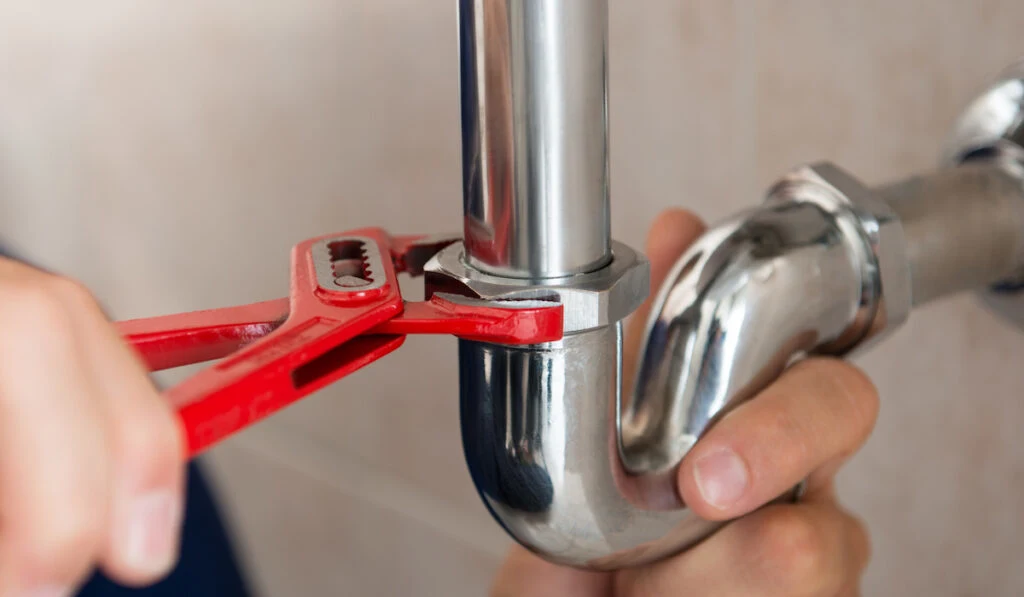
You won’t need a lot to get the job done. All you’ll need is a pair of adjustable pliers that are large enough to fit around the washers.
A lot of people can loosen and get them tight enough by hand, but you should have some pliers on hand just in case.
You may also need a knife or a screwdriver to loosen things up depending on how long the existing drain pipe has been in there. There could be some sediment around the washers or in the pipes that need to be knocked loose so you can take them out.
Replacing the Sink Drain Gasket
If your leak is coming from the place where the drain pipe attaches to the actual drain, you’re probably going to have to replace the drain gasket. This is a bit more complicated because you’re going to have to remove and apply a new gasket seal.
You can use a screwdriver to remove the old gasket putty that keeps the gasket stuck to the drain. Once it’s gone, wipe the area clean.
Then, you can remove the plastic from the sticky side of your replacement gasket and put it on. Do your best to position the gasket in the center of your drain for the best possible performance.
Things to Consider
Some plumbing should be left to the professionals. However, replacing a bathroom sink drain pipe is a simple project that anyone inclined can accomplish with a bit of time.
It’s not difficult and all of the parts are affordable, so if you make a mistake it will still save you a ton of money versus hiring someone to come fix it for you.