*This post may have affiliate links, which means I may receive commissions if you choose to purchase through links I provide (at no extra cost to you). As an Amazon Associate, I earn from qualifying purchases. Please read my disclaimer for additional details.
Recently, while searching for a step-by-step guide to building a deck on a slope, the internet disappointed me. There was plenty of information, but not in one easy-to-read location, so I decided to change that.
How do you build a deck on a slope? When building on a slope, there are many factors to consider. Using your design plans, stake out the edges of your deck first. Next, verify and alter your materials list as needed. Then gather your tools and materials, and you’re ready to build a deck.
Still lost? Not for long.

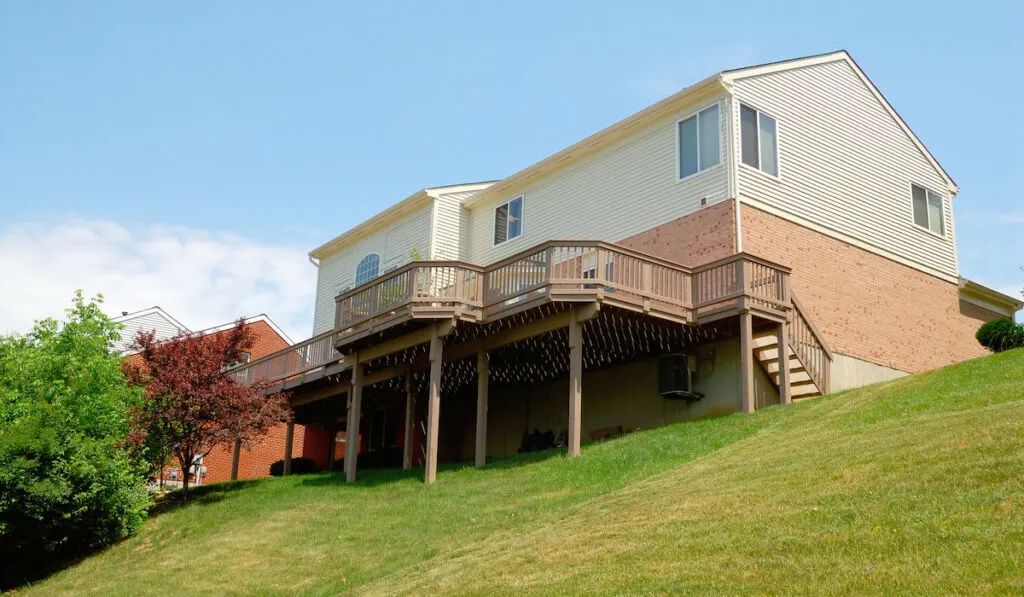
Table of Contents
Start With a Good Plan
There are many places to get good deck plans. They can be drawn up by a professional architect and be custom, but most people building a deck opt for inexpensive or free plans.
Inexpensive or free plans are available on the internet. These will generally be generic, plain drawings, with materials lists, instructions, and some pointers on building your deck. Some may include options and tips to help you customize your deck. Here are some great resources to start with:
- https://www.decks.com/deckplans
- https://www.homestratosphere.com/free-deck-plans-online/
- https://www.bhg.com/home-improvement/deck/building/how-to-build-a-deck-on-a-sloped-site/
Check-in at your local home DIY supply store too. Some offer free design services. Their employees are often an untapped source for helpful advice. They also carry books with plans and instructions, including how to design your deck.
Some quick thoughts to help you find just the right plans:
- Find out what permits you need from your local municipality
- Determine if you will anchor your deck to your home or have a free-standing deck
- Determine the overall size of your deck
- Prep the area by removing existing shrubs, plant beds, or other obstacles
- Contact MISS DIG 811 (dial 811 on any phone) to check your yard for utility lines before digging
Finding a set of plans for your deck project will not cost a fortune.
Gathering Your Tools
You don’t need all the latest tool inventions. Manual tools will get the job done just as well, but it may take a little longer. People have been constructing decks since long before the invention of laser levels.
The basic list of what you will need:
- Twine
- String level
- Plumb bob
- Standard level
- Posthole shovel
- Miter Saw (a circular saw, jigsaw, or even a manual crosscut saw will work)
- Carpenter’s square
- Measuring tape
- Electric or cordless drill with assorted bits
- Hammer
- Screwdriver (if you are using deck screws)
- Pencil or marking pen
- Wood or pipe clamps in various sizes
Your local home center often has a tool rental section for large-expense tools. Rather than buying a miter saw for several hundred dollars, rent one for the weekend. Rental rates are usually budget-friendly, and all tools are checked regularly for proper operation.
Measuring and Staking Your Deck
You have decided how large your deck will be, whether it will anchor to your building or free-standing, and you’ve prepped the area under the building site. In my case, I had to first take out the existing, rotting deck.

You will be measuring the surface area of your deck and determining the exact placement. This is the footprint that you use to determine your anchor footing positions.
Having a No products found. will help with this process, but is not necessary. While this is a fun tool, I didn’t have one for our deck project and it turned out OK. Then I wound up buying one for some grading I was doing. Go figure!
Because you are working on a slope, you should measure horizontally from where the top of the deck will be. Use a No products found. (you can make one with a string with a weight on the end) to find the exact spot for your stake.
Once your stakes are in place, wrap twine around them to mark the outside edge of your deck.
Determining Anchor Foot Lengths
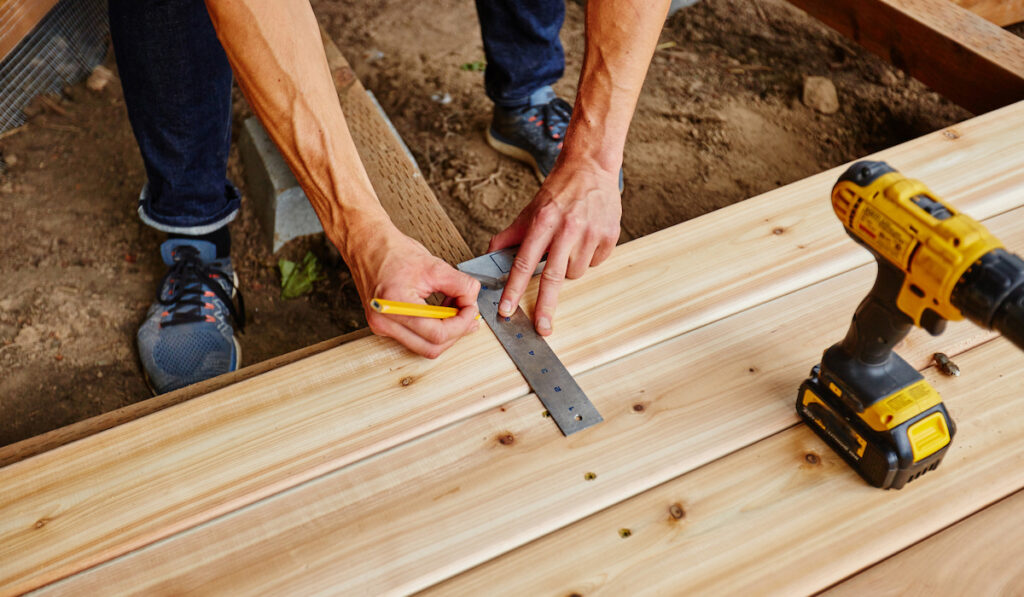
Accurate measurements and cuts save materials and create a finished product that fits together perfectly. Depending on your project you will likely be using 4-inch square posts to anchor and support your deck, however, 4×6 posts may be required depending on the size, height, and local building code for your project. Because of the slope, each anchor pole may be a different length.
You can often get anchor poles cut to size at your local home improvement warehouse or lumber store.
Anchor footing holes should be at least 12 inches deep. Some designs may call for deeper footings. You also need to account for the railing height if you plan to use the outer footings as railing supports. To get accurate measurements if you don’t have a laser level:
- Attach a long piece of twine to the building at the level of the deck surface.
- Using a string level and your plumb bob, walk to each anchor footing position and take measurements from the leveled twine to the ground.
- Add 48 inches to your measurement to figure out the size of your anchor pole (the 48 inches is 36 inches for the railing and 12 inches for anchoring the footing in the ground).
NOTE — If you are using 18-inch anchor footings, or above-ground concrete deck piers, you will need to adjust your final measurements to include that.
Measuring is one of the most critical parts of your deck construction project, so take your time and do it correctly.
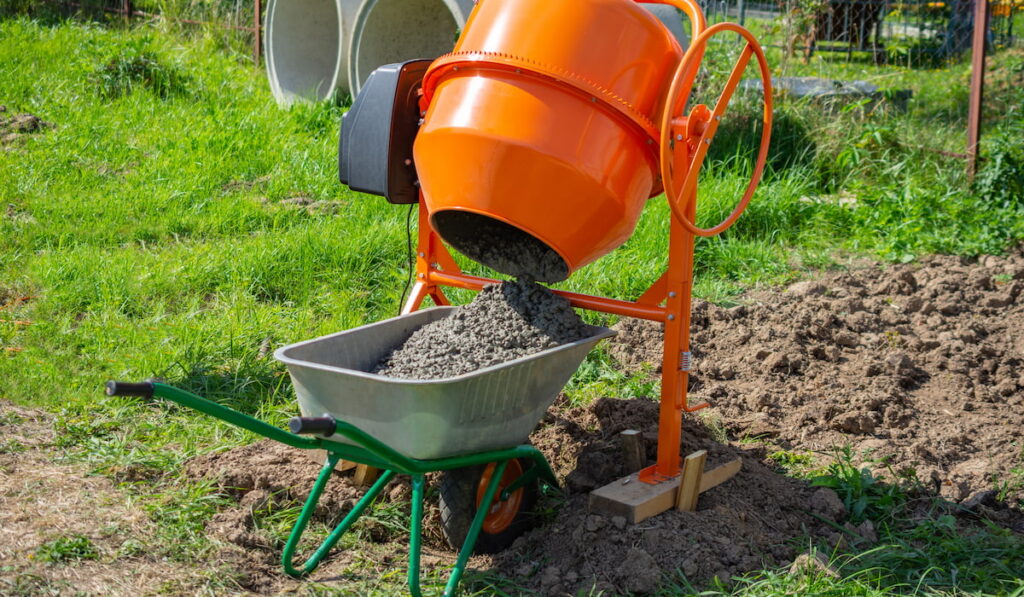
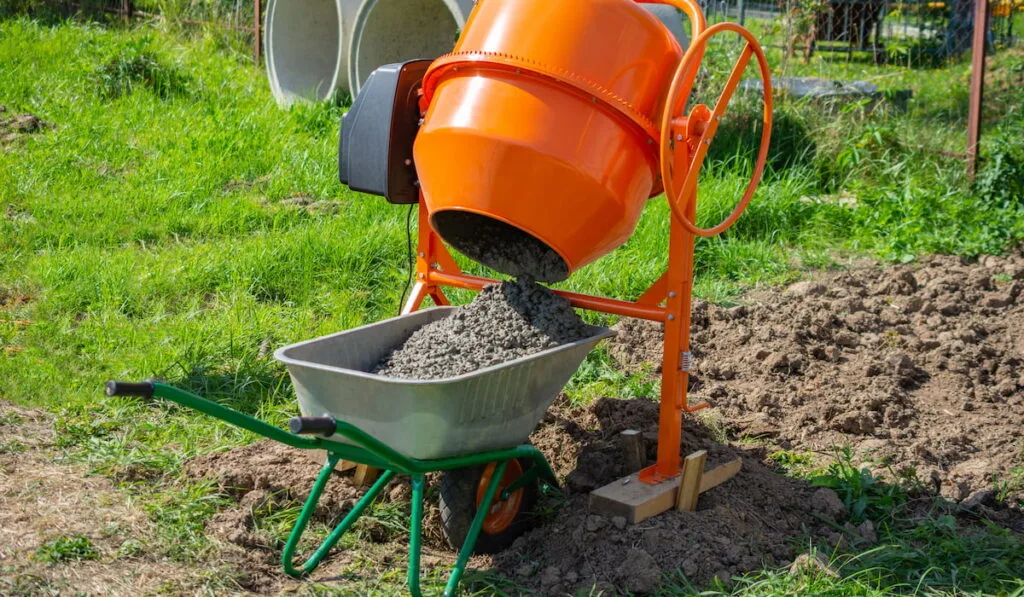
Digging and Placing Your Anchor Footings
Use a post-hole shovel or auger to dig your anchor footing holes. You can use concrete sleeves, or just fill the holes with concrete to anchor your poles. Measurement and leveling are crucial to this process.
There are several different ways to anchor your posts, including sticking the post directly into the concrete or using an anchor bracket that is stuck into the concrete before it dries, like this No products found..
The brackets themselves are anchored to the concrete with the post being screwed to the bracket. Some say this the preferred method as it keeps the post out of the ground to prevent rot and allows easy replacement as needed.
I actually decided to go with poured concrete and pressure treated posts. My big concern was that I wanted to minimize the ability of the posts to slip or move in very wet weather, or during an earthquake.
Just remember that if you secure your posts with concrete, they will need to cure, which means allowing the concrete time to harden completely. Usually, this is at least 24 hours. Follow the directions on your concrete mix to allow for adequate curing.
Building Your Frame on the Level
Larger decks will require additional beams and diagonal bracing for stabilization. Your deck plans will describe the process for building the frame.
Look at your environment, and budget, to determine the type of decking materials that you will be using here. The choice of redwood or even a composite deck material is more one of preference (and budget) than anything else, but let’s talk about pressure-treated lumber for a moment and when you would want to use it.
Pressure-treated lumber doesn’t change the strength of your overall deck, but because it has chemicals injected into before shipment it weathers the environment considerably better and is the ideal choice for posts or any lumber that will be close to the ground.
You’re ready to add the outside bracing for your deck. Follow the instructions in your plans to measure and cut the sides. Attach them to your anchor poles with nails or screws.
Using wood clamps will hold the boards in place while attaching them.
Always make sure your side boards are level. This step is crucial to having a level finished deck surface.
You will be attaching floor joists to the side rails. You can use brackets designed for that purpose or by nailing or screwing through the side boards to attach the joists.
The joists are the primary support for the surface of your deck.
If you live in an area with high winds or extreme weather, brackets are optimal. Brackets offer protection from excessive wind damage, which can loosen nails or regular screws over time.
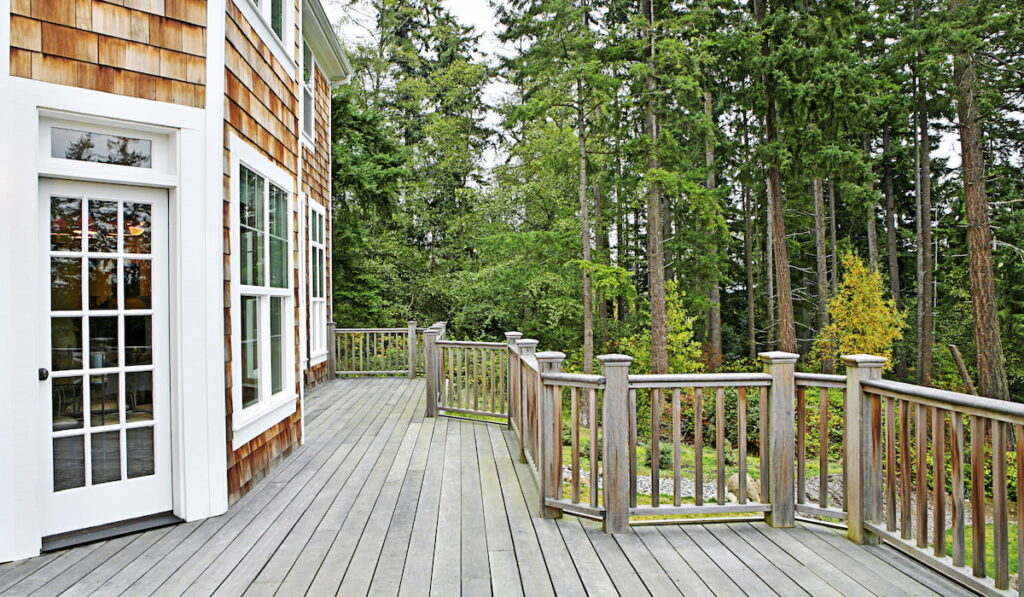

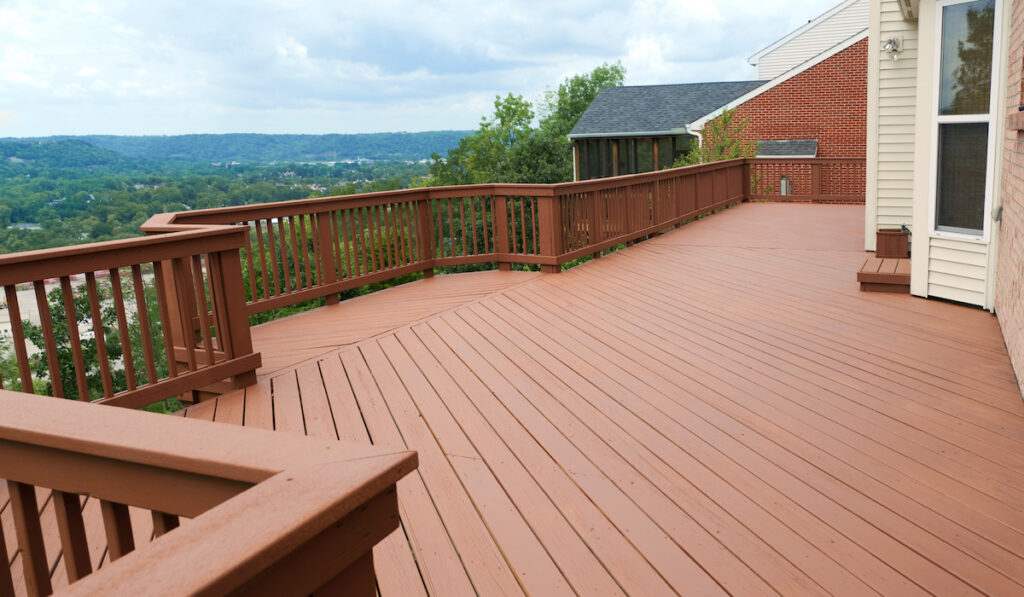
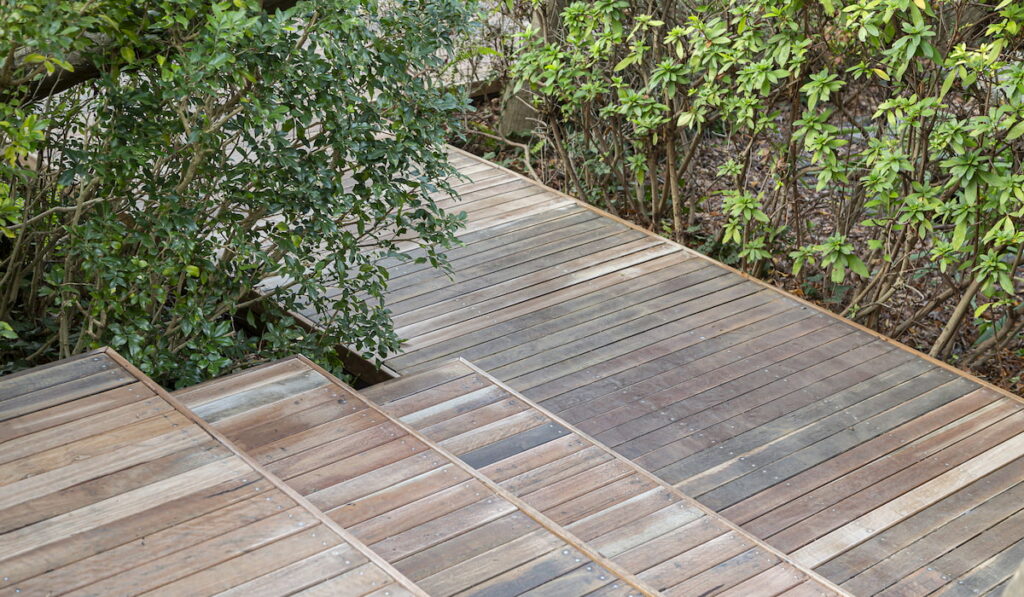
Decking, Rails, Steps, Preservation
Once you have your side rails and floor joists in place, you are ready to add the finishing touches.
Your plans will include how to place your decking over the floor joists. The deck can be attached using nails or decking screws.
To attach rails, follow the instructions in your deck plans.
You can buy pre-made step sides to make building your stairs easier. The wider your steps, the more stair supports you will need. A 36-inch wide stair will need at least three supports.
Make sure to protect your new deck with a suitable waterproofing sealer.
Schedule Your Backyard Party
Now that your deck is complete, it’s time to schedule that backyard party. Call your friends, get out the BBQ grill, turn up the music, and enjoy the fruits of your hard work.
We hope you enjoyed this step-by-step guide to building a deck on a slope. If you still have questions, this video below describes the entire process from start to finish. Tell us about your backyard and DIY projects in the comments below.