*This post may have affiliate links, which means I may receive commissions if you choose to purchase through links I provide (at no extra cost to you). As an Amazon Associate, I earn from qualifying purchases. Please read my disclaimer for additional details.
Anyone that lives in or has visited a home built or remodeled during the 1960s and 1970s knows what a “popcorn ceiling” is. Having once lived in an apartment that had textured ceilings and walls, I can attest to the difficulty of painting these uneven surfaces.


How do I remove a textured ceiling? You can remove textured ceiling plaster by scraping it dry, use a solution of water to loosen the plaster before scraping, or simply cover it with a new layer of drywall. Though the process is time-consuming, it is typically easily done by a homeowner.
Whether yours is the standard popcorn, a swirled design, or linear geometric design, you can make it flat again.
Table of Contents
Understanding Textured Ceilings
When popcorn ceilings came into vogue beginning in the late 1950s, they were designed to speed up home construction. The uneven texture allowed contractors to skip some of the fine-tuning required after drywall installation. This saved both time and money.
Sprayed on, traditional popcorn texturing was the go-to finish. Additionally, it added a small bit of added fire resistance and aided in noise dampening.
Unfortunately, there is one major safety point that must be discussed about that no-longer-popular trend.
Asbestos Warnings
Before 1978, asbestos was included in almost all ceiling plaster used to create textured ceilings. Once it was determined to be a health risk, asbestos-based plasters were replaced with a paper fiber. The asbestos-laced products were sold into the early 1980s, though.
Asbestos-based textured ceilings can produce microscopic particles that will scar lung tissue and have been reported to cause lung cancer if inhaled.
Many municipalities do not allow you to test your home without an EPA-certified inspector. Check with your local building office before beginning your project. If they do allow you to self-test, you can purchase a test kit , which includes complete instructions and lab fees.
If your textured ceiling tests positive for asbestos, please follow guidelines for removal specified in your local zoning laws.
How to Remove Textured Ceiling Plaster
Your test results are back. You don’t have asbestos. You’re ready to get started.
Let’s start with a list of tools you’ll need:
- Pressurized sprayer
- Large putty knife or drywall taping trowel
- Dust collection system or trash bags
- Plastic tarps
- Painter’s tape
- Ladder or scaffolding
Those are the basics. Depending on your particular room, you may need a few things we missed. Assemble everything you need before you get started. This will save you time and frustration as you complete this project.
Prepping the Room
Unless you have an empty room to work in, you want to protect the walls, floor, and any furniture.
No matter which method you use to remove textured ceiling plaster, it is a messy job.
- Start by removing any ceiling fixtures such as lights, ceiling fans, and vent covers. Be sure to turn off the breakers first when removing any electrical components. Use wire nuts on all wire ends.
- Set the fixtures aside in a different room so they are out of your way.
- Cover all holes with painter’s tape to protect wiring and to keep dust out.
- Remove as much furniture as you can. What you can’t remove, cover generously with plastic. Use painter’s tape to seal around the bottom. Dust will find any entrance.
- Cover the entire floor, allowing several inches to extend up the walls.
- The next step is to tape plastic sheeting around all the walls, draping it down to the floor. Tape the bottom of the wall drapes to the floor covering to keep dust from drifting through to the floor.
- Don’t forget the doorway. Dust will escape if you leave the door open.
- Once you have everything in the room covered and sealed against dust, you are ready to start removing the textured ceiling.
Soaking the Ceiling
Dress the part. A one-piece painter’s jumpsuit is optimal. If you don’t have that, make sure to have:
- Eye protection
- Long sleeves and pants
- Hat or hair covering
- Gloves
- Dust mask
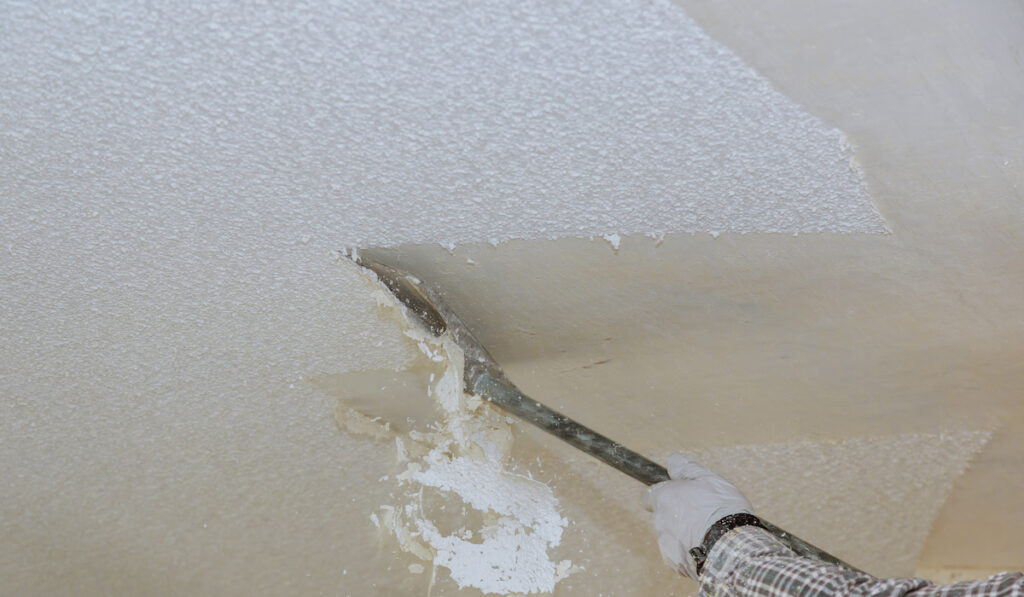
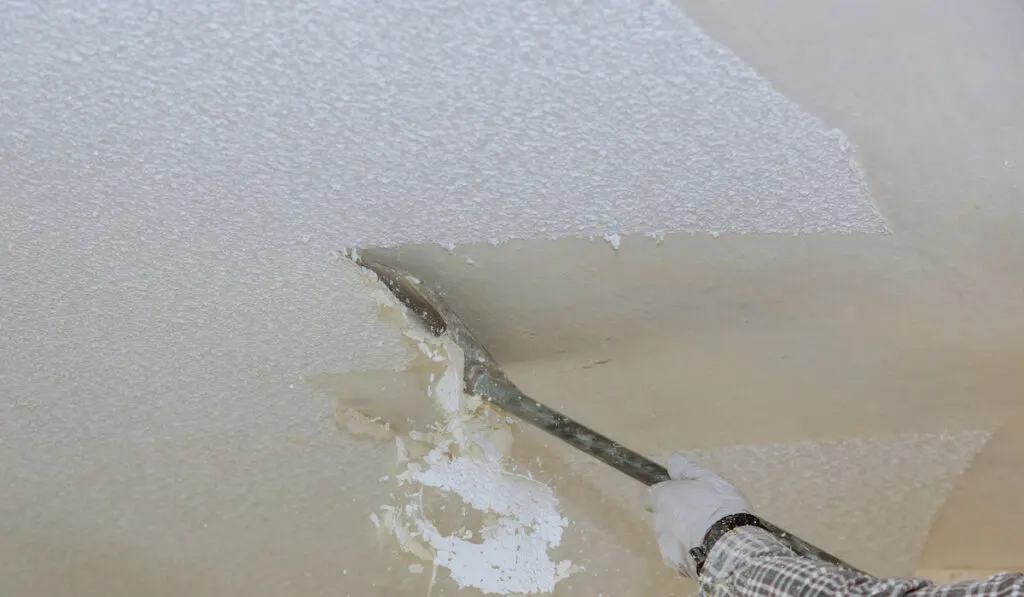
Position your ladder or scaffolding under your first section. It is best to work in four foot or smaller sections to keep the job manageable.
Fill your sprayer with hot water and use it to soak the first section. Wait a few minutes, and then begin scraping. You may need several applications in a single area for stubborn plaster.
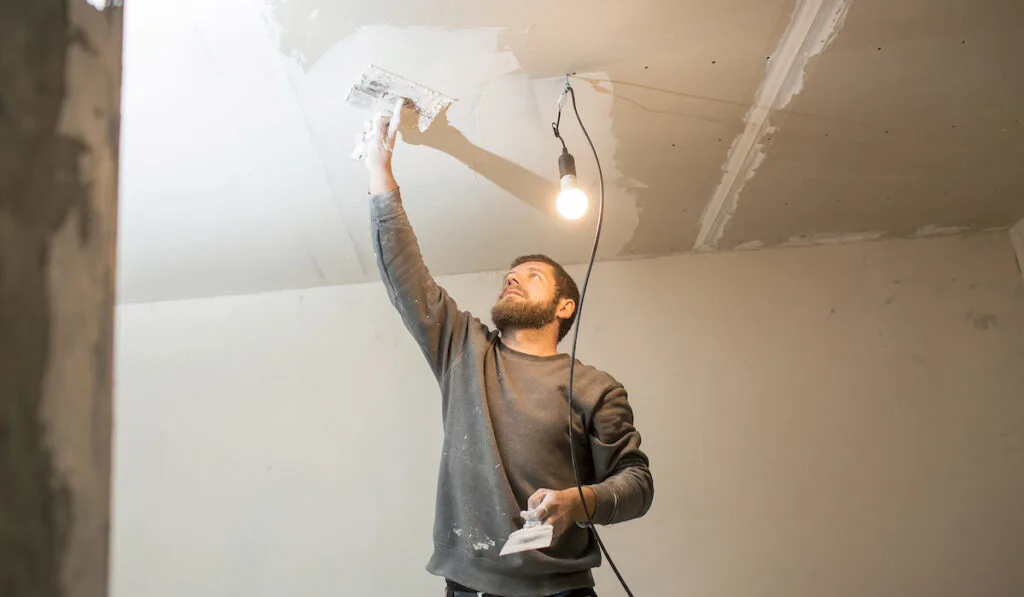
Work Those Shoulders
The muscles used for this job will be your shoulders. Because the majority of the task is over your head, even with a long-handled scraping tool , your shoulders will get a workout.
A word of caution about balance and ladder position is in order. Placing your ladder behind where you intend to scrape will accomplish three things:
- Gives you better leverage
- Keeps your work in front of you
- Will provide you with a better balance on the ladder.
The same rule applies if you have scaffolding. Always work in front of your perch. It is better to work in smaller sections than to try to overstretch and be off-balance.
Finishing the Job
Once the ceiling is scraped, there are a few small tasks to accomplish to prepare the ceiling for painting.
Because textured ceilings were often used to cover flaws, you may have nail dents, poor seam taping, and other imperfections on the surface.
The easiest way to spot these is to position your ladder in a corner. Climb the ladder and shine a bright light across the flat of the ceiling.
Use a colored tailor’s chalk or another washable marking medium to circle the areas that need repair. Once you have found the flaws, you’re ready to repair them.
Repairing Flaws

Most of this part can be performed with a 6-inch to 8-inch drywall knife and some premixed plaster. You will also need fine-grit sandpaper, a damp sponge, and your dust mask. The more evenly you lay your repair patches, the less sanding you will have to perform.
Step one is to fill all the nail dents you marked. Use the least amount of plaster you can and smooth it out as evenly as possible with your drywall knife. This will help decrease the amount of final sanding you will need to perform.
Once the nail dents are filled, check the seams between the drywall boards. The water used during the scraping process will sometimes loosen these seams. It is generally recommended to go over all seams with a layer of fresh plaster just to reinforce them.
Give your plaster ample time to dry and cure.
Once dry, use the fine-grit sandpaper to remove any imperfections. Once it is smooth to the touch, use the damp sponge to remove dust from the surface.
The sponge will also remove sandpaper grit marks with gentle rubbing. Do not rub hard. You want the surface to be as smooth as possible for the next step.
Painting and Replacing Fixtures
This is virtually a new surface, so you want to start with a good primer coat. Your paint vendor will be able to recommend the best primer for you.
Once you have completed your final coat of paint and allowed drying time, you are ready to reinstall your electrical fixtures.
Check the breaker before performing any electrical work. Reconnect the wiring exactly as it was when you removed the fixture, making sure to attach the ground wire.
Once all the fixtures are replaced, you can reset the breaker and test your handiwork.
Enjoying Your New Look
While learning how to remove textured ceiling plaster isn’t hard, the task itself is labor-intensive. The end result, done correctly, can be gratifying.
Remember safety first. Do not skip the asbestos test.
We hope that your renovated space gives you many years of pleasure. Tell us about your project tips and tricks in the comments.