*This post may have affiliate links, which means I may receive commissions if you choose to purchase through links I provide (at no extra cost to you). As an Amazon Associate, I earn from qualifying purchases. Please read my disclaimer for additional details.
Adding tiles throughout your home seems like a fantastic idea until one of the tiles becomes loose or broken. While immediately fixing them is not completely necessary, it does create an eyesore that can be challenging to cover up. Of course, if you have a broken or loose tile in a significant walking space, this can pose a health risk to those in your home.
How do you fix a loose floor tile? There are a few critical steps to removing and replacing floor tiles throughout your home, but it is key to replace those that need it. There are methods or products out there that claim they can repair tiles without removal, but these will never provide you with the sturdy tiling that is needed for your home.


We’re going to cover the steps needed to repair and replace your loose or broken tiles accurately. You want to ensure you have the proper supplies in place to make repairs simple.
We will also jump into the cause of these tile malfunctions and how you can avoid this issue continuing throughout your home.
Table of Contents
What to Do About Broken Tiles?
If your tile is broken, even the simplest break down the middle should be dealt with. Many try to piece back the tiles or repair them with glue, but this is not ideal. Once the tile has been broken, it is never really as sturdy as it was initially and is easy to break again.
Another major issue you can run into when repairing cracks, especially in kitchens or bathrooms, is leaving the tile susceptible to water damage.
If the crack is not glued back together properly and completely, water can creep into the crack and cause mold to develop or break down the tile more. The best option is to just replace the tile entirely.
To remove your broken tile, you will want to:
- Cut the grout around the broken tile.
- Try to lift up the tile, and if it is not removing easily, you may need to break it further. The best way to further break the tile is with a hammer or a drill. Ensure you never damage further than the tile and avoid drilling into the flooring.
- Clean up the area where the tile was located. You may want to grab a vacuum attachment to clean out any debris.
- Follow the steps for replacing your tile, which we will further discuss next.
Removing Loose Tiles
If you have noticed a loose tile in your home, it is important to replace the tile in order to avoid tripping over it and falling. Replacing one loose tile also protects the rest of your flooring.
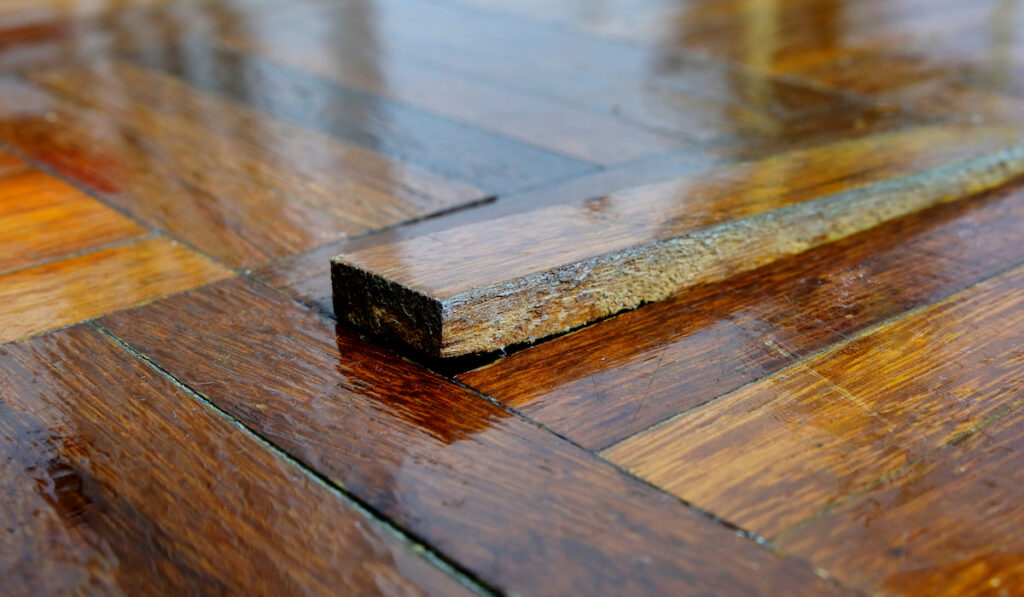
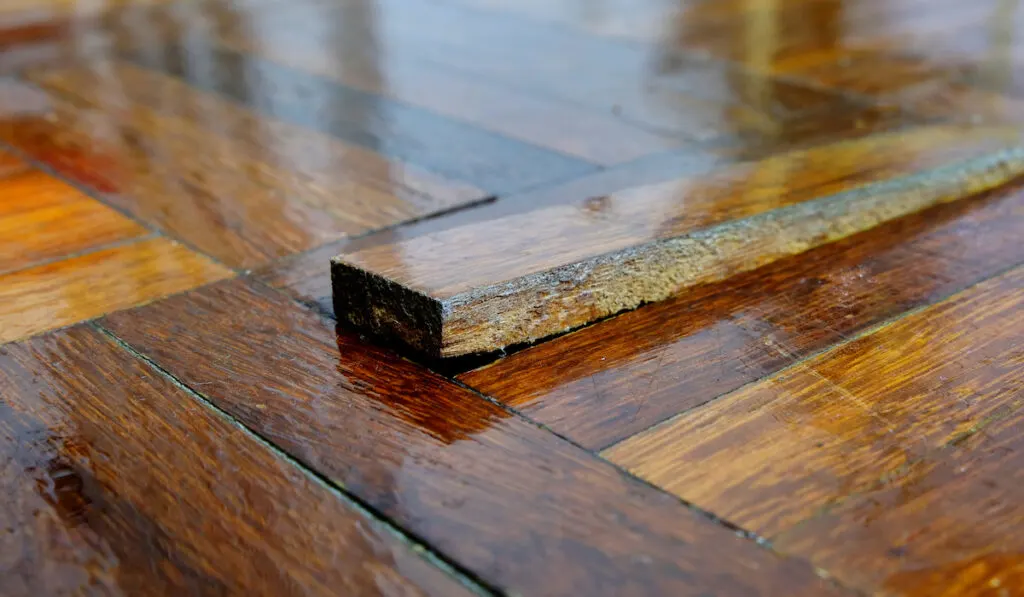
If the tile that you are removing is not broken and you can remove it without causing damage, you can easily reuse it.
If you do cause damage to the tile or you have removed a broken tile using the previous steps, you will need to purchase a new tile to go in its place.
In this case, the tile came up all in one piece. But, since I put this floor in, I had a whole case in the garage if I needed it.
The steps to removing a loose tile are very similar to how you would remove a broken tile. You will want to do the following steps:
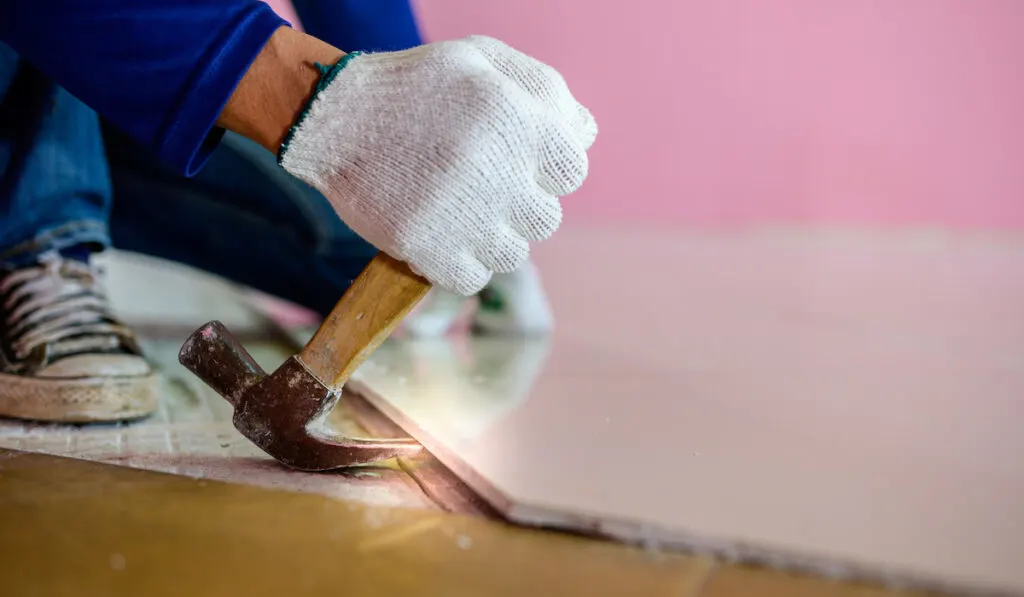
- Start by removing the grout around the loose tile that you are hoping to replace. This works best if you use a hammer and chisel. If you have several tiles to remove or your tiles are very stuck, you may want to add a layer of personal protection through earplugs and safety glasses.
- Once you have the grout removed around the tile, you should be able to pry up the tile with the chisel and hammer.
- If you have an oscillating grout tool, these work great for this process and work well for hard to remove tiles.
Replacing Broken or Loose Tiles

Now that your tiles are out of place, it is time to replace your removed tile with a new one. As mentioned, you want to have new tiles in place that you can use, or you will want to prep the removed tiles.
Broken pieces are often best discarded, but loose tiles that remain intact can be reused with some prep work.
To prep any removed tiles that you plan to reuse, you should scrape away the old thin-set cement that is on the tile. If you cannot remove this easily, it may be best to go pick up new tiles. You can always take these old tiles with you to the store to ensure you are getting the exact pieces you need.
Note: this is a great reason to always hold onto your leftover tiles after a tiling project. Those spares can come in handy.
Now that your tiles are ready for use, you will want to follow these steps to replace your tiles safely and securely:
1. Dry-Set the New Piece of Tile
The best place to start is to dry-set the new piece of tile, and it is important that the new tile originally sits lower than the others.
This should accommodate the new layer of thin-set that you will add to the tile.
You will want to measure the thickness of your tile piece and then use a similarly sized trowel to spread your thin-set onto the tile.
2. Mix the Mortar
Mix the mortar properly so that your tiles can stick to the floor correctly. There are essentially two ways to apply this thin-set mortar. You should use whichever method you find is easiest for you and helps your tiles stick best:
- Spread the thin-set on the floor
- Spread it onto the back of the tile.
3. Place the Tile
Firmly press the tile into place and make sure that it is level with the other tiles that are already in place.
You want to make sure that the grout joints are not crooked, and everything is aligned properly. Give this thin-set mortar step a few hours to dry properly.
4. Mix Your Grout
Mix your grout right before the drying time is up and have it ready to go. Your grout should resemble the texture of peanut butter and is key to holding tiles in place.
5. Add Grout to the Tile
Use a rubber grout float to scrape the grout from the middle of the tile to the edges. Continue scraping until you remove all of the grout, trying to hold the float at a 45-degree angle.
6. Let the Grout Dry
Depending on the grout that you use, let it dry and set for about 20 to 30 minutes. There will be a film that develops on the tile that you will remove with a wet sponge.
Usually, you will want to let the tile finish setting for about another hour, buff the tile clean, and it should be perfectly in place.
How to Avoid Loose Tiles
If you have noticed that several of your tiles are loose or that more are becoming loose regularly, it may have you questioning why this is happening. There are several reasons for the tiles around your home to become loose, and it may be beneficial for you to replace them before breakage happens. Some common reasons that many experience loose or broken tiles are:
- House movement – Homes can settle over time, and foundations can shift, which can affect the tiles. When the tile was laid, there should have been a small perimeter left for movement, but without this, damage can take place.
- Temperature change – Tiles can expand and contract slightly in different temperatures. While you may not notice the changes in size, it can cause a shift in the tiles over time. It may help to avoid major temperature changes when possible in your home.
- Use quality adhesive – When your tiles are placed in your home, you want to ensure that the individual placing the tiles uses quality adhesives. Most adhesive will weaken over time, and if you notice several loose tiles, it may be time to replace the flooring or redo the adhesive.
- Avoid spot bonding – Many choose to use spot bonding for their tiles, which should be avoided. This is when only a small amount of adhesive is used on the corners and center of the tile. These methods leave room for gaps in between the tile and the flooring underneath, allowing easy breaks or loosening.